
Easy Chocolate Buttermilk Cake
Disclosure: This post contains affiliate links.If you click and make a purchase, I may earn a small commission at no extra cost to you.

Easy Chocolate Buttermilk Cake
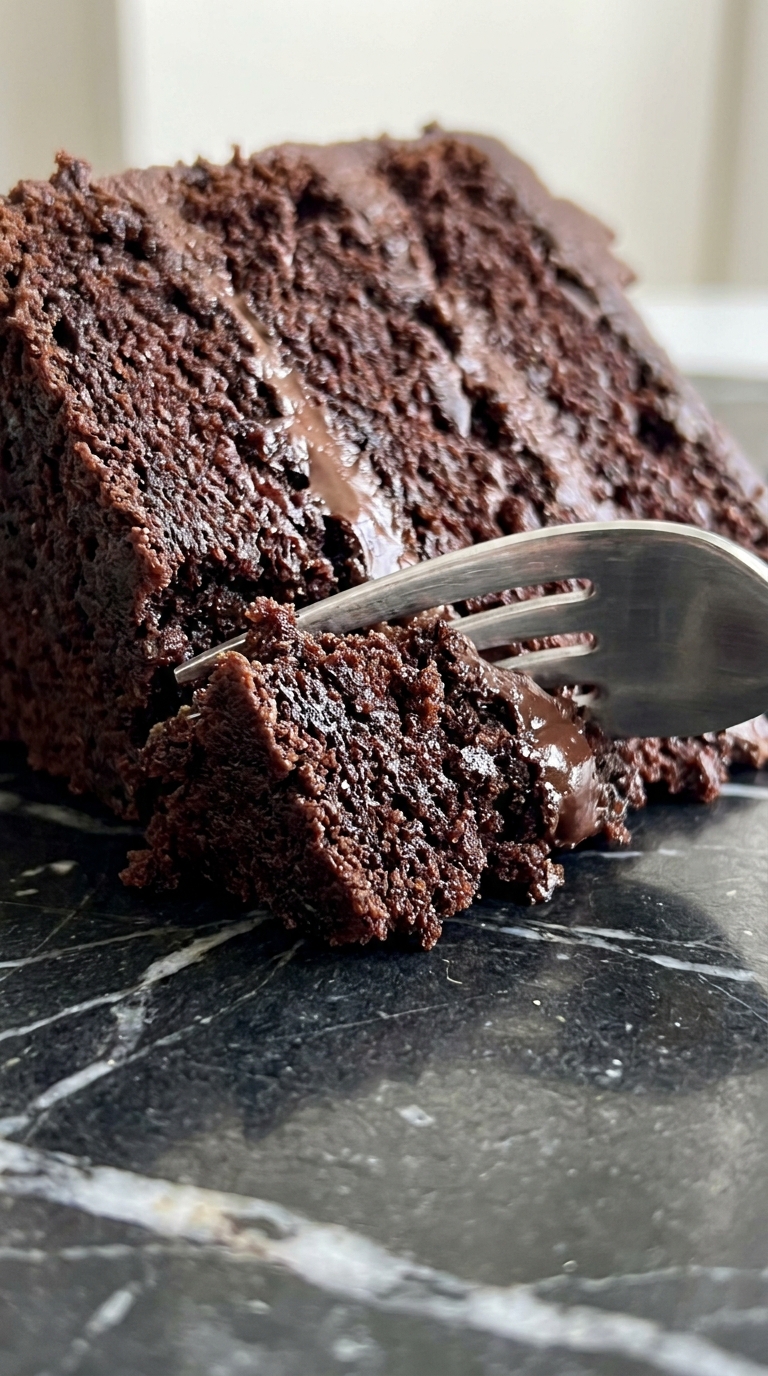
Imagine slicing into a cloud of deep chocolate richness that crumbles ever so gently against your fork, releasing waves of warm cocoa and tangy buttermilk that dance across your palate. This isn’t just any chocolate cake; it’s the kind of nostalgic, deeply satisfying dessert that fills your kitchen with an aroma so intoxicating, you’ll find family members drifting toward the oven with hopeful eyes. Trust me, you’re going to love this simple yet sophisticated take on a classic that proves elegance doesn’t require complexity.
Why This Cake Deserves a Permanent Spot in Your Recipe Box
This cake strikes that magical balance between fudgy and fluffy, creating a texture that melts in your mouth while maintaining enough structure to hold up to a glass of cold milk or a scoop of vanilla ice cream. The buttermilk doesn’t just add moisture; it tenderizes the crumb in a way that regular milk simply cannot replicate, giving you that bakery-quality texture without the bakery-level effort. It’s the sort of recipe that becomes a family heirloom, passed down not because it’s difficult, but because it’s absolutely foolproof and consistently delicious.
A Southern Classic with Humble Roots
Buttermilk has long been the secret weapon of Southern baking, born from the practical need to use every last drop of dairy on the farm. Before refrigeration was commonplace, buttermilk was the byproduct of churning butter, and resourceful cooks discovered that its slight acidity created the most tender cakes and biscuits imaginable. This chocolate variation likely emerged during the Great Depression when home bakers needed to stretch expensive ingredients like chocolate and butter, discovering that oil and buttermilk could create a moister, richer cake than traditional creaming methods. Today, it stands as a testament to the ingenuity of home cooks who turned humble pantry staples into pure luxury.
The Irresistible Charm of This Chocolate Wonder
There’s a reason this cake has stood the test of time, and it goes far beyond its incredible flavor profile. This one’s a total game-changer for anyone who thinks scratch baking is too time-consuming or temperamental.
Versatile: Whether you need a simple weeknight dessert dusted with powdered sugar or an impressive birthday cake layered with ganache, this recipe adapts beautifully to any occasion without fuss.
Budget-Friendly: Using vegetable oil instead of butter and pantry-standard cocoa powder keeps costs low while delivering a taste that rivals expensive bakery offerings, proving that luxury flavor doesn’t require a luxury budget.
Quick and Easy: From mixing bowl to oven in under fifteen minutes, this cake requires no creaming, no folding, and no complicated techniques, making it perfect for beginner bakers or busy weeknights.
Customizable: Swap the coffee for espresso powder, add chocolate chips to the batter, or fold in orange zest; the base recipe welcomes creativity while maintaining its perfect crumb.
Crowd-Pleasing: The deep chocolate flavor appeals to both children and adults, making it the ideal potluck contribution or family gathering centerpiece that disappears within minutes.
Make-Ahead Friendly: This cake actually improves in flavor after a day, as the crumb settles and the chocolate notes deepen, making it perfect for stress-free entertaining.
Great for Leftovers: Wrapped properly, slices stay moist for days, and day-old cake makes the most incredible trifle layers or cake pops.
Baker’s Secrets for the Perfect Crumb
Achieving that signature tender texture isn’t magic, though it might taste like it. These insider tips will elevate your baking from good to absolutely unforgettable, ensuring that every slice is as perfect as the last.
- Room Temperature Matters: While the recipe is forgiving, bringing your eggs and buttermilk to room temperature ensures they emulsify smoothly with the oil, creating a uniform batter without lumps.
- Don’t Skip the Hot Coffee: The hot liquid blooms the cocoa powder, intensifying its flavor dramatically. You won’t taste coffee; you’ll just taste richer, deeper chocolate.
- Weigh Your Flour: For the most consistent results, use a kitchen scale to measure your flour. Scooping with a cup can pack in too much flour, leading to a dry cake.
- Watch the Clock: Overbaking is the enemy of moisture. Start checking your cake five minutes before the timer goes off; a few crumbs on the tester are better than a completely clean one.
- Cool Completely: Patience is key when frosting. A warm cake will melt the frosting, so let it cool in the pan for ten minutes, then on a rack until completely cool.
Gear That Makes Baking a Breeze
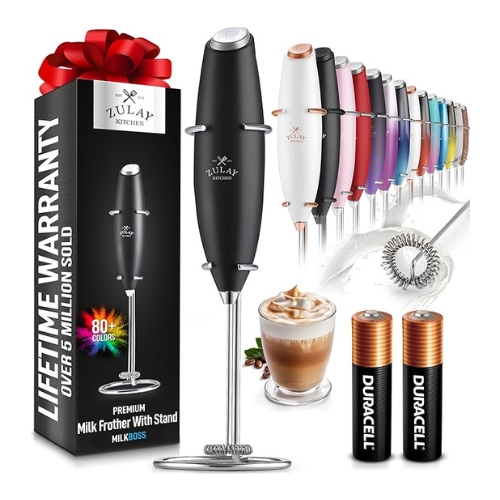
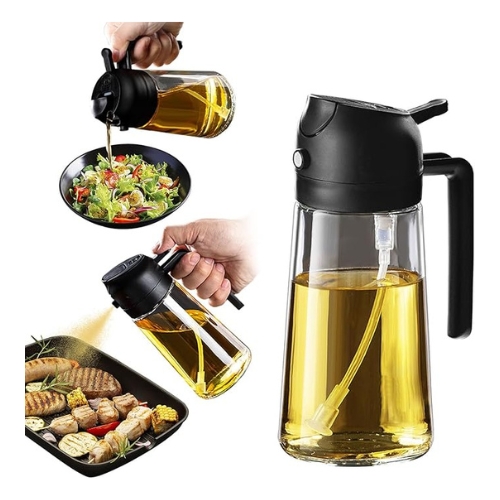
You don’t need a professional kitchen to create this masterpiece, but having the right tools will make the process smoother and more enjoyable. Think of these as your supporting cast, each playing a crucial role in your baking success.
- Two 9-inch Round Cake Pans: These create perfect layers, though you can also use a 9×13-inch pan for a sheet cake version. Dark metal pans will give you a slightly darker crust.
- Large Mixing Bowls: You’ll need one large bowl for dry ingredients and another for wet, or one very big bowl if you prefer the one-bowl method. Stainless steel or glass works best.
- Whisk and Rubber Spatula: A sturdy whisk incorporates ingredients without overmixing, while a flexible spatula ensures you scrape every last bit of batter into the pans.
- Kitchen Scale: While optional, this ensures precision for the flour and cocoa, taking the guesswork out of measuring and guaranteeing consistent results every time.
- Wire Cooling Rack: Essential for even cooling, this prevents the bottom of your cake from becoming soggy due to trapped steam.
Gathering Your Chocolate Treasures
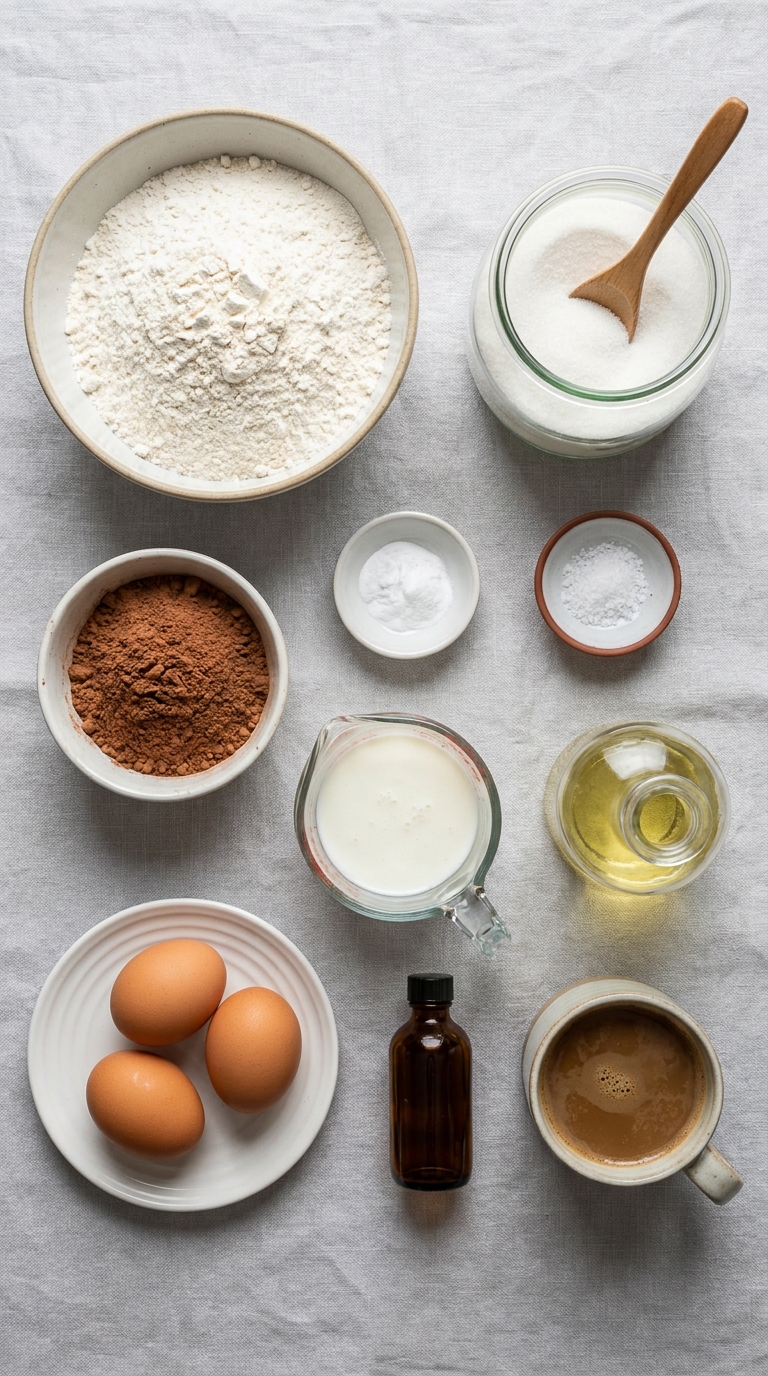
Before you preheat the oven, let’s talk about the stars of the show. Each ingredient plays a specific role in creating that perfect balance of richness and lightness, so quality matters here. Use the best cocoa you can find, and don’t skimp on the vanilla.
- All-Purpose Flour: 1 3/4 cups (210g) forms the structural backbone of the cake, providing just enough gluten to hold everything together while keeping the crumb tender.
- Granulated Sugar: 2 cups (400g) sweetens the batter and helps create that gorgeous dark crust through caramelization during baking.
- Unsweetened Cocoa Powder: 3/4 cup (65g) delivers that intense chocolate flavor we crave; use Dutch-processed for a darker color and milder taste, or natural for a lighter color with fruity notes.
- Baking Soda: 1 1/2 teaspoons reacts with the acidic buttermilk to create the leavening that gives the cake its rise and open crumb.
- Salt: 1 teaspoon enhances all the flavors and balances the sweetness, preventing the cake from tasting flat or one-dimensional.
- Buttermilk: 1 cup (240ml) at room temperature provides the signature tang and acidity that tenderizes the crumb and activates the baking soda.
- Vegetable Oil: 1/2 cup (120ml) keeps the cake incredibly moist for days, much more so than butter would, and creates that fudgy texture.
- Large Eggs: 2 eggs at room temperature bind the ingredients together and add richness and structure to the finished cake.
- Vanilla Extract: 2 teaspoons of pure vanilla rounds out the chocolate flavor with warm, floral notes that make the cake taste complete.
- Hot Coffee: 1 cup (240ml) freshly brewed and hot blooms the cocoa powder and thins the batter for better rise; substitute with boiling water if preferred.
Smart Swaps for Every Pantry
Life happens, and sometimes you don’t have exactly what the recipe calls for. These substitutions have been tested and work beautifully, though they may slightly alter the final texture or flavor profile.
All-Purpose Flour: Use a 1:1 gluten-free all-purpose baking blend containing xanthan gum for a gluten-free version.
Buttermilk: Combine 1 cup of whole milk with 1 tablespoon of white vinegar or lemon juice, let sit for 5 minutes, or use plain Greek yogurt thinned with a little milk.
Vegetable Oil: Melted coconut oil or light olive oil works well, though coconut oil will add a subtle flavor. Melted unsalted butter can be used but will create a slightly denser crumb.
Hot Coffee: Boiling water with 1 teaspoon of espresso powder dissolved in it, or simply boiling water if you want to avoid caffeine entirely.
Granulated Sugar: Coconut sugar can be substituted in a 1:1 ratio for a deeper, caramel-like sweetness and slightly darker color.
Spotlight on Buttermilk and Cocoa
Buttermilk: This isn’t just liquid; it’s the secret to that velvety crumb. The lactic acid in buttermilk breaks down gluten strands during mixing, resulting in a softer, more tender cake than you could achieve with regular milk. It also adds a subtle tang that cuts through the richness of the chocolate, keeping the cake from feeling too heavy.
Unsweetened Cocoa Powder: This is where your chocolate flavor lives. Unlike melted chocolate bars, cocoa powder provides intense chocolate taste without adding fat, allowing us to control the moisture through oil and buttermilk. Look for cocoa with at least 20% cocoa butter content for the best results.
Your Step-by-Step Journey to Chocolate Bliss
Now comes the fun part. This process is so straightforward that you’ll memorize it after just one try. The batter comes together quickly, so make sure your pans are prepared and your oven is hot before you start mixing.
- Preheat Your Equipment: Position a rack in the center of your oven and preheat to 350°F (175°C). Grease two 9-inch round cake pans with butter or baking spray, line the bottoms with parchment paper circles, and dust with cocoa powder, tapping out any excess.
- Combine Ingredients: In a large mixing bowl, whisk together the flour, sugar, cocoa powder, baking soda, and salt until well combined and no lumps remain. In a separate bowl or large measuring cup, whisk together the buttermilk, oil, eggs, and vanilla until smooth.
- Prepare Your Cooking Vessel: Ensure your cake pans are sitting on a clean, dry surface. If using a stand mixer, fit it with the paddle attachment and have a rubber spatula ready for scraping.
- Assemble the Dish: Pour the wet ingredients into the bowl of dry ingredients. Add the hot coffee on top. Mix on low speed (or stir by hand) just until the batter comes together and no streaks of flour remain. The batter will be thin, which is exactly what we want.
- Cook to Perfection: Divide the batter evenly between the prepared pans, smoothing the tops with a spatula. Bake for 30 to 35 minutes, or until a toothpick inserted into the center comes out with just a few moist crumbs attached. The tops should spring back when lightly touched.
- Finishing Touches: Remove the pans from the oven and place on a wire rack. Let the cakes cool in their pans for exactly 10 minutes, then run a knife around the edges and invert onto the rack to cool completely. Peel off the parchment paper.
- Serve and Enjoy: Once completely cool, dust with powdered sugar, drizzle with ganache, or frost with your favorite buttercream. Slice with a sharp knife, wiping the blade between cuts for clean slices, and serve with a cold glass of milk or hot coffee.
Common Pitfalls and How to Sidestep Them
Even the easiest recipes have their quirks, and knowing what to watch for will save you from disappointment. Here are the most common issues and how to prevent them.
- Dense or Heavy Texture: This usually happens from overmixing the batter once the wet and dry ingredients meet. Mix just until combined; a few small lumps are perfectly fine.
- Dry or Crumbly Cake: Overbaking is the culprit here. Start testing for doneness at the 28-minute mark, and remember that the cake continues to cook slightly from residual heat after leaving the oven.
- Sticking to the Pan: Never skip the parchment paper circle on the bottom of the pan, and ensure you grease the sides thoroughly. Cooling for exactly 10 minutes before inverting is crucial; too hot and it will fall apart, too cool and it will stick.
- Uneven Layers: If your cakes dome dramatically, you may have too much flour or an oven that’s too hot. Use an oven thermometer to verify temperature, and measure flour by weight or the spoon-and-level method.
- Soggy Bottom: This occurs when the cake cools in the pan for too long, trapping steam. Always invert onto a wire rack after 10 minutes to allow air circulation around the entire cake.
Nutritional Snapshot
Servings: 12 / Calories per serving: 340 / Note: These are approximate values.
Timing Breakdown
Prep Time: 15 minutes / Cook Time: 35 minutes / Total Time: 50 minutes (plus cooling)
Delicious Twists to Explore
Once you’ve mastered the classic, these variations will keep your baking exciting and tailor the cake to different occasions and cravings.
- Mocha Marvel: Add 2 tablespoons of espresso powder to the dry ingredients and fold in 1 cup of mini chocolate chips before baking for a coffee-lover’s dream.
- Orange Chocolate Fusion: Stir in the zest of one large orange and replace the vanilla with orange extract for a sophisticated citrus note that pairs beautifully with dark chocolate.
- Peanut Butter Swirl: Drop dollops of peanut butter on top of the batter in the pans and use a knife to swirl it into the batter before baking for a marbled effect.
- Spiced Mexican Chocolate: Add 1 teaspoon of cinnamon and 1/4 teaspoon of cayenne pepper to the dry ingredients for a subtle warmth that enhances the chocolate flavor.
- Triple Chocolate Threat: Fold 1 cup of chopped dark chocolate into the batter and finish the cooled cake with a glossy chocolate ganache and chocolate shavings.
FAQ’s
1. Can I make this cake in a 9×13 inch pan instead of layers?
Yes, absolutely. Pour the batter into a greased and floured 9×13 inch pan and bake for 35 to 40 minutes, or until a toothpick comes out clean. This is actually easier for serving a crowd.
2. Why do you use oil instead of butter?
Oil creates a more moist, tender crumb that stays soft for days. Butter adds flavor but firms up when cold, while oil keeps the cake sliceable and soft even when refrigerated.
3. Can I freeze this cake?
Definitely. Wrap the cooled cake layers tightly in plastic wrap, then aluminum foil, and freeze for up to 3 months. Thaw overnight in the refrigerator before frosting or serving.
4. Is there a way to make this dairy-free?
You can use a dairy-free buttermilk substitute made with almond milk and vinegar, and ensure your cocoa powder is dairy-free. The cake itself contains no butter, so it’s quite easy to adapt.
5. Why is my batter so thin?
This is completely normal and intended. The thin batter allows for better rise and creates the moist, tender crumb we’re after. Don’t be tempted to add more flour.
6. Can I use this recipe for cupcakes?
Yes, this makes about 24 cupcakes. Fill liners two-thirds full and bake for 18 to 20 minutes, rotating the pans halfway through baking.
7. How do I store leftovers?
Store the unfrosted cake wrapped in plastic wrap at room temperature for up to 3 days, or refrigerate if frosted with cream cheese or dairy-based frosting. Bring to room temperature before serving for best flavor.
8. Can I reduce the sugar?
You can reduce the sugar by up to 1/4 cup without major structural issues, though the cake will be slightly less moist and the crust less glossy. We don’t recommend reducing further as it affects the texture.
9. What’s the best cocoa powder to use?
We recommend Dutch-processed cocoa for a darker color and smoother flavor, but natural cocoa works well too. Just avoid using “drinking chocolate” or mixes with added sugar.
10. Why did my cake sink in the middle?
This usually happens from opening the oven door too early, underbaking, or using expired baking soda. Ensure your leavening agents are fresh and resist peeking until at least 25 minutes have passed.
Conclusion
There’s something profoundly comforting about a slice of homemade chocolate cake, and this buttermilk version delivers that comfort with every single bite. Whether you’re celebrating a milestone or simply making it through a Tuesday, this recipe is your ticket to chocolate bliss without the stress. It’s worth every moment of preparation, and once you taste that tender, fudgy crumb, you’ll understand why this cake has earned its place in the hall of fame. So preheat that oven, grab your whisk, and get ready to fill your home with the most wonderful aroma imaginable. Happy baking!


