

Banana Pudding Cheesecake Cones
Trust me, you’re going to love this one! Picture it: the smooth, creamy texture of cheesecake meets the sweet, comforting taste of banana pudding—all packed into a fun, handheld cone. This treat is a total game-changer. It’s like two desserts in one, and it’ll have everyone asking for seconds. The best part? It’s so easy to make, even if you’re not a pro in the kitchen. Let’s dive into this irresistible dessert—you’re in for a treat that’ll make you the star of the party!
Why You’ll Love Banana Pudding Cheesecake Cones
This recipe isn’t just about the ingredients—it’s about creating moments. Whether you’re hosting a laid-back family dinner, throwing a gathering with friends, or treating yourself to something sweet, this dessert is perfect for every occasion. Here’s why it’s a favorite:
Versatile: Whether you’re craving a quick dessert on a weeknight or need something special for a gathering, these cones are your go-to. Imagine bringing these to a party and watching the smiles as people indulge in this creamy, dreamy treat.
Budget-Friendly: No need to search for fancy ingredients—chances are, you already have what you need in your kitchen. These cones prove that sometimes simple ingredients create the best desserts, and they won’t break the bank.
Quick and Easy: With straightforward steps, even beginner bakers will feel confident making these. No complicated techniques here—just a delicious result every time.
Customizable: Feel free to switch it up! Add crushed graham crackers on top for extra crunch, or drizzle some caramel sauce if you’re in the mood for something sweet and indulgent.
Crowd-Pleasing: This one’s a hit with everyone, from the littlest ones to the adults! The combination of banana and cheesecake is hard to resist, making it a universal favorite.
Disclosure: This post contains affiliate links.If you click and make a purchase, I may earn a small commission at no extra cost to you.


Ingredients in Banana Pudding Cheesecake Cones
Here’s the magic of this dessert—it comes together with just a few pantry staples. The result? A sweet, indulgent treat that feels special but is so easy to whip up. Let’s break it down:
Vanilla Wafer Crumbs: These little cookies add the perfect touch of crunch and flavor. They’re the base of your cone’s filling, creating a delicious contrast to the creamy layers on top.
Cream Cheese: The rich, tangy base for your cheesecake filling. It gives the dessert its smooth, luscious texture.
Banana Pudding Mix: The ultimate flavor boost, providing that unmistakable banana pudding taste we all know and love.
Milk: To bring everything together and create the perfect pudding-like consistency.
Heavy Cream: Whipped to fluffy perfection, this adds a light, airy texture to the cheesecake layer.
Bananas: Fresh bananas bring that comforting, sweet banana flavor, and they make this dessert feel like home.
Mini Cones: The vessel for all this deliciousness! They’re fun and perfect for serving up individual portions.
(Note: the full ingredients list, including measurements, is provided in the recipe card directly below.)
Instructions
Let’s dive into the steps to create this irresistible treat:
Prepare the Cones: Start by placing a small amount of crushed vanilla wafers at the bottom of each mini cone. This will act as your crunchy base layer.
Make the Cheesecake Filling: In a bowl, beat the cream cheese until smooth. Add in the banana pudding mix and milk, and continue mixing until it’s thick and creamy. Fold in the whipped heavy cream to add that light, airy texture. This is the base of your banana pudding cheesecake filling—so creamy, it’s like a cloud.
Layer the Filling: Spoon the cheesecake filling into the prepared cones, gently tapping them to settle everything inside. Be sure to leave a little room at the top for the banana slices.
Add the Bananas: Slice the bananas and place them on top of the cheesecake filling, arranging them in a way that makes each bite feel indulgent.
Chill: Pop the cones in the fridge to let them set for at least an hour. This will help the layers firm up and make them even more delicious.
Serve and Enjoy: When you’re ready, take them out, and watch the smiles as everyone digs into these fun and delightful dessert cones!
How to Serve Banana Pudding Cheesecake Cones
These cones are perfect for any occasion, but here are a few ways to elevate your presentation and make them even more special:
- Top with whipped cream: A dollop of freshly whipped cream adds a little extra indulgence.
- Add a sprinkle of cinnamon: Dusting the top with cinnamon gives them a nice spice that complements the sweetness of the banana.
- Pair with a scoop of vanilla ice cream: For the ultimate dessert experience, serve these alongside a scoop of vanilla ice cream.
Additional Tips
Here are some extra tips to make sure you get the most out of this recipe:
- Make Ahead: These cones can be prepared a day ahead, giving you more time to relax and enjoy the gathering.
- Banana Options: If you prefer a slightly firmer texture for the bananas, choose slightly under-ripe bananas. They’ll hold up better in the cones.
- Storage Tips: Store any leftovers in the fridge in an airtight container for up to two days. These are best served fresh, but they’ll keep well for a short time!
FAQ Section
Q1: Can I make these ahead of time?
A1: Yes! Make them the night before, and store them in the fridge. They’ll set nicely, and you’ll have a stress-free dessert ready to go.
Q2: Can I use regular-sized cones?
A2: Absolutely! Just be prepared for a larger portion size. You may want to adjust the filling accordingly.
Q3: How do I store leftovers?
A3: Store them in the fridge in an airtight container for up to two days. For best results, enjoy them fresh!
Q4: Can I make these without cones?
A4: Of course! You can layer the cheesecake mixture and banana slices in small jars or cups for a fun, jarred version.
Q5: Can I freeze these cones?
A5: I wouldn’t recommend freezing the cones themselves as they might get soggy. But you can freeze the cheesecake filling and serve it in a cup with a fresh cone when you’re ready to serve.
Q6: Can I use a different fruit?
A6: Yes! Try using strawberries or blueberries for a twist on the classic banana pudding flavor.
Q7: What’s the best way to serve them?
A7: Serve them chilled for the best flavor and texture. They’re perfect for warm weather or any time you need a fun treat!
Q8: Can I add a layer of caramel sauce?
A8: Absolutely! A drizzle of caramel adds a rich, sweet contrast to the creamy cheesecake.
Q9: What type of bananas are best?
A9: Slightly ripe bananas work best—they’re sweet but not too soft.
Q10: Can I make these gluten-free?
A10: Yes! Just use gluten-free mini cones and make sure your pudding mix is gluten-free.
Conclusion
There you have it—your new favorite dessert that’s as fun to make as it is to eat! These Banana Pudding Cheesecake Cones are the perfect blend of creamy cheesecake, sweet banana pudding, and crunchy cone goodness. Whether you’re serving them at a party or treating yourself to something indulgent, this dessert is sure to bring smiles all around. And with how easy they are to whip up, you’ll be making these again and again. Trust me, this is one recipe you’ll want to keep in your back pocket for all those special moments. Happy baking—and even happier eating!
Print
Banana Pudding Cheesecake Cones
- Prep Time: 15 minutes
- Cook Time: 0 minutes (no-bake)
- Total Time: 15 minutes (plus refrigeration time for filling)
- Yield: 10-12 cones
- Category: Dessert
- Method: No-bake
- Cuisine: American
Description
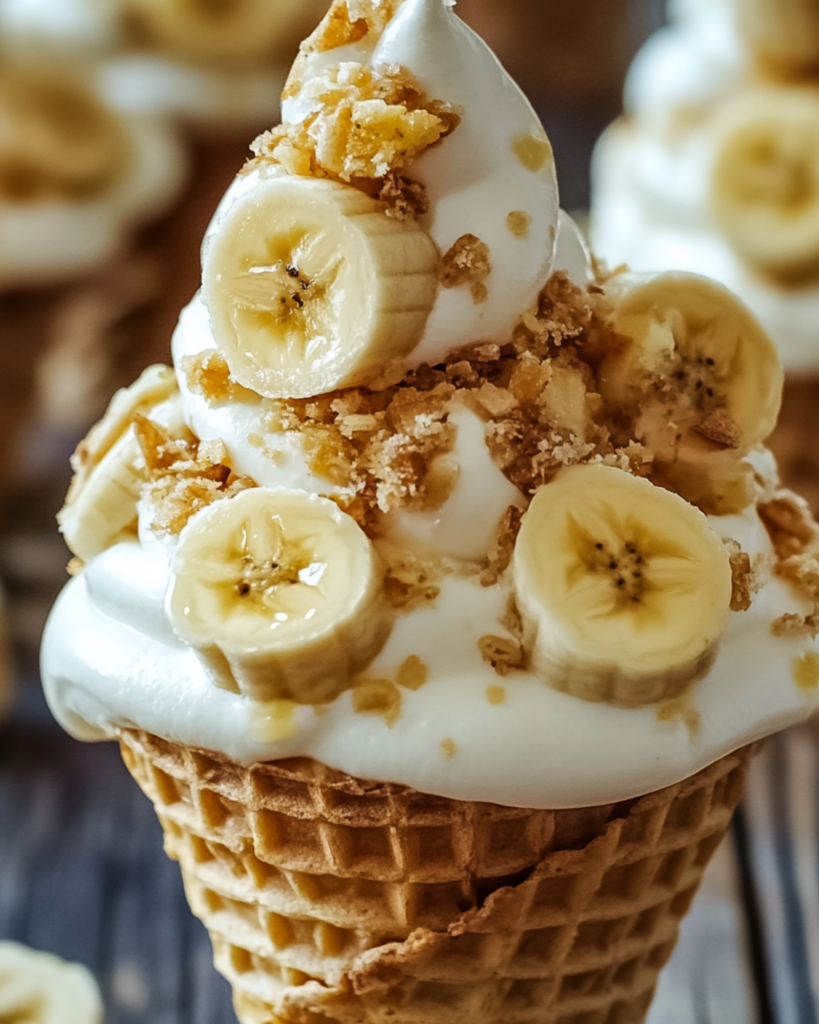
These Banana Pudding Cheesecake Cones are a fun and indulgent dessert that combines the creamy goodness of cheesecake with the nostalgic flavor of banana pudding! Perfect for any occasion, these cones are topped with whipped cream, fresh banana slices, and a sprinkle of crushed vanilla wafers.
Ingredients
- For the Cheesecake Filling:
- 16 oz cream cheese, softened
- 1 cup powdered sugar
- 1/2 cup heavy whipping cream
- 1 tsp vanilla extract
- 1 package (3.4 oz) instant banana pudding mix
- 1 1/2 cups cold milk
For the Cones:
- 10–12 waffle cones or sugar cones
- 1 cup crushed vanilla wafer cookies
- 2 tbsp melted butter
For Garnish:
- Sliced bananas
- Whipped cream
- Crushed vanilla wafer cookies
- Caramel drizzle (optional)
Instructions
- Prepare the Cheesecake Filling:
- Beat the softened cream cheese and powdered sugar in a large bowl until smooth and creamy.
- In a separate bowl, whip the heavy whipping cream until soft peaks form, then fold it into the cream cheese mixture.
- In another bowl, whisk the instant banana pudding mix and cold milk until thickened (about 2-3 minutes).
- Gently fold the prepared banana pudding into the cream cheese mixture. Refrigerate the mixture while preparing the cones.
- Prepare the Cones:
- In a small bowl, combine the crushed vanilla wafer cookies with melted butter until evenly coated.
- Dip the top edges of the cones into the melted butter mixture, then roll them in the crushed vanilla wafer cookies to create a cookie rim. Let the cones sit for a few minutes to set.
- Assemble the Cheesecake Cones:
- Spoon or pipe the banana pudding cheesecake filling into the prepared cones, filling them generously.
- Garnish and Serve:
- Top each cone with a slice of banana, a dollop of whipped cream, extra crushed vanilla wafers, and a drizzle of caramel if desired.
- Serve immediately and enjoy!
Notes
- Extra Creaminess: For an even richer texture, use full-fat cream cheese and heavy cream.
- Toppings: Feel free to add your favorite toppings, like chocolate shavings or a sprinkle of cinnamon.
- Make-Ahead: You can prepare the filling and coat the cones in advance. Just assemble the cones before serving to maintain their crunchiness.
Nutrition
- Serving Size: 1 cone
- Calories: ~320
- Sugar: ~27g
- Sodium: ~250mg
- Fat: ~18g
- Saturated Fat: ~9g
- Unsaturated Fat: ~7g
- Trans Fat: ~0g
- Carbohydrates: ~35g
- Fiber: ~2g
- Protein: ~3g
- Cholesterol: ~40mg


