

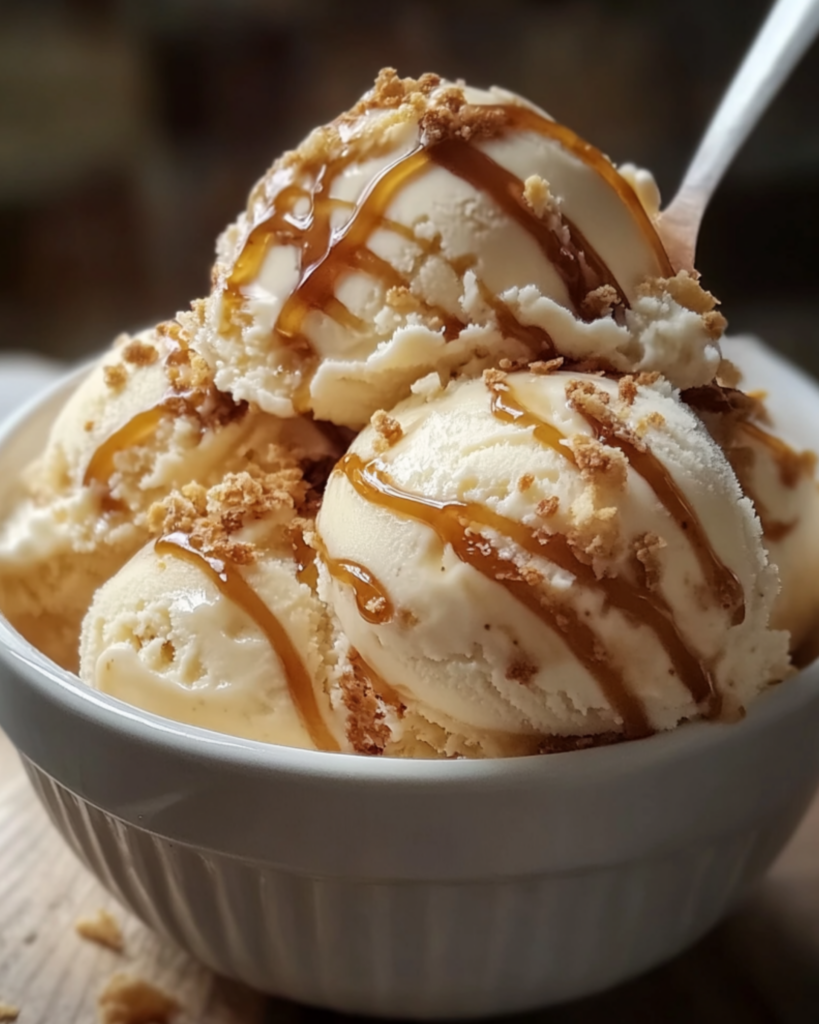
Homemade Salted Caramel Ice Cream
Let me tell you something: this Homemade Salted Caramel Ice Cream is a game-changer. Imagine the rich, buttery sweetness of caramel, balanced by the perfect amount of salt to bring out its complexity, all wrapped up in a smooth, creamy ice cream. Trust me, once you taste this, you’ll never want to go back to store-bought again. It’s a dream come true in every scoop.
The beauty of this ice cream isn’t just in its flavor—it’s in the little moments you create while making it. The process of making caramel might seem intimidating, but I promise it’s easier than you think, and the end result? Pure magic. Whether you’re indulging after a long day, serving it at a family gathering, or just because you deserve something sweet, this ice cream is always a crowd-pleaser.
Why You’ll Love Homemade Salted Caramel Ice Cream
This recipe isn’t just about the ingredients—it’s about creating moments. Whether you’re cooking for a casual family dinner, hosting a get-together with friends, or simply indulging in some comforting flavors for yourself, this dessert is versatile enough to fit the occasion. Here’s why it’s a favorite:
Versatile: Perfect for any celebration or when you just need a little sweet pick-me-up. Serving this ice cream at a party will make you the hero of the night, and it’s also a great treat to enjoy by yourself after a long week.
Budget-Friendly: You don’t need fancy ingredients to make something amazing. With pantry staples, you can make an ice cream that rivals anything you’ll find in a shop.
Quick and Easy: Yes, even homemade ice cream can be simple! If you’ve got a bit of patience (and a good freezer), this recipe is easy to follow and results in something extraordinary.
Customizable: Love your caramel a little deeper or want it sweeter? This recipe is super flexible—you can adjust the saltiness and sweetness levels to suit your tastes.
Crowd-Pleasing: Who doesn’t love ice cream? This salted caramel version is sure to impress, with the perfect balance of sweet and salty in every scoop.
Disclosure: This post contains affiliate links.If you click and make a purchase, I may earn a small commission at no extra cost to you.


Ingredients in Homemade Salted Caramel Ice Cream
Here’s where the magic happens. All you need are a few basic ingredients, and together, they turn into the creamiest, most luxurious ice cream you’ve ever tasted.
Heavy Cream: The key to a super creamy texture. It’s the base that makes everything rich and indulgent.
Whole Milk: For the perfect balance with the cream, giving that smooth mouthfeel.
Granulated Sugar: It might seem simple, but it’s essential for creating the caramel flavor. It’s all about that sweet base that gets transformed when it’s caramelized.
Brown Sugar: This adds a depth of flavor to the caramel, with a hint of molasses that’s just heavenly.
Butter: A rich addition that brings out that lovely caramelized flavor. Trust me, it’s worth it.
Salt: The secret ingredient that makes the caramel pop. It’s the perfect balance to the sweetness.
Vanilla Extract: A must to round out the flavor. It adds warmth and richness that makes everything come together perfectly.
Egg Yolks: These add the creaminess and give the ice cream that custard-like texture.
(Note: the full ingredients list, including measurements, is provided in the recipe card directly below.)
Instructions
Let’s dive into the steps to create this luxurious ice cream:
Make the Caramel: In a medium saucepan over medium heat, melt the sugar, stirring constantly until it becomes a golden brown liquid. Add the butter and salt, stirring until everything is smooth. Carefully add the cream—be mindful, it will bubble up a bit. Stir until fully combined and smooth, then remove from heat and set aside to cool.
Prepare the Custard Base: In a separate bowl, whisk together the egg yolks and brown sugar. Slowly add the warm milk to the eggs, whisking constantly to avoid curdling. Pour this mixture back into the saucepan and cook over low heat, stirring constantly until it thickens and coats the back of a spoon.
Combine the Two: Once the custard is ready, add the cooled caramel and vanilla extract. Stir everything together until it’s smooth and beautifully blended.
Chill: Let the mixture cool to room temperature, then refrigerate for at least 4 hours, or overnight if you have the time. The colder the base, the smoother the ice cream!
Churn: Pour the chilled mixture into your ice cream maker and churn according to the manufacturer’s instructions. It’ll gradually thicken into creamy perfection.
Freeze: Transfer the churned ice cream into an airtight container and freeze for at least 4 hours, or until firm. The longer you let it freeze, the better the texture!
Serve and Enjoy: Scoop yourself a generous serving of this creamy, salted caramel goodness, and enjoy every last bite. It’s the perfect treat on a hot day, or whenever you’re in the mood for something sweet and indulgent.
How to Serve Homemade Salted Caramel Ice Cream
This ice cream pairs wonderfully with various sides and accompaniments. Here are a few serving suggestions to enhance your dining experience:
Toppings: Top with extra caramel sauce, a sprinkle of sea salt, or even some crushed nuts for added texture and flavor. The possibilities are endless!
As a Dessert: Serve with a slice of warm apple pie or alongside some freshly baked cookies. It’s a match made in heaven.
In a Sundae: Layer this creamy goodness with hot fudge, whipped cream, and a cherry for the ultimate indulgent treat.
Additional Tips
Here are some extra tips to help you get the most out of this recipe:
Make Ahead: Prepare the custard base and caramel a day in advance to save time. Just refrigerate the base and churn it the next day!
Don’t Rush the Freezing: If you can, let the ice cream freeze overnight for the best texture. The longer it freezes, the creamier it gets.
Try Different Salts: If you have different salts on hand, like fleur de sel or smoked salt, give them a try for a fun twist.
Storage Tips: Store leftovers in an airtight container for up to two weeks. You can also let it sit out for a few minutes before serving to make scooping easier.
FAQ Section
Q1: Can I use half-and-half instead of heavy cream?
A1: While half-and-half will work, the ice cream might not be as creamy and rich. Heavy cream gives it that luxurious texture.
Q2: Can I make this recipe without an ice cream maker?
A2: Yes! Pour the chilled mixture into a shallow dish and freeze it, stirring every 30 minutes to break up ice crystals until it’s firm.
Q3: How do I store this ice cream?
A3: Store it in an airtight container in the freezer for up to two weeks. It’s best when eaten within that time for the creamiest texture.
Q4: Can I make this ice cream ahead of time?
A4: Absolutely! It’s a perfect make-ahead dessert. Just make sure to give it plenty of time to freeze.
Q5: Can I add mix-ins to the ice cream?
A5: Yes, you can add chocolate chips, crushed cookies, or even swirl in some fudge sauce after churning for a fun twist.
Q6: How can I make this ice cream dairy-free?
A6: Try using coconut cream instead of heavy cream and a dairy-free milk like almond milk. Make sure to check the other ingredients to be sure they’re dairy-free.
Q7: Can I use salted butter?
A7: Definitely! If you use salted butter, just reduce the amount of salt added to the caramel to balance the flavors.
Q8: How do I make the caramel without burning it?
A8: Stir constantly while the sugar is melting, and keep the heat at medium to low. Be patient—it will turn golden brown eventually!
Q9: Can I use a store-bought caramel sauce instead of making my own?
A9: You can, but homemade caramel has a depth of flavor that really makes this ice cream special. It’s worth the extra effort!
Q10: Can I add coffee to this recipe for a salted caramel mocha flavor?
A10: Yes! Add a bit of instant coffee to the caramel for a rich, mocha twist that will take this ice cream to the next level.
Conclusion
This Homemade Salted Caramel Ice Cream is the definition of indulgence. The rich caramel, the perfect balance of salt, and the creamy texture make every bite feel like a treat. Don’t wait—get your ice cream maker ready and prepare to enjoy the best homemade ice cream you’ve ever had. You deserve it!
Print
Homemade Salted Caramel Ice Cream
- Prep Time: 5 minutes
- Cook Time: 25 minutes (churning)
- Total Time: 4 hours 30 minutes (including freezing)
- Yield: 6 servings
- Category: Dessert
- Method: Churned
- Cuisine: American
- Diet: Low Lactose
Description
Rich, creamy, and perfectly sweet with just the right touch of saltiness, this Homemade Salted Caramel Ice Cream is a game-changer! Made with simple ingredients and no artificial flavors, this is a dreamy summer dessert that’s indulgent and irresistibly smooth.
Ingredients
- Heavy cream
- Whole milk
- Caramel sauce
- Vanilla extract
- Sea salt
Instructions
- Whisk together the heavy cream, whole milk, caramel sauce, vanilla extract, and sea salt in a mixing bowl until smooth.
- Pour the mixture into your ice cream maker and churn for approximately 25 minutes or until it reaches a soft-serve consistency.
- Transfer the churned ice cream into a freezer-safe container, smooth the top, and freeze for at least 4 hours or until fully set.
- Serve in bowls or cones and enjoy!
Notes
- Use homemade caramel sauce for an even richer and more complex flavor.
- Sprinkle with flaky sea salt right before serving for a gourmet touch.
Nutrition
- Serving Size: 1 cup
- Calories: ~320
- Sugar: ~25g
- Sodium: ~210mg
- Fat: ~22g
- Saturated Fat: ~14g
- Unsaturated Fat: ~7g
- Trans Fat: ~0g
- Carbohydrates: ~27g
- Fiber: 0g
- Protein: ~3g
- Cholesterol: ~75mg


