Homemade Butterfinger Ice Cream
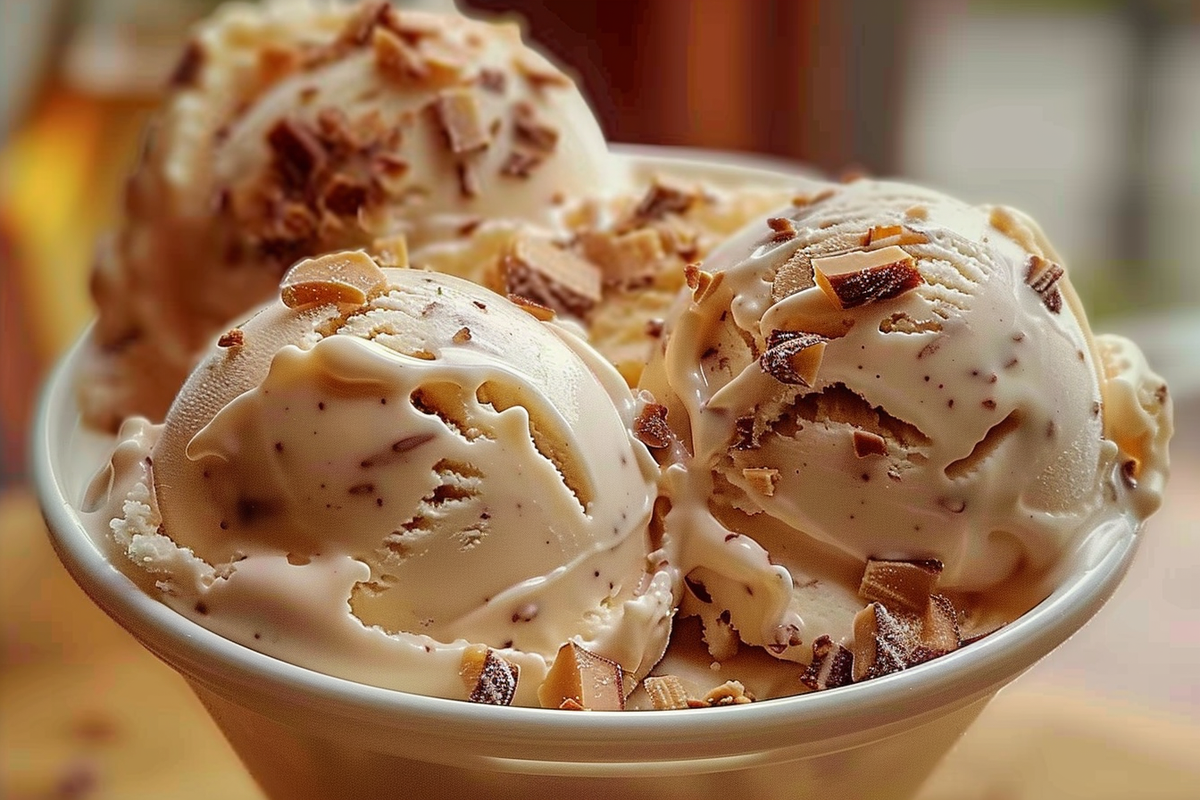
Homemade Butterfinger Ice Cream is a delightful treat that combines the creamy richness of ice cream with the crunchy, peanut buttery goodness of Butterfinger candy bars. This indulgent dessert is perfect for hot summer days or as an after-dinner treat. Making ice cream at home allows you to control the ingredients, ensuring it’s fresh and delicious. Plus, there’s something truly satisfying about creating your own frozen desserts.
Why You Will Love This Recipe
Butterfinger Ice Cream is not just a dessert; it’s an experience. The blend of heavy cream, whole milk, and sugar creates a rich, creamy base that serves as the perfect canvas for the iconic Butterfinger candy bars. Each spoonful is a harmonious combination of smooth and crunchy textures, making it a hit with both kids and adults. Additionally, customizing your ice cream allows you to adjust the sweetness or add more Butterfinger pieces according to your taste. This recipe is a great way to impress friends and family with minimal effort!
Ingredients
The following ingredients are required to create this homemade Butterfinger Ice Cream:
- 2 cups heavy cream
- 1 cup whole milk
- ¾ cup granulated sugar
- 1 tablespoon vanilla extract
- 1½ cups crushed Butterfinger candy bars
- Pinch of salt
Instructions
Step 1: Begin by preparing the ice cream base. In a large mixing bowl, whisk together the heavy cream, whole milk, granulated sugar, vanilla extract, and a pinch of salt. Continue whisking until the sugar is completely dissolved and the mixture is well combined. This step is crucial as it forms the foundation of your ice cream.
Step 2: Next, pour the ice cream mixture into your ice cream maker. Follow the manufacturer’s instructions for churning, which usually takes about 20 to 25 minutes. If you don’t have an ice cream maker, you can place the mixture in a bowl and freeze it, stirring every 30 minutes until it reaches the desired consistency.
Step 3: As the ice cream nears completion in the churner (about 1-2 minutes before it’s done), add the crushed Butterfinger candy bars. This will ensure that the chocolate-peanut butter flavor is evenly distributed throughout the ice cream while maintaining the candy’s delightful crunch.
Step 4: After churning, transfer the ice cream to a freezer-safe container. Smooth the top with a spatula, then cover with a lid or plastic wrap. Freeze for at least 4 hours, or until the ice cream is firm. This final freezing step allows the flavors to meld and the texture to set properly.
Step 5: Once set, your homemade Butterfinger Ice Cream is ready to be served! Scoop into bowls or cones and optionally top with extra Butterfinger crumbles for added crunch. Enjoy your delicious creation!
Pro Tips for Making Homemade Butterfinger Ice Cream
- For best results, ensure your ice cream maker bowl is thoroughly frozen before churning the ice cream base.
- Chill the mixing bowl and whisk in the refrigerator for about 30 minutes before making the ice cream to enhance the icy texture of your finished product.
- Experiment with mix-ins by incorporating other candy bars or cookie crumbles like Oreos for a fun twist on the classic Butterfinger flavor.
- Use high-quality heavy cream and whole milk for the creamiest and richest ice cream.
- Store your Butterfinger ice cream in an airtight container to prevent ice crystals from forming.
FAQs
Can I use another type of candy instead of Butterfinger?
Absolutely! Feel free to substitute Butterfingers with other candy bars like Snickers, Milky Way, or even crushed cookies for different flavor profiles. Just ensure they are crushed into smaller pieces for even distribution.
How long can I store homemade ice cream?
Homemade ice cream can be stored in a freezer-safe container for about 2-3 weeks. For the best texture, try to consume it within the first week.
Do I need an ice cream maker to make this recipe?
No, you can make ice cream without an ice cream maker. Just pour the mixture into a bowl and freeze it, stirring every 30 minutes until it reaches a creamy consistency.
Can I use non-dairy milk for this recipe?
Yes, non-dairy substitutes like almond milk, coconut milk, or oat milk can be used, but the texture and creaminess may vary. You might consider using a higher fat non-dairy milk for the best results.
What can I do if my ice cream is too hard after freezing?
If your ice cream is too hard, let it sit at room temperature for a few minutes before scooping. You can also mix in a little whole milk and stir to soften it to your preference.
Conclusion
Making your own Butterfinger Ice Cream at home is not only simple but also incredibly rewarding. With just a few ingredients and a bit of time, you can create a delicious treat that rivals those found in stores. Whether you’re hosting a party or treating yourself, this homemade ice cream is sure to be a hit. So gather your ingredients and get churning—you won’t regret it!

