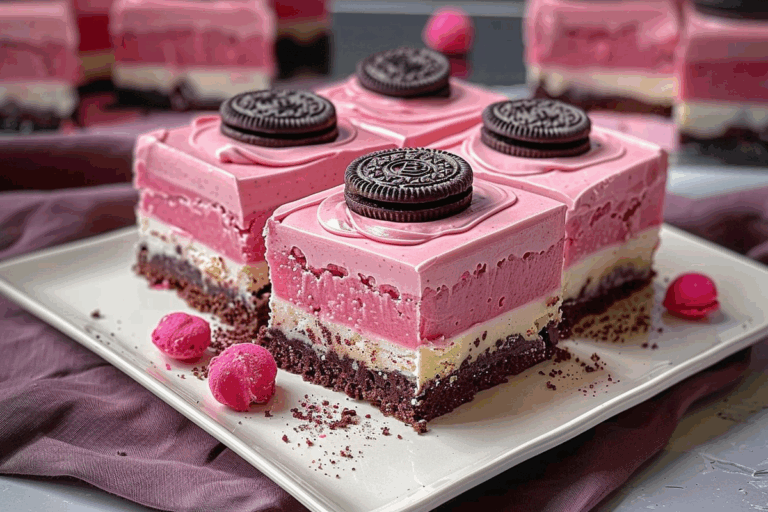
Delicious Cookie Monster Cheesecake
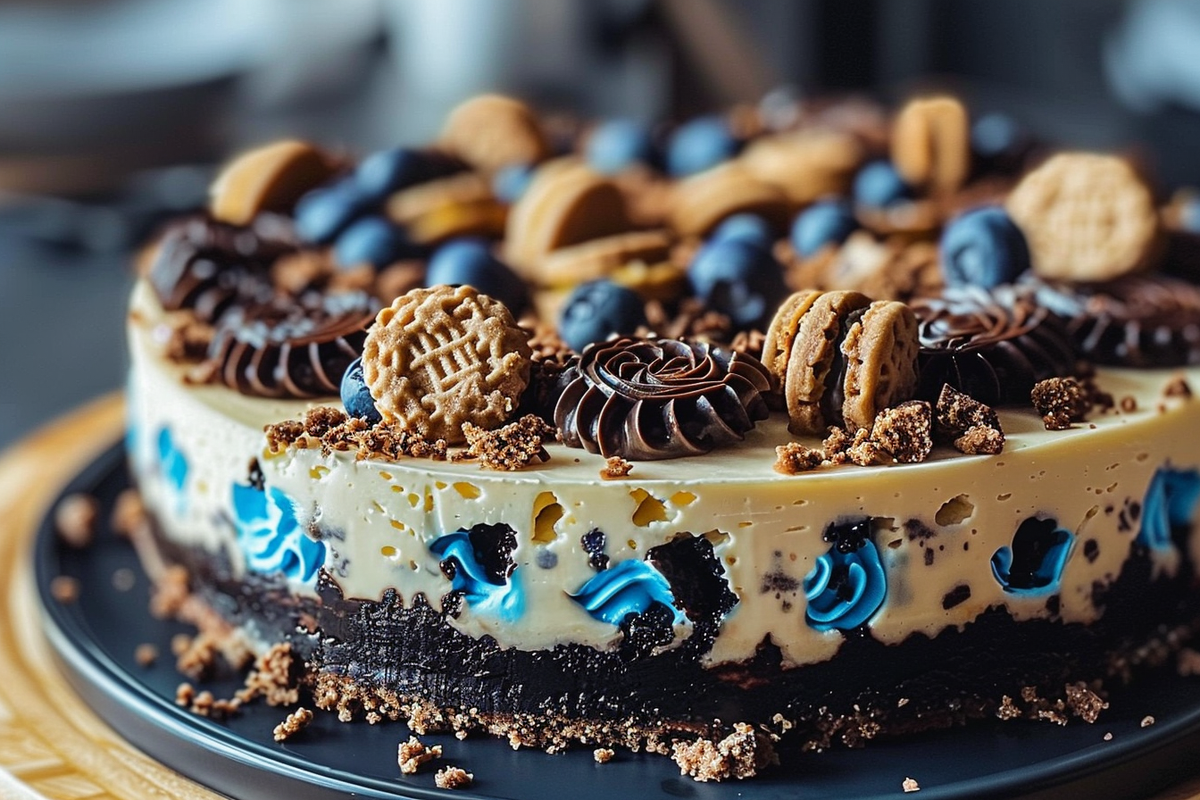
Indulging in a slice of Delicious Cookie Monster Cheesecake is like taking a bite from your childhood. This whimsical dessert features a chewy chocolate chip cookie blondie base topped off with a luscious blue cookies and cream cheesecake layer. Perfect for birthday parties or just because, this cheesecake brings joy with every bite. Let’s dive into the recipe that’ll add a splash of color and flavor to your dessert table!
Why You Will Love This Recipe
This Cookie Monster Cheesecake is not only visually stunning but also combines beloved flavors that everyone adores—chocolate chip cookies and Oreos! The creamy texture of the cheesecake, coupled with the crunchiness of the blondie base and the crushed cookies, delivers a delightful contrast. Plus, it’s a fun baking project that can involve kids, making it great for family bonding or a lively cooking session with friends.
Pro Tips for Making Cookie Monster Cheesecake
- Use gel food coloring for a vibrant blue hue that stands out.
- Ensure your cream cheese is at room temperature for a smooth filling without lumps.
- Let your cheesecake chill overnight for the best texture and flavor.
Ingredients
Here’s everything you need to create this delightful treat:
Chocolate Chip Cookie Blondie:
- 1/2 cup unsalted butter
- 1/2 teaspoon salt
- 1/3 cup brown sugar
- 1 egg
- 1 teaspoon vanilla extract
- 1/2 cup all-purpose flour
- 1/2 cup semisweet mini chocolate chips
Cookies and Cream Cheesecake:
- 16 oz cream cheese
- 2 teaspoons cornstarch
- 1/3 cup granulated sugar
- A pinch of salt
- 1/2 cup whipping cream
- Blue gel food coloring
- 1 teaspoon vanilla extract
- 3 eggs
- 15 regular Oreo cookies, crushed
Chocolate Ganache:
- 3/4 cup semisweet chocolate chips
- 1/2 cup heavy whipping cream
- A pinch of salt
Directions
Creating your Cookie Monster Cheesecake is simple; follow each step for delicious results!
- Step 1: Preheat your oven to 350°F (175°C).
- Step 2: In a saucepan, melt the butter with salt and brown sugar over medium heat, stirring until smooth.
- Step 3: Remove from heat, and mix in the egg and vanilla extract until well combined.
- Step 4: Gently stir in flour and fold in the mini chocolate chips. Spread the mixture into a greased 9-inch springform pan.
- Step 5: Bake for 20-25 minutes until golden. Let cool.
- Step 6: For the cheesecake layer, beat the cream cheese until smooth, then add cornstarch, sugar, and salt.
- Step 7: Gradually mix in the whipping cream, blue gel food coloring, and vanilla until fully incorporated.
- Step 8: Add eggs one at a time, mixing well after each addition, then fold in the crushed Oreos.
- Step 9: Pour the cheesecake batter over the cooled blondie base. Bake in a preheated water bath at 300°F (150°C) for about an hour, or until the center is set. Remove from the oven and cool inside the oven with the door ajar.
- Step 10: Once cooled to room temperature, refrigerate overnight for the best results.
- Step 11: For the ganache, microwave chocolate chips, heavy whipping cream, and salt until smooth, then pour over the chilled cheesecake.
- Step 12: Decorate with cookie pieces and let the ganache set before slicing.
FAQs
1. Can I make the cheesecake ahead of time?
Yes! In fact, allowing it to chill overnight helps enhance the flavors.
2. How should I store leftovers?
Store any leftovers in an airtight container in the fridge. It should last up to a week.
3. Can I use different types of cookies in the recipe?
Absolutely! You can experiment with different cookie types for a unique twist.
4. What can I substitute for the heavy cream?
You can use coconut cream or a dairy-free alternative if you’re looking for a lighter option.
5. How do I prevent cracks in my cheesecake?
Make sure all ingredients are at room temperature and avoid over-mixing the batter. A water bath also helps prevent cracks.
Conclusion
The Delicious Cookie Monster Cheesecake is a delightful treat that brings together the joy of classic cookies and the luxuriousness of cheesecake. Perfect for any celebration or as a sweet indulgence, this recipe is a surefire way to impress your family and friends. Enjoy the process of making it, and don’t forget to savor every colorful bite!

