

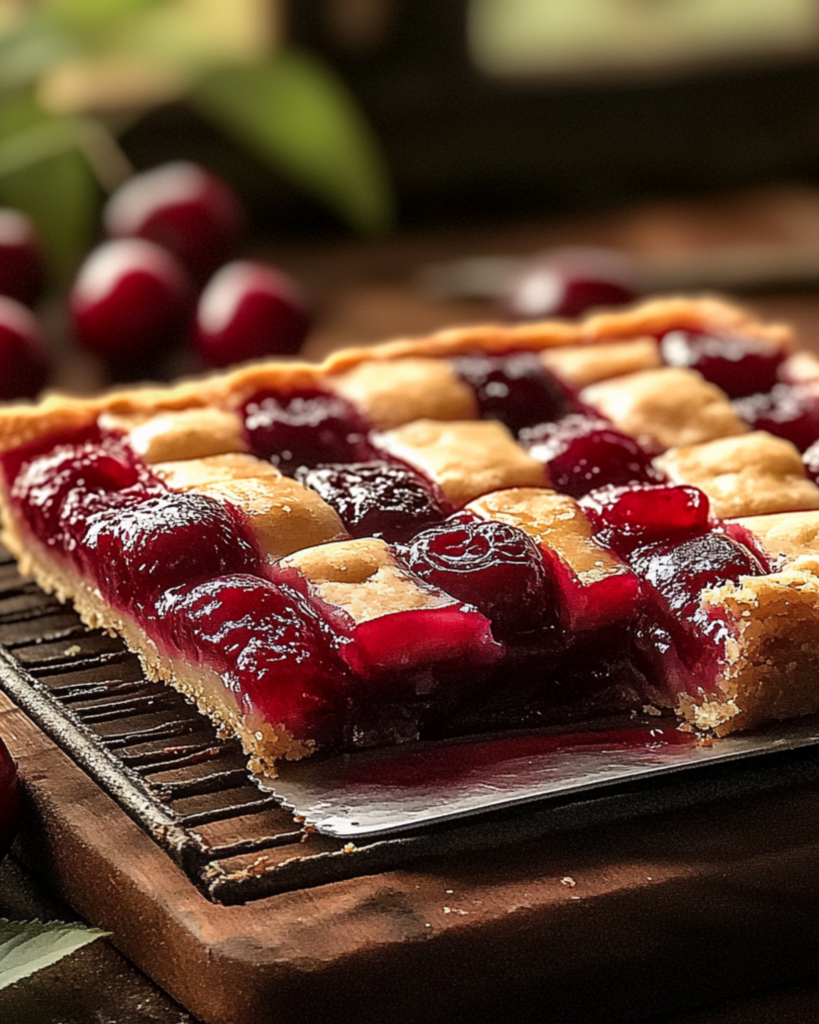
Cherry Bliss Bars: A Slice of Heaven in Every Bite
Let me tell you about these Cherry Bliss Bars, my friend—these are not your average dessert bars. Imagine biting into layers of buttery, melt-in-your-mouth crust topped with luscious, vibrant cherry pie filling and just the right amount of sweetness to make your taste buds dance. Trust me, this one’s a game-changer!
These bars are the kind of treat that makes you nostalgic for family picnics, potlucks, or a cozy Sunday afternoon spent baking something special. The aroma of cherries bubbling away in the oven fills the kitchen with pure happiness, and once they’re ready? Oh, you’re in for a slice of joy you’ll want to share (or maybe not—no judgment here!).
Perfect for any occasion, from casual coffee breaks to celebrations, these bars are versatile, easy to make, and absolutely unforgettable. Ready to bake your way into cherry-filled bliss? Let’s go!
Why You’ll Love Cherry Bliss Bars
- Versatile: These bars fit right in at any gathering or as an indulgent snack for yourself.
- Quick and Easy: Simple ingredients, easy steps, and no special tools required. Perfect even for beginner bakers!
- Crowd-Pleasing: Everyone loves a good cherry dessert—these bars are guaranteed to vanish quickly at any gathering.
- Customizable: Switch up the filling for your favorite fruit, like blueberry or peach, to make it your own.
- Perfectly Balanced: Sweet, buttery, and fruity, these bars have the perfect harmony of flavors and textures.
Disclosure: This post contains affiliate links.If you click and make a purchase, I may earn a small commission at no extra cost to you.


Ingredients in Cherry Bliss Bars
(Note: Full ingredient list with measurements is in the recipe card below.)
- All-Purpose Flour: The foundation of the buttery crust that holds all the magic together.
- Sugar: Sweetens the crust and balances the tartness of the cherries.
- Butter: Adds richness and creates that melt-in-your-mouth texture.
- Eggs: Helps bind everything together for a perfectly firm yet tender bite.
- Cherry Pie Filling: The star of the show! Bursting with juicy cherry flavor and vibrant color.
- Vanilla Extract: A little touch of warmth and depth to elevate the flavor.
Instructions
Step 1: Prep Your Oven
Preheat your oven to [temperature]. This sets the stage for even baking and golden perfection.
Step 2: Mix the Crust
In a mixing bowl, combine [ingredients]. Stir until the mixture resembles coarse crumbs, making sure the butter is evenly distributed.
Step 3: Create the Layers
Press half of the crust mixture into a greased baking dish. Spread the cherry pie filling evenly over the crust. Crumble the remaining crust mixture on top, creating a golden, buttery topping.
Step 4: Bake to Perfection
Place the dish in the oven and bake for [time]. The crust should turn lightly golden, and the cherries should bubble beautifully.
Step 5: Cool and Slice
Let the bars cool completely in the dish before slicing into squares. This ensures neat edges and prevents them from falling apart.
Step 6: Serve and Savor
Enjoy your Cherry Bliss Bars as-is or with a dollop of whipped cream or a scoop of vanilla ice cream. Pure bliss!
How to Serve Cherry Bliss Bars
- With Ice Cream: A scoop of vanilla ice cream is a heavenly pairing.
- With Coffee or Tea: Perfect for an afternoon treat.
- At Parties: Serve on a decorative platter with a sprinkle of powdered sugar for a fancy touch.
- On Their Own: They’re so good, they don’t need anything extra!
FAQ Section
Q1: Can I use fresh cherries instead of canned filling?
A1: Absolutely! Cook fresh cherries with sugar and cornstarch to make your own filling.
Q2: How do I store these bars?
A2: Store in an airtight container at room temperature for up to 2 days or in the fridge for up to a week.
Q3: Can I freeze them?
A3: Yes! Wrap them tightly and freeze for up to 3 months. Thaw at room temperature before serving.
Q4: Can I use a different pie filling?
A4: Totally! Try blueberry, apple, or even raspberry for a twist.
Q5: What’s the best pan size to use?
A5: A 9×13-inch baking dish works perfectly for even layers.
Q6: Can I make these bars gluten-free?
A6: Swap the all-purpose flour with a 1:1 gluten-free flour blend.
Q7: Are these bars too sweet?
A7: They strike the perfect balance, but you can reduce the sugar slightly if you prefer.
Q8: Can I add nuts to the topping?
A8: Yes, chopped almonds or pecans add a lovely crunch!
Q9: Should I serve them warm or cold?
A9: They’re delicious both ways. Warm with ice cream is divine!
Q10: Can I double the recipe?
A10: Definitely. Just use a larger pan and adjust the baking time slightly.
Conclusion
And there you have it—Cherry Bliss Bars that are as delightful to make as they are to eat. These bars are everything you want in a dessert: simple, satisfying, and bursting with flavor. Whether you’re sharing them with loved ones or savoring one with your favorite cup of coffee, they’re guaranteed to bring a little extra joy to your day.
So grab your apron, turn up your favorite playlist, and get baking. Trust me, once you taste that first bite of buttery crust and sweet cherry filling, you’ll know this recipe is a keeper. Enjoy every moment of this cherry-filled bliss—you deserve it!
Print
Cherry Bliss Bars: A Slice of Heaven in Every Bite
- Prep Time: 15 minutes
- Cook Time: 35 minutes
- Total Time: 50 minutes
- Yield: 20 bars
- Category: Dessert
- Method: Baking
- Cuisine: American
- Diet: Gluten Free
Description
These Cherry Pie Bars are everything you love about classic cherry pie in an easy-to-make, shareable bar form! Buttery layers, sweet cherry filling, and a luscious almond glaze make this dessert a guaranteed hit. Perfect for parties, potlucks, or anytime you’re craving a fruity, decadent treat.
Ingredients
- Butter, softened
- Sugar
- Eggs
- Vanilla extract
- Almond extract
- All-purpose flour
- Salt
- Cherry pie filling
- Powdered sugar
- Milk
Instructions
- Preheat the oven to 350°F (175°C) and prepare a 15x10x1-inch pan with non-stick spray.
- In a large bowl, cream together butter and sugar until light and fluffy.
- Beat in eggs one at a time, then stir in vanilla and almond extracts.
- Combine flour and salt in a separate bowl. Gradually mix into the creamed butter mixture.
- Spread 3 cups of batter evenly in the pan. Top with cherry pie filling. Drop spoonfuls of the remaining batter over the filling.
- Bake for 30-35 minutes, or until a toothpick inserted in the center comes out clean. Adjust baking time if using a 9×13-inch pan.
- Cool bars completely on a wire rack.
- For the glaze, whisk together powdered sugar, vanilla extract, almond extract, and milk until smooth. Drizzle over the cooled bars.
- Let the glaze set, then cut into squares and serve.
Notes
- You can substitute other pie fillings for variety, like blueberry or apple.
- Use a larger pan for thinner bars, or a smaller pan for thicker ones (adjust baking time).
- Store leftovers in an airtight container for up to 3 days.
Nutrition
- Serving Size: 1 bar
- Calories: ~230
- Sugar: ~20g
- Sodium: ~120mg
- Fat: ~10g
- Saturated Fat: ~6g
- Unsaturated Fat: ~4g
- Trans Fat: ~0g
- Carbohydrates: ~34g
- Fiber: ~1g
- Protein: ~2g
- Cholesterol: ~40mg


