

Bunny Butt Oreo Balls
Oh my gosh, you’re in for a treat today! I’m about to share with you a recipe that’s as fun as it is delicious—Bunny Butt Oreo Balls! Trust me, these little bite-sized beauties are going to bring a smile to your face and add that perfect touch of sweetness to your celebrations. Whether it’s for an Easter gathering, a birthday party, or just a fun dessert craving, these Oreo balls are your go-to! Picture it: crunchy, creamy, chocolatey, and covered in the softest, sweetest icing—these adorable little balls are as yummy as they are cute. Trust me, you’re going to want to make these today.
Why You’ll Love Bunny Butt Oreo Balls
This recipe isn’t just a dessert—it’s a conversation starter, a mood-lifter, and a total crowd-pleaser. Let me tell you why it’s so irresistible:
Versatile: These Oreo balls are perfect for any occasion. Whether you’re looking for a fun treat for a holiday, a party snack, or just a sweet surprise for yourself (hey, no judgment), these little delights will fit the bill!
Budget-Friendly: You don’t have to break the bank to enjoy these. With just a handful of basic ingredients, you can create a dessert that looks fancy but is easy on the wallet.
Quick and Easy: You’re looking at a no-bake, no-fuss recipe that even beginners will nail on the first try. You won’t need to spend hours in the kitchen—just some mixing, rolling, and a little chill time in the fridge, and voilà!
Customizable: Want to add a bit more flair? You can swap up the toppings, add sprinkles, or even experiment with different kinds of chocolate coatings. These Oreo balls are a canvas for your creativity!
Fun to Make: I mean, who doesn’t love shaping little “bunny butts” and decorating them? It’s a fun, hands-on dessert that’s perfect for getting the kids involved, or just letting loose and having fun in the kitchen.
Disclosure: This post contains affiliate links.If you click and make a purchase, I may earn a small commission at no extra cost to you.


Ingredients in Bunny Butt Oreo Balls
This recipe is pretty straightforward but packed with flavor. Here’s what you’ll need:
Oreos: The star ingredient. The chocolatey crunch is essential for that signature Oreo flavor. You’ll want to crush these up to get that signature “cookie crumble” texture.
Cream Cheese: This is the magic that binds the Oreo crumbs together into the perfect creamy filling. It’s the key to that melt-in-your-mouth texture.
White Chocolate: We’ll use this for the coating, and it adds that smooth, sweet contrast to the rich Oreo filling.
Milk Chocolate: This is for the little details, like the bunny “feet” and “tail.” It gives the Oreo balls their adorable finish.
(Note: The full ingredient list, including measurements, is provided in the recipe card directly below.)
Instructions for Bunny Butt Oreo Balls
Let’s dive into making these sweet treats! They come together so quickly that you’ll be enjoying them in no time.
Step 1: Crush the Oreos
Start by crushing the Oreos into fine crumbs. You can do this by placing them in a zip-top bag and smashing them with a rolling pin, or use a food processor to make it super easy. The more finely crushed, the better the texture of your Oreo balls.
Step 2: Mix with Cream Cheese
In a large bowl, combine the crushed Oreos with softened cream cheese. Mix it all together until it forms a thick, cohesive dough. It should be sticky enough to roll into balls but not too wet. If it’s too dry, add a little more cream cheese.
Step 3: Shape the Balls
Roll the mixture into bite-sized balls, placing them on a parchment-lined baking sheet. Make sure they’re evenly sized so they all set properly. This is where the fun begins—feel free to get creative with the size!
Step 4: Chill the Balls
Pop the tray into the fridge for about 30 minutes. This helps the Oreo balls firm up and makes them easier to dip into the chocolate later. While they chill, melt your white chocolate.
Step 5: Coat with White Chocolate
Once your Oreo balls have firmed up, dip each ball into the melted white chocolate, making sure they’re fully coated. Place them back on the parchment paper to set.
Step 6: Add the Bunny Details
Now for the cutest part—using the milk chocolate, drizzle little feet and tails onto your white-coated Oreo balls to create the bunny butt effect. You can use a piping bag or just a spoon to get creative with the details.
Step 7: Let Them Set
Let your bunny butt Oreo balls chill for another 10 minutes, allowing the chocolate to harden. Once set, they’re ready to serve!
How to Serve Bunny Butt Oreo Balls
These sweet little treats are great on their own, but here are some ways to elevate the experience:
Perfect for Parties: Serve them on a cute tray at your next party or get-together. They’re a guaranteed hit for all ages, and guests will love the bunny theme!
Easter Fun: These are a must-make for Easter baskets or as a centerpiece at your holiday table. They bring a smile to everyone who sees them.
Just Because: Honestly, these Oreo balls are so easy to make, there’s no reason not to enjoy them as an everyday treat! They’re the perfect dessert for any random day you want to add some sweetness to.
Additional Tips
- Make Ahead: You can make the filling a day ahead and keep it stored in the fridge until you’re ready to roll and dip.
- Freeze for Later: If you’re making a big batch or want to save some for later, these freeze beautifully! Just pop them in an airtight container and store them in the freezer for up to a month.
- Flavor Tweaks: Want to switch up the flavor? Try using different kinds of Oreos (mint, peanut butter, etc.) for a fun twist on the classic.
FAQ Section
Q1: Can I use dark chocolate instead of white chocolate?
A1: Absolutely! Dark or milk chocolate works just as well for coating these Oreo balls. It’ll change the flavor a bit, but still delicious!
Q2: Can I make this recipe gluten-free?
A2: Yes! You can use gluten-free Oreos to make this recipe completely gluten-free. Just double-check that your chocolate is also gluten-free.
Q3: Can I freeze these Oreo balls?
A3: Yes! These freeze wonderfully. Just place them in an airtight container and freeze for up to a month. Thaw them for a few minutes before serving.
Q4: How do I store leftover Bunny Butt Oreo Balls?
A4: Store them in an airtight container in the fridge for up to a week. They stay fresh and delicious!
Q5: Can I make these ahead of time?
A5: Yes! These are great for making ahead. Just follow the steps, and you can store them in the fridge or freezer until you’re ready to serve.
Conclusion
So there you have it—your new go-to treat for parties, holidays, or just because you want something deliciously fun! These Bunny Butt Oreo Balls are so easy to make and even easier to devour. Get creative with your bunny designs, have fun, and most importantly—enjoy every bite of these sweet, creamy, chocolatey goodness!
Print
Bunny Butt Oreo Balls
- Prep Time: 20 minutes
- Cook Time: 30 minutes
- Total Time: 50 minutes
- Yield: 24 Oreo balls
- Category: Dessert, Easter Treats
- Method: No-bake, Refrigerated
- Cuisine: American
- Diet: Vegetarian
Description
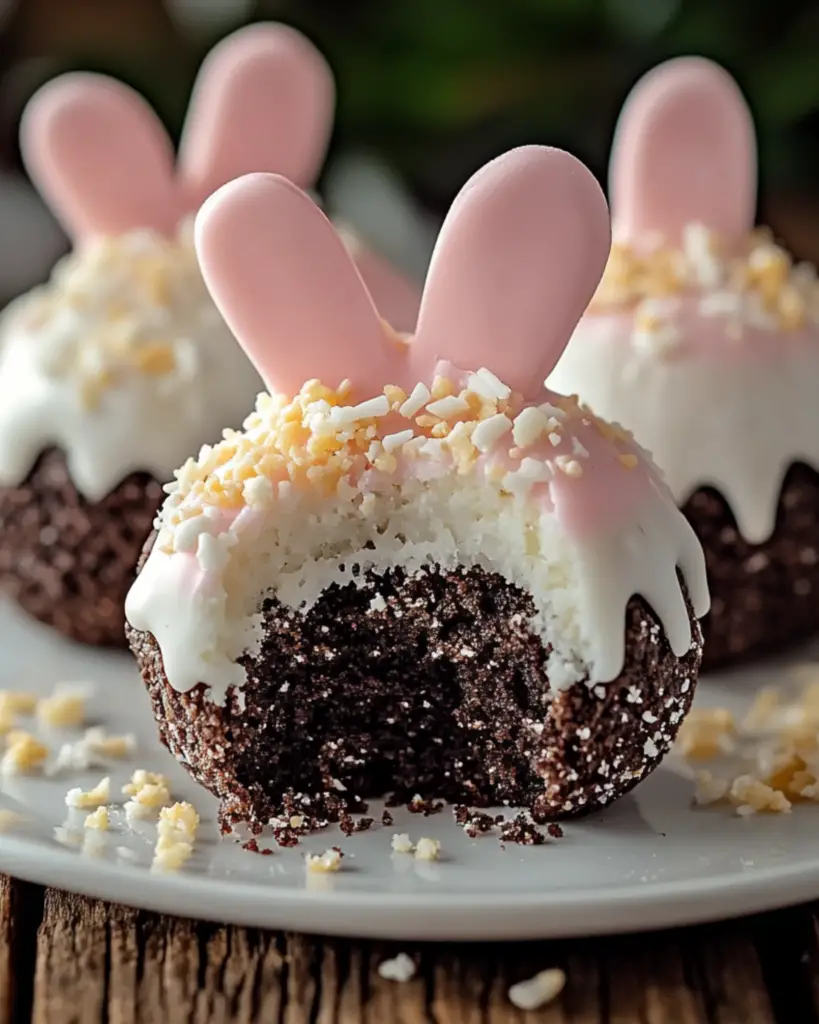
These adorable Bunny Butt Oreo Balls are the perfect Easter treat! With a combination of Oreo cookies, cream cheese, and white chocolate, topped with coconut and pink candy melts for bunny feet and ears. These sweet, fluffy, and fun treats are a hit for Easter celebrations!
Ingredients
- 36 Oreo cookies (classic, not double-stuffed)
- 8 oz cream cheese, softened
- 12 oz white chocolate, melted
- 1 cup shredded coconut
- Pink candy melts (for bunny feet and ears)
Instructions
- Make the Oreo Mixture: In a food processor, pulse Oreo cookies until they become fine crumbs. Add softened cream cheese and mix until a smooth dough forms.
- Shape the Balls: Roll the mixture into 1-inch balls and place them on a parchment-lined baking sheet. Refrigerate for 20-30 minutes, or until firm.
- Coat in White Chocolate: Dip each chilled Oreo ball into melted white chocolate, using a fork to fully coat. Let excess chocolate drip off, then place the coated balls back onto the baking sheet.
- Add the Coconut & Decorations: Immediately sprinkle or roll in shredded coconut to create a fluffy bunny effect. Attach pink candy melts for bunny feet and cut small oval pieces for ears.
- Serve & Enjoy: Allow to set at room temperature or refrigerate for 15 minutes until firm. Display these cute bunny treats on a platter and enjoy!
Notes
- Make sure to use regular Oreo cookies for the best texture and flavor.
- For a smoother coating, let the chocolate cool slightly before dipping the Oreo balls.
- If you can’t find pink candy melts, you can use pink-colored white chocolate or melt some pink candy coating.
Nutrition
- Serving Size: 1 Oreo ball
- Calories: ~180 kcal
- Sugar: 15g
- Sodium: 25mg
- Fat: 11g
- Saturated Fat: 6g
- Unsaturated Fat: 4g
- Trans Fat: 0g
- Carbohydrates: 20g
- Fiber: 1g
- Protein: 1g
- Cholesterol: 15mg


