

The No-Bake Custard Cream Delight
Hey there, dessert lovers! If you’re in the mood for something sweet and silky, but want to skip the oven, then this No-Bake Custard Cream is the answer to all your cravings. Trust me, you’re going to fall head over heels for this dessert. It’s smooth, creamy, and has just the right amount of sweetness that makes every spoonful feel like a hug from the inside out. Plus, it’s ridiculously easy to make—no baking required! You can’t get much better than that.
Imagine a luscious, velvety custard that just melts in your mouth, with a touch of vanilla that fills your senses with comfort. Sounds dreamy, right? And here’s the best part: you don’t need to wait forever to indulge! You’ll be enjoying this dreamy treat in no time. So, get ready to dive into the world of No-Bake Custard Cream—you won’t regret it!
Why You’ll Love No-Bake Custard Cream
This recipe isn’t just about making something sweet—it’s about creating a moment of joy in your day. Here’s why you’ll be reaching for this recipe time and time again:
Versatile: Whether you’re craving something sweet after dinner or need a crowd-pleasing dessert for a party, this custard cream is perfect for any occasion. It’s your go-to dessert that works for any time of the year.
Budget-Friendly: It’s made with simple ingredients that you likely already have at home. No need for fancy or expensive ingredients to create a truly indulgent dessert—this one is a budget-friendly delight!
Quick and Easy: You don’t need to be a pastry chef to make this custard cream. With just a few simple steps, you’ll have a dessert that feels fancy but is super easy to whip up.
Customizable: Want to take it up a notch? Add a dash of cinnamon, a handful of berries, or a sprinkle of chocolate shavings. The flavor possibilities are endless, and it’s so easy to personalize this treat just the way you like it!
Crowd-Pleasing: It’s the kind of dessert that makes everyone smile. Kids, adults, and everyone in between will be asking for more of this silky custard cream. It’s a dessert that brings everyone together—and who doesn’t love that?
Disclosure: This post contains affiliate links.If you click and make a purchase, I may earn a small commission at no extra cost to you.


Ingredients
Here’s the magic of this dessert—it’s made with a handful of pantry staples, but the end result is totally extraordinary! Let’s break down what you’ll need:
Egg Yolks: The rich base of this custard. They give the cream that smooth, velvety texture that makes every bite irresistible.
Sugar: For that perfect touch of sweetness that brings the whole dessert together.
Vanilla Extract: Adds that dreamy, comforting flavor that instantly takes this custard from simple to sensational.
Milk: The creamy liquid that helps everything blend together and gives the custard its smooth consistency.
Cornstarch: The magic ingredient that thickens this custard into a perfect, spoonable texture.
(Note: The full ingredient list, including measurements, is provided in the recipe card directly below.)
Instructions
Let’s dive into the steps to create this creamy masterpiece:
1. Whisk the Egg Yolks and Sugar
In a bowl, whisk the egg yolks and sugar together until smooth and creamy. It’s the base of your custard, so give it some love while you mix!
2. Heat the Milk and Cornstarch
In a saucepan, heat the milk over medium heat. While it’s warming up, mix the cornstarch into a little bit of milk to form a slurry, and then add it to the saucepan. Stir constantly to keep everything smooth as the milk heats up.
3. Temper the Eggs
To avoid scrambling the eggs, we need to slowly warm them up. Gradually pour some of the hot milk mixture into the egg yolks while whisking continuously. This gently brings the eggs to temperature.
4. Combine and Cook
Now, pour the egg mixture back into the saucepan with the remaining milk mixture. Continue cooking over medium heat, whisking constantly, until the custard thickens to your desired consistency.
5. Add the Vanilla
Once the custard has thickened, remove it from the heat and stir in the vanilla extract. The aroma of vanilla will make this dessert even more irresistible!
6. Chill and Serve
Pour the custard into serving dishes and let it cool. Once it reaches room temperature, transfer it to the fridge to chill. After about an hour, your no-bake custard cream will be ready to serve!
How to Serve No-Bake Custard Cream
This custard is delicious on its own, but it’s even better when paired with a few extra treats. Here are a few ideas for how to serve it up:
Fresh Fruit: Add a few slices of strawberries, blueberries, or raspberries on top for a burst of freshness that complements the creaminess of the custard.
Crumbled Cookies: A sprinkle of crushed cookies—think graham crackers or shortbread—will give this creamy dessert a lovely crunch.
Chocolate Shavings: If you’re in the mood for something extra indulgent, top it off with some grated chocolate or chocolate chips.
Whipped Cream: For the ultimate indulgence, add a dollop of fresh whipped cream on top of your custard. It’s the perfect finishing touch.
Additional Tips
- Prep Ahead: This dessert can be made in advance, so it’s a great option for parties or gatherings. Just pop it in the fridge to chill, and you’re good to go.
- Flavor Variations: Feel free to experiment with different extracts—like almond or hazelnut—for a twist on the traditional vanilla flavor.
- Make It Extra Special: If you want to add a little extra flair, serve it in pretty individual cups or mason jars for a cute presentation.
FAQ Section
Q1: Can I substitute the eggs with something else?
A1: For a vegan alternative, you could try using a non-dairy substitute for the eggs, such as cornstarch and coconut milk. The texture might vary slightly, but it’ll still be delicious!
Q2: Can I make this custard ahead of time?
A2: Absolutely! This custard can be made a day or two ahead of time and stored in the fridge until you’re ready to serve.
Q3: How do I store leftovers?
A3: Store any leftover custard in an airtight container in the fridge for up to 3 days.
Q4: Can I freeze this custard?
A4: Freezing isn’t recommended for this recipe, as the custard’s creamy texture may change once thawed. But don’t worry, it’s so quick to make, you won’t have leftovers for long!
Q5: How do I make it extra smooth?
A5: Stir constantly while cooking, and make sure to strain the custard through a fine mesh sieve before chilling to catch any egg bits. You’ll get that smooth, silky texture every time!
Q6: Can I double the recipe?
A6: Of course! Just be sure to use a larger saucepan and adjust the cooking time slightly to accommodate the larger quantity.
Conclusion
This No-Bake Custard Cream is one of those recipes that will quickly become a favorite in your dessert rotation. It’s easy to make, ridiculously creamy, and guaranteed to make anyone who tries it smile. So go ahead, treat yourself (and your loved ones) to this creamy dream—it’s pure joy in a spoonful!
Print
The No-Bake Custard Cream Delight
- Prep Time: 15 minutes (base preparation) + 30 minutes (custard) + 4 hours chilling
- Cook Time: 5-7 minutes (for custard)
- Total Time: 4 hours, 30 minutes
- Yield: 12 servings
- Category: Dessert
- Method: No-Bake
- Cuisine: American, British
- Diet: Vegetarian
Description
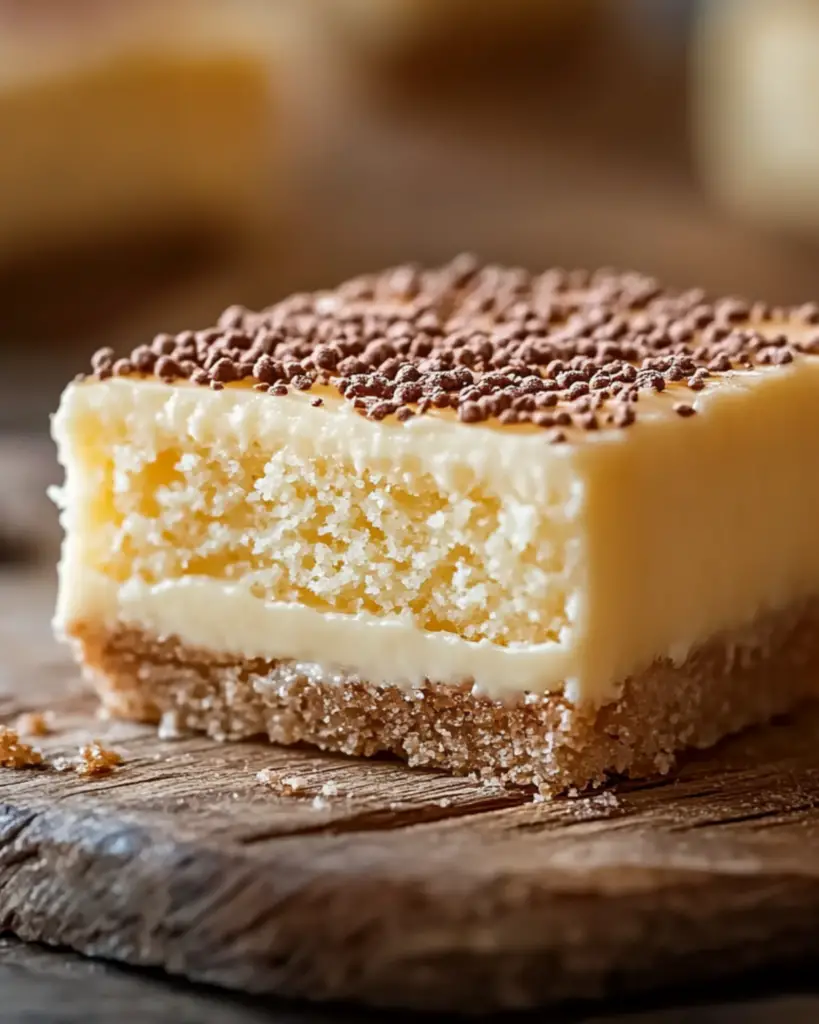
This No-Bake Custard Cream is the perfect dessert for any occasion. With a creamy custard filling over a buttery biscuit base and topped with whipped cream, it’s an indulgent yet easy-to-make treat. Perfect for gatherings or a sweet personal delight
Ingredients
- 200g digestive biscuits, crushed
- 113g unsalted butter, melted
- 480ml whole milk (or dairy-free alternative)
- 120ml heavy cream (or coconut cream for dairy-free)
- 67g sugar
- 25g cornstarch
- 10ml vanilla extract
- 2 egg yolks (or 25g extra cornstarch for egg-free)
- 360ml heavy whipping cream (or coconut cream for dairy-free)
- 25g powdered sugar
- 5ml vanilla extract
- 30g crushed biscuits for garnish
- 8g powdered sugar for garnish
Instructions
- For a dairy-free version, use coconut cream and a dairy-free milk substitute.
- This dessert can be made the day before to allow the flavors to set overnight for best results.
- Feel free to garnish with caramel sauce for an extra touch of elegance.
Notes
- For a dairy-free version, use coconut cream and a dairy-free milk substitute.
- This dessert can be made the day before to allow the flavors to set overnight for best results.
- Feel free to garnish with caramel sauce for an extra touch of elegance.
Nutrition
- Serving Size: 1 slice (1/12 of the dessert)
- Calories: 290 kcal
- Sugar: 16g
- Sodium: 50mg
- Fat: 18g
- Saturated Fat: 9g
- Unsaturated Fat: 7g
- Trans Fat: 0g
- Carbohydrates: 30g
- Fiber: 1g
- Protein: 3g
- Cholesterol: 60mg


