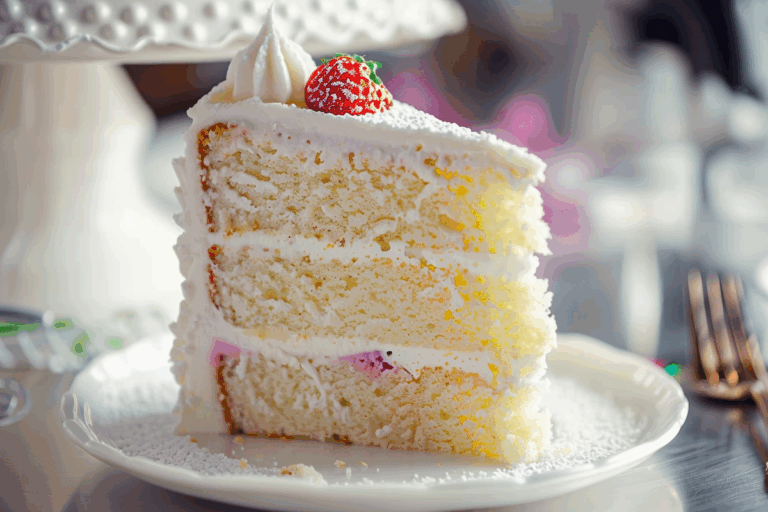
Strawberry Bunny Swiss Roll Cake
Strawberry Bunny Swiss Roll Cake
Welcome to a delightful baking experience with the Strawberry Bunny Swiss Roll Cake! This beautiful creation features a fluffy pink sponge cake rolled with luscious whipped cream and strawberries, finished with charming bunny ear marshmallows. Whether you’re preparing for a special occasion or just treating yourself, this cake is sure to impress with its vibrant colors and delicious flavors. Follow along as we guide you through making this enchanting dessert that combines aesthetics with mouth-watering taste!
Why You Will Love This Recipe
This Strawberry Bunny Swiss Roll Cake is not just visually stunning; it’s also incredibly delicious! The key to its allure is the light and airy sponge cake, which is delectably complemented by the sweet and creamy filling. The addition of fresh strawberries provides a burst of fruity goodness that balances the cake’s sweetness. The playful bunny ear marshmallows add a touch of whimsy to the presentation, making it perfect for Easter gatherings, birthdays, or any springtime celebration. Best of all, this cake is easy to prepare, allowing even novice bakers to create something beautiful and scrumptious!
Pro Tips for Making Strawberry Bunny Swiss Roll Cake
1. Room Temperature Ingredients: Ensure all your ingredients, especially eggs, are at room temperature. This will help achieve a better volume when whipping eggs and sugar together.
2. Sift the Flour: Sifting the cake flour before adding it to the batter helps prevent clumps and ensures a lighter sponge.
3. Avoid Overmixing: When folding in the flour, do so gently. Overmixing can develop gluten, resulting in a dense sponge.
4. Keep the Cake Rolled: Once you bake the sponge, let it cool slightly before rolling it up in parchment paper. This helps maintain its shape and prevents cracking when you unroll it later.
5. Chill Before Serving: Once decorated, chill the cake for a bit before serving. This helps the flavors meld together and makes slicing easier.
Ingredients
To create this delightful Strawberry Bunny Swiss Roll Cake, gather the following ingredients:
Sponge Cake:
- 4 eggs
- 1/2 cup (100g) granulated sugar
- 2/3 cup (80g) cake flour
- 1 tbsp milk
- Pink food coloring (optional)
- 1 tsp vanilla extract
Filling:
- 1 cup (240ml) heavy whipping cream
- 2 tbsp powdered sugar
- 1 tsp vanilla extract
- Fresh strawberries, chopped
Decoration:
- Whipped cream for topping
- Mini strawberries or strawberry slices
- Pink bunny ear marshmallows or marshmallow candy
- Optional: powdered sugar for dusting
Instructions
Step 1: Preheat your oven to 170°C (340°F). Prepare a rectangular baking tray by lining it with parchment paper, ensuring it covers the entire bottom and sides.
Step 2: In a large mixing bowl, beat the eggs and granulated sugar with an electric mixer on medium speed until the mixture becomes pale and fluffy, approximately 5 to 7 minutes. This aeration is crucial for a light sponge cake.
Step 3: Gently sift in the cake flour and carefully fold it into the egg mixture using a spatula. Take care not to deflate the batter. Then, add the milk, vanilla extract, and pink food coloring (if using), and mix lightly until combined.
Step 4: Pour the batter into the prepared baking tray, spreading it evenly with a spatula. Bake in the preheated oven for about 10 to 12 minutes, or until the cake is lightly golden and springs back when touched.
Step 5: Once baked, let the sponge cake cool for a few minutes. Then, place another sheet of parchment paper on top and roll the cake gently while it is still warm. Roll it from one short end to the other, creating a log. Allow it to cool in this shape, which helps retain the roll.
Step 6: In a separate bowl, whip the heavy cream, powdered sugar, and vanilla extract until stiff peaks form. This creamy filling will be the perfect contrast to the sponge cake.
Step 7: Carefully unroll the cooled sponge cake, removing the top layer of parchment paper. Spread the whipped cream evenly over the cake, then sprinkle with the chopped strawberries. Gently roll the cake back up, starting from one end, making sure it is tight but not overly so.
Step 8: Once rolled, wrap the cake in plastic wrap and refrigerate for at least 30 minutes to allow the filling to set.
Step 9: When ready to serve, remove the cake from the refrigerator. Pipe additional whipped cream on top, and decorate with halved strawberries and cute bunny ear marshmallows. If desired, dust with powdered sugar for an extra touch of sweetness.
FAQs
Can I use a different flavor of fruit for the filling?
Absolutely! While strawberries pair beautifully with whipped cream, you can substitute with other fruits like raspberries, blueberries, or even peaches depending on your preference.
What should I do if my sponge cake cracks?
If your sponge cake cracks during the rolling process, don’t worry! A thin layer of whipped cream can help camouflage the cracks when you frost the cake. Go with a rustic presentation; baking is all about creativity!
How can I store the leftover Swiss roll cake?
The Swiss roll cake can be stored in an airtight container in the refrigerator for up to 3 days. Make sure to slice it before serving for easy access.
Can I freeze the Swiss roll cake?
Yes, you can freeze the Swiss roll cake. After filling and rolling, wrap it tightly in plastic wrap and aluminum foil, and it should last up to 2 months in the freezer. Thaw in the refrigerator before serving.
What type of food coloring is best to use?
For this recipe, gel food coloring is recommended as it provides a vibrant color without altering the cake’s texture. However, liquid food coloring can also be used in moderation.
Conclusion
The Strawberry Bunny Swiss Roll Cake is a delightful and whimsical dessert that is sure to impress your guests and make celebrations extra special. With its fluffy sponge, creamy filling, and adorable decorations, it’s not only a treat for the taste buds but also for the eyes. Give this recipe a try, and enjoy the smiles and compliments that follow!


