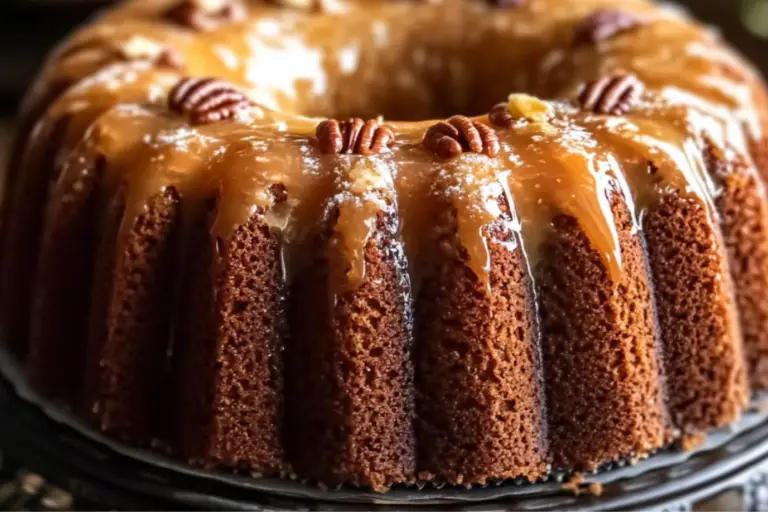
High Protein Cheesecake that Satisfies Cravings
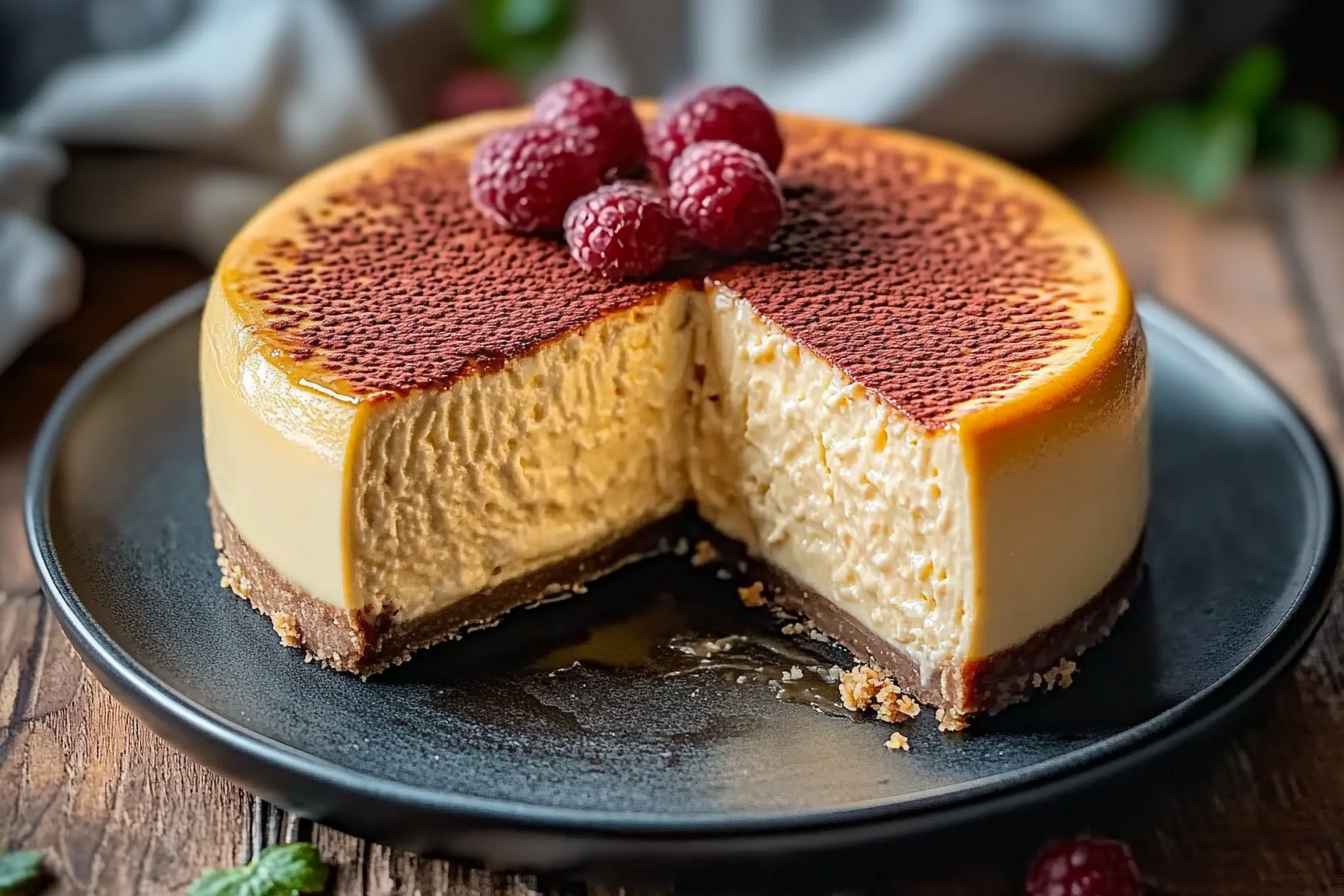
Indulge your sweet tooth without the guilt with this delightful Protein Cheesecake. This creamy and delicious treat not only satisfies your cravings but also fuels your fitness goals, making it the perfect dessert for health-conscious individuals.
Why You’ll Love This Recipe
- Guilt-Free Indulgence: Enjoy the rich taste of cheesecake while staying aligned with your health goals.
- High in Protein: Each slice is packed with protein to help keep you full and satisfied.
- Easy to Make: With simple steps and ingredients, you can whip up this delightful dessert in no time.
- Customizable: Tailor the flavors and toppings to suit your taste preferences or dietary needs.
- Perfect for Any Occasion: Whether it’s a casual weeknight or a special celebration, this cheesecake fits the bill.
Ingredients You’ll Need
The ingredients for this Protein Cheesecake are simple yet essential, each contributing to the incredible flavor and smooth texture of this dessert. Here’s what you need to gather:
- Low-Fat Cream Cheese: Provides the rich, creamy base without the extra calories.
- Greek Yogurt: Adds creaminess and extra protein while keeping it light.
- Protein Powder: Boosts the protein content and enhances the cheesecake flavor.
- Honey or Maple Syrup: A natural sweetener to satisfy your sweet tooth.
- Vanilla Extract: Enhances the overall flavor profile, making it extra delicious.
- Eggs: Help bind the ingredients together for a perfect texture.
- Graham Cracker Crust: A classic base that adds a delightful crunch to each bite.
Note: the full ingredients list, including measurements, is provided in the recipe card directly below.
Variations for Protein Cheesecake
Feel free to get creative with your Protein Cheesecake! This recipe is wonderfully adaptable, allowing you to customize it based on what you have on hand or your personal preferences. Here are some fun variations:
- Chocolate Protein Cheesecake: Add cocoa powder for a rich chocolate flavor that will satisfy chocolate lovers.
- Fruit-Infused: Mix in pureed fruits like strawberries or blueberries for a fresh twist.
- Nut Butter Swirl: Incorporate almond or peanut butter for a nutty flavor that complements the cheesecake.
- Cheesecake Bars: Pour the batter into a baking dish and cut into bars for easy serving.
- Vegan Option: Use a dairy-free cream cheese alternative and flax eggs for a plant-based version.

Disclosure: This post contains affiliate links.If you click and make a purchase, I may earn a small commission at no extra cost to you.
How to Make Protein Cheesecake
Step 1: Prepare the Crust
Start by preheating your oven to 350°F (175°C). In a bowl, mix crushed graham crackers with melted butter until evenly combined. Press the mixture firmly into the bottom of a springform pan to form a crust. Bake for about 10 minutes or until golden brown, then let it cool.
Step 2: Mix the Filling
In a large mixing bowl, combine the low-fat cream cheese, Greek yogurt, protein powder, honey or maple syrup, vanilla extract, and eggs. Use a hand mixer or stand mixer to blend until the mixture is smooth and creamy. Be sure to scrape down the sides of the bowl to incorporate all ingredients.
Step 3: Pour and Bake
Pour the cheesecake filling over the cooled crust, smoothing the top with a spatula. Bake in the preheated oven for about 30-35 minutes, or until the center is set but slightly jiggly. Remove from the oven and let it cool at room temperature before refrigerating.
Step 4: Chill
Once the cheesecake has cooled, cover it with plastic wrap and refrigerate for at least 4 hours, or overnight for best results. This chilling time allows the flavors to meld beautifully.
Pro Tips for Making Protein Cheesecake
- Room Temperature Ingredients: Ensure your cream cheese and eggs are at room temperature for a smoother batter.
- Don’t Overmix: Mix just until combined to avoid a dense texture in your cheesecake.
- Water Bath Method: For a creamier texture, consider baking the cheesecake in a water bath.
- Let It Cool Gradually: Allow the cheesecake to cool slowly to prevent cracking.
- Top with Fresh Fruit: Adding a layer of fresh fruit just before serving enhances both flavor and presentation.
How to Serve Protein Cheesecake
Garnishes
Garnishing your Protein Cheesecake can elevate its presentation and flavor. Consider using a dollop of whipped cream, a drizzle of chocolate sauce, or a sprinkle of fresh berries to make it even more enticing.
Side Dishes
Pair your cheesecake with a light fruit salad or a scoop of low-fat ice cream for a delightful contrast in flavors and textures.
Creative Ways to Present
Serve individual portions in mason jars or cupcakes for a fun and portable dessert option. You can also layer the cheesecake mixture with fruit in clear cups for a beautiful display.
Make Ahead and Storage
Storing Leftovers
Leftover Protein Cheesecake can be stored in the refrigerator for up to five days. Just cover it with plastic wrap or place it in an airtight container to keep it fresh.
Freezing
You can freeze your Protein Cheesecake for up to three months. Wrap it tightly in plastic wrap and then foil before placing it in the freezer. This way, you can enjoy it later without losing its delicious flavor.
Reheating
To serve a previously frozen cheesecake, simply move it to the refrigerator to thaw overnight. If you prefer it warm, you can place individual slices in the microwave for about 10-15 seconds to slightly warm them up.
FAQs
Can I use a different sweetener?
Yes, you can substitute honey or maple syrup with stevia or any other sweetener you prefer. Just adjust the quantity according to taste.
Is there a dairy-free option for this recipe?
Absolutely! You can use dairy-free cream cheese and yogurt alternatives to make a delicious vegan Protein Cheesecake.
How can I tell when the cheesecake is done baking?
The cheesecake is done when the edges are set and the center is slightly jiggly. It will firm up as it cools.
Can I make this cheesecake in advance?
Yes! This Protein Cheesecake is perfect for making ahead of time. It tastes even better after chilling overnight.
What can I use for a crust if I don’t have graham crackers?
You can use crushed nuts, oats, or even gluten-free cookies as an alternative for the crust. Just make sure to adjust the butter or oil accordingly.
Final Thoughts
I hope you feel inspired to try this delightful Protein Cheesecake recipe. It’s a fantastic way to indulge your sweet tooth while staying on track with your health goals. Enjoy every creamy, delicious bite and share your creations with friends and family!
Related Posts
- Refreshing Strawberry Pineapple Pound Cake Treat
- No Bake Crispy Snickers Bars for Sweet Tooth Indulgence
- Delightful Gooey Butter Cake Bars You’ll Love

Protein Cheesecake
- Prep Time: 20 minutes
- Cook Time: 45 minutes
- Total Time: 4 hours 5 minutes
- Yield: 8 servings 1x
- Category: Dessert
- Method: Baking
- Cuisine: American
- Diet: Low Fat
Description
Indulge your sweet tooth without the guilt with this delightful Protein Cheesecake, a creamy treat that fuels your fitness goals and satisfies cravings.
Ingredients
Crust
- 1 1/2 cups crushed graham crackers
- 1/4 cup melted butter
Cheesecake Filling
- 16 oz low-fat cream cheese
- 1 cup Greek yogurt
- 1/2 cup protein powder
- 1/3 cup honey or maple syrup
- 1 tsp vanilla extract
- 3 large eggs
Instructions
- Prepare the Crust: Preheat your oven to 350°F (175°C). In a bowl, mix crushed graham crackers with melted butter until evenly combined. Press the mixture firmly into the bottom of a springform pan to form a crust. Bake for about 10 minutes or until golden brown, then let it cool.
- Mix the Filling: In a large mixing bowl, combine the low-fat cream cheese, Greek yogurt, protein powder, honey or maple syrup, vanilla extract, and eggs. Use a hand mixer or stand mixer to blend until the mixture is smooth and creamy. Be sure to scrape down the sides of the bowl to incorporate all ingredients.
- Pour and Bake: Pour the cheesecake filling over the cooled crust, smoothing the top with a spatula. Bake in the preheated oven for about 30-35 minutes, or until the center is set but slightly jiggly. Remove from the oven and let it cool at room temperature before refrigerating.
- Chill: Once the cheesecake has cooled, cover it with plastic wrap and refrigerate for at least 4 hours, or overnight for best results. This chilling time allows the flavors to meld beautifully.
Notes
- Room Temperature Ingredients: Ensure your cream cheese and eggs are at room temperature for a smoother batter.
- Don’t Overmix: Mix just until combined to avoid a dense texture in your cheesecake.
- Water Bath Method: For a creamier texture, consider baking the cheesecake in a water bath.
- Let It Cool Gradually: Allow the cheesecake to cool slowly to prevent cracking.
- Top with Fresh Fruit: Adding a layer of fresh fruit just before serving enhances both flavor and presentation.
Nutrition
- Serving Size: 1 slice
- Calories: 150
- Sugar: 10g
- Sodium: 200mg
- Fat: 5g
- Saturated Fat: 3g
- Unsaturated Fat: 2g
- Trans Fat: 0g
- Carbohydrates: 15g
- Fiber: 1g
- Protein: 10g
- Cholesterol: 30mg

