Pink Oreo Dream Bars
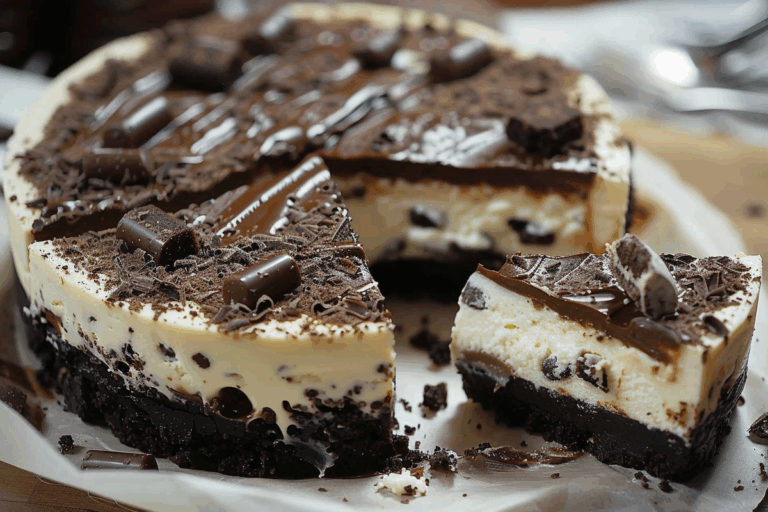
Indulge your sweet tooth with Pink Oreo Dream Bars, a delightful dessert that merges classic Oreo flavors with a stunning pink flair. Perfect for parties or an everyday treat, these bars will not only satisfy your sugar cravings but also impress your guests with their pretty presentation. No baking is required, which makes the recipe both simple and rewarding!
Why You Will Love This Recipe
Pink Oreo Dream Bars are a feast for your eyes and taste buds. The creamy filling combined with the crunchy Oreo base creates a perfect balance of textures. The vibrant pink hue from the food coloring adds a whimsical touch, making it a hit for celebrations like birthdays, bridal showers, or even just a cozy night in. With easy-to-follow steps and minimal ingredients, you’ll find this recipe irresistible.
Pro Tips for Making Pink Oreo Dream Bars
- Use Fresh Ingredients: Ensure your cream cheese and heavy cream are fresh for optimal flavor and texture.
- Chill Thoroughly: Allow the bars to chill for at least four hours to ensure they set properly.
- Adjust Food Coloring: Start with a few drops of pink food coloring and add more until you achieve your desired shade.
- Freeze Before Cutting: For cleaner cuts, freeze the bars for 20 minutes before slicing.
- Creative Toppings: Besides whipped cream and Oreo pieces, consider adding sprinkles or fresh berries for added flair!
Ingredients
Here’s everything you need to whip up your Pink Oreo Dream Bars:
-
Base Layer:
- 2 cups Oreo cookie crumbs
- ½ cup unsalted butter, melted
-
Filling:
- 2 cups cream cheese, softened
- 1 cup powdered sugar
- 2 cups heavy cream
- 1 tsp vanilla extract
- Pink food coloring (to desired shade)
-
Topping:
- 1 cup white chocolate, melted
- 6 Oreo cookies, for garnish
- Whipped cream (for decoration)
Instructions
Follow these easy steps to create your Pink Oreo Dream Bars:
- Step 1: Combine Oreo cookie crumbs and melted butter in a mixing bowl. Stir until evenly mixed.
- Step 2: Press the Oreo mixture firmly into the bottom of an 8×8-inch pan to form a crust.
- Step 3: Place the crust in the refrigerator and let it chill for 30 minutes to firm up.
- Step 4: In a separate bowl, beat the softened cream cheese, powdered sugar, and vanilla extract until smooth and creamy.
- Step 5: In another bowl, whip heavy cream until soft peaks form.
- Step 6: Gently fold the whipped cream into the cream cheese mixture until combined.
- Step 7: Divide the filling in half. Tint one half with pink food coloring to achieve desired shade.
- Step 8: Spread the white filling over the chilled crust evenly.
- Step 9: Gently spread the pink filling on top of the white layer.
- Step 10: Chill the bars in the refrigerator for at least 4 hours or until set.
- Step 11: Once set, pour the melted white chocolate over the top and spread evenly.
- Step 12: Decorate with whipped cream and whole Oreo cookies before serving.
- Step 13: Cut into bars or squares and enjoy your decadent pink treat!
Frequently Asked Questions (FAQs)
-
Can I use other cookies instead of Oreos?
Yes, you can experiment with other cookies such as chocolate wafer cookies or graham crackers for a different flavor. -
How do I store leftovers?
Store any leftovers in an airtight container in the refrigerator for up to 5 days. -
Can I make these bars in advance?
Absolutely! They can be made up to 2 days ahead of time and stored in the refrigerator until serving. -
Is there a vegan alternative for this recipe?
Yes, use plant-based cream cheese, vegan whipped cream, and vegan cookies to create a delicious vegan version. -
What’s the best way to cut these bars?
For clean slices, you can freeze the bars for about 20 minutes before cutting them into squares.
Conclusion
Pink Oreo Dream Bars are a delightful treat that combines the classic flavors of Oreos with a creamy, colorful twist. The simplicity of this no-bake recipe makes it perfect for any occasion. Whether you’re celebrating a special event or simply treating yourself, these bars deliver flavor and visual appeal. Try them today and watch them become a favorite at your gatherings!


