No-Oven Stovetop Bread
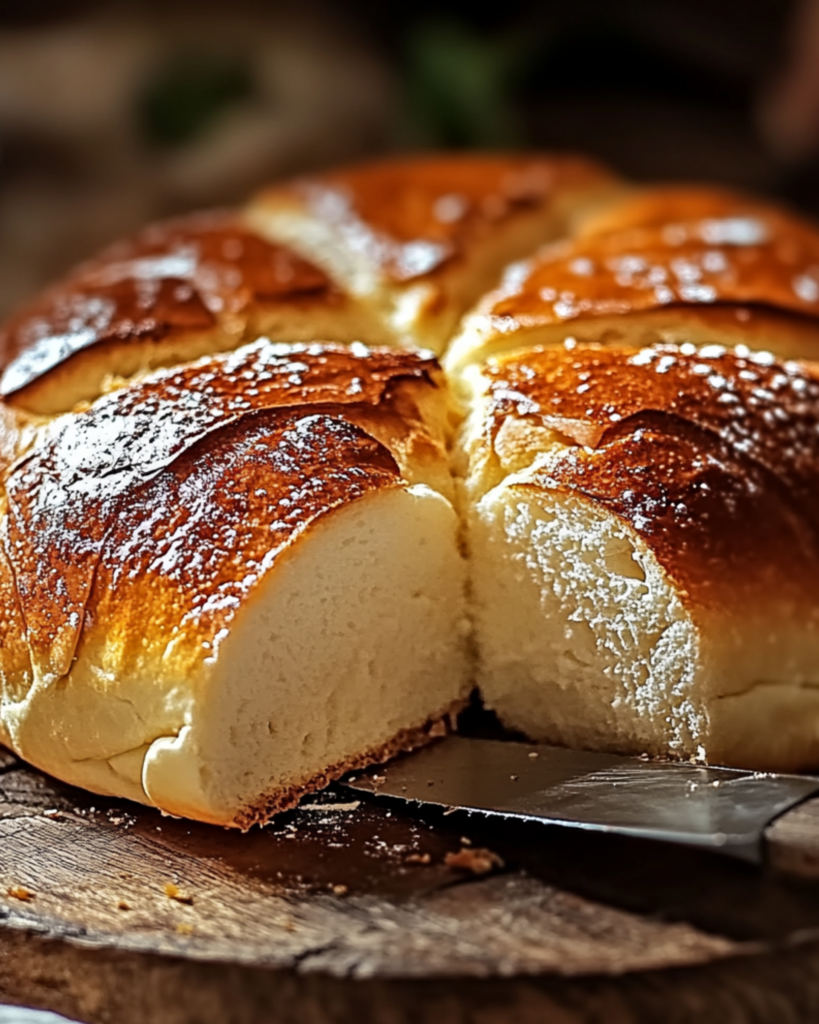
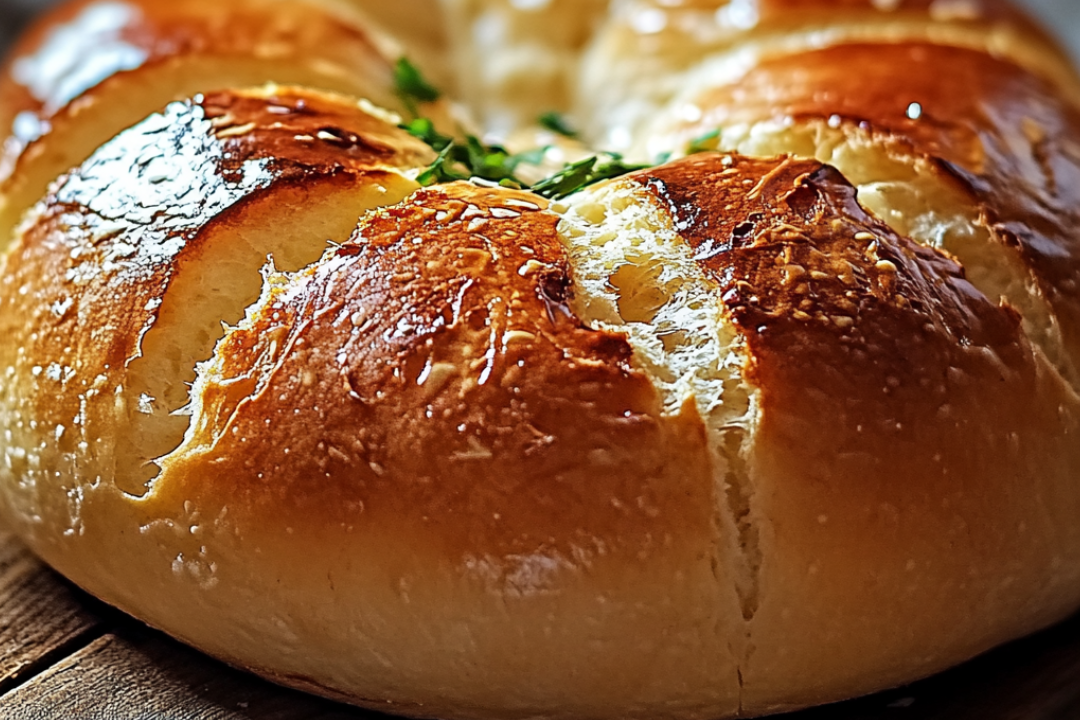
Picture this: warm, freshly baked bread right from your stove, no oven needed. That golden crust, soft and fluffy on the inside, ready to slather with butter or dip in soup. Yes, you read that right—this stovetop bread is the game-changer your kitchen has been waiting for. Trust me, once you try it, you’ll wonder why you ever bothered with the oven. Simple ingredients, minimal effort, and maximum flavor—it’s bread made easy!
Why You’ll Love No-Oven Stovetop Bread
This recipe isn’t just about making bread—it’s about bringing a little comfort into your day, and here’s why:
Versatile
Whether it’s a casual dinner with family or a fancy brunch, this bread fits the bill. Serve it alongside your favorite soups, stews, or a hearty salad, or just enjoy it warm with a smear of butter. It’s perfect for any meal or any occasion.
Budget-Friendly
This is the bread you make when you want something fresh and satisfying but don’t want to break the bank. You probably have most of the ingredients in your pantry already—simple, reliable staples that come together to create a masterpiece.
Quick and Easy
No dough rising, no preheating the oven—just a few ingredients, some mixing, and you’re almost there. In under an hour, you’ll be savoring the smell of homemade bread. It’s that easy!
Customizable
Add herbs, garlic, cheese, or even a handful of nuts and dried fruit to change up the flavor. It’s a blank canvas for your creativity!
Crowd-Pleasing
Who doesn’t love homemade bread? This simple recipe is guaranteed to please even the pickiest of eaters. Serve it with a little jam, some cheese, or just enjoy it on its own—you’ll have everyone reaching for seconds.
Disclosure: This post contains affiliate links.If you click and make a purchase, I may earn a small commission at no extra cost to you.
Ingredients
Here’s what you need to bring this bread to life:
All-Purpose Flour
The foundation of the bread—soft, smooth, and perfect for making a light, fluffy loaf.
Baking Powder
The secret to making this bread rise without any yeast. It gives the bread that lovely, airy texture.
Salt
To enhance all the flavors and give your bread a little extra depth.
Butter
For that rich, comforting flavor and a slightly flaky texture. You can use melted butter or softened butter, whichever you prefer.
Milk
To bring everything together and add moisture to the dough. You can also use a dairy-free milk alternative.
Olive Oil
Adds flavor and helps keep the bread soft and tender.
Instructions
Ready to make this bread? Let’s do it!
Mix the Dry Ingredients
In a large bowl, whisk together the flour, baking powder, and salt. This will help distribute the baking powder evenly throughout the flour for a perfect rise.
Add the Wet Ingredients
Now, add the melted butter, olive oil, and milk. Mix until everything is combined into a soft dough. Don’t worry if it’s a little sticky—just make sure it’s well-mixed!
Shape the Dough
Transfer the dough onto a lightly floured surface and shape it into a round or oval loaf. No need to get fancy—just make sure it’s the right size to fit in your pan.
Cook on the Stovetop
Heat a large, heavy-bottomed pan (preferably with a lid) over medium heat. Once it’s hot, add a small amount of oil to the pan, and place your shaped dough in it. Cover the pan and cook for about 25-30 minutes, flipping halfway through to ensure even cooking on both sides.
Check for Doneness
Once the bread has a nice golden crust on both sides, it’s done! You can test it by tapping the bottom of the bread—it should sound hollow.
Serve and Enjoy
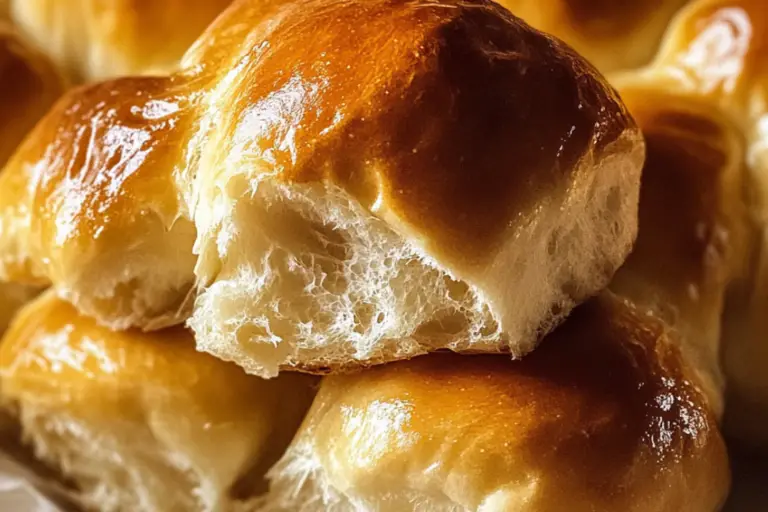
Let it cool for just a minute, slice it up, and enjoy the warm, comforting taste of homemade bread without turning on the oven.
Nutrition Facts
- Servings: 1 portion
- Calories per serving: 150
How to Serve No-Oven Stovetop Bread
Now that you’ve got your fresh loaf, here’s how to serve it for maximum enjoyment:
With Soup
There’s no better pairing than a hot bowl of soup and a slice of this warm bread. Whether it’s tomato, butternut squash, or a chunky vegetable soup, this bread is the perfect dipper.
With Butter and Jam
For a simple, comforting snack, spread some butter on a warm slice and top it with your favorite jam. It’s like a little piece of heaven in every bite.
With Cheese
For a savory option, serve this bread alongside some cheese and charcuterie. It makes for a fantastic appetizer or snack.
As a Side Dish
Serve this bread with just about any meal. It’s great with roasted vegetables, grilled meats, or even a big salad.
Additional Tips
Here are a few ways to make this bread even more amazing:
Add Flavor Variations
Feel free to stir in herbs, garlic powder, or even grated cheese into the dough for an extra layer of flavor.
Make It Sweet
Want something sweet? Try adding a touch of sugar and cinnamon to the dough for a slightly sweet twist.
Store It Properly
This bread is best eaten fresh, but you can store leftovers in an airtight container for up to 2 days. Reheat slices in a pan for a crispy crust.
Double the Recipe
Planning to feed a crowd? Double the recipe and make two loaves! It freezes well, too—just wrap the loaf tightly in plastic wrap and freeze for up to 3 months.
FAQ
Q1: Can I use whole wheat flour instead of all-purpose flour?
A1: Yes, you can! Whole wheat flour will give the bread a slightly denser texture, but it’ll still be delicious.
Q2: Can I make this gluten-free?
A2: Absolutely! Use a gluten-free flour blend, and make sure it contains xanthan gum to help with the texture.
Q3: What if I don’t have a lid for my pan?
A3: No problem! Just cover the pan with a large, heatproof plate or another pan that fits on top. The goal is to trap the heat and steam.
Q4: How do I store leftover bread?
A4: Store any leftover bread in an airtight container at room temperature for up to 2 days. For longer storage, wrap it tightly in plastic and freeze.
Q5: Can I add more butter to the dough?
A5: You can! More butter will make the bread richer and slightly more tender. Just be mindful not to add too much—it could affect the texture.
Q6: How can I make the bread crustier?
A6: If you want a crunchier crust, heat the pan over higher heat and cook the bread for a little less time, flipping it a couple of times.
Q7: Can I add cheese to the dough?
A7: Yes! Cheese adds a fantastic savory touch. Try adding sharp cheddar, parmesan, or your favorite meltable cheese.
Q8: Is this recipe vegan?
A8: You can make this vegan by swapping the butter for a plant-based butter and using a non-dairy milk.
Q9: How can I make this bread sweeter?
A9: For a sweeter bread, add a couple of tablespoons of sugar or honey to the dough. It’s perfect for a breakfast treat!
Q10: Can I make this bread without oil?
A10: Yes, you can skip the olive oil, but it’ll change the texture slightly. You can replace it with more butter or simply leave it out.
Conclusion
This No-Oven Stovetop Bread is a total game-changer. It’s easy, quick, and so satisfying. Whether you’re serving it with soup, spreading butter and jam, or just enjoying it on its own, it’s a recipe that will make you feel like a pro in the kitchen—even if you’re not. Trust me, you’ll love it, and you’ll be making it on repeat.
Print
No-Oven Stovetop Bread
- Prep Time: 10 minutes
- Cook Time: 20–30 minutes
- Total Time: 1 hour 40 minutes (including rising time)
- Yield: 2–4 portions
- Category: Bread
- Method: Stovetop
- Cuisine: American
- Diet: Vegetarian
Description
This simple stovetop bread is soft, fluffy, and perfect for those who don’t want to turn on the oven. With just a few ingredients, you can make this easy homemade bread right on your stovetop. Serve warm with butter for a delicious treat!
Ingredients
- 2 ½ cups all-purpose flour
- 1 teaspoon sugar
- 1 teaspoon salt
- 1 teaspoon instant yeast
- 3/4 cup warm water (110°F or 45°C)
- 2 tablespoons olive oil
Instructions
- Prepare the Dough: In a large mixing bowl, combine the all-purpose flour, sugar, salt, and instant yeast. Gradually add warm water and olive oil, stirring until a dough forms.
- Knead the Dough: Transfer the dough to a floured surface and knead for about 8–10 minutes until it becomes smooth and elastic.
- Let It Rise: Place the kneaded dough in a greased bowl, cover it with a clean kitchen towel, and let it rise in a warm place for 1 hour, or until it doubles in size.
- Shape the Dough: Once risen, punch down the dough to release air bubbles. Divide it into 2–4 equal portions, depending on the size of bread you prefer. Shape each portion into rounds or ovals.
- Cook on the Stovetop: Heat a non-stick skillet or frying pan over low heat. Lightly grease the pan with a few drops of oil. Place one portion of dough in the pan and cover with a lid. Cook for 5–7 minutes until the bottom is golden brown. Flip the bread and cook the other side for another 5–7 minutes, covered, until golden and cooked through.
- Cool and Serve: Let the bread cool slightly before slicing. Serve warm or at room temperature.
Notes
- You can make this recipe with various toppings such as garlic butter or cheese for added flavor.
- For larger bread portions, use fewer portions of dough when shaping.
- If the bread isn’t cooking fast enough, slightly increase the heat, but be careful not to burn it.
Nutrition
- Serving Size: 1 portion
- Calories: 150
- Sugar: 1g
- Sodium: 320mg
- Fat: 4g
- Saturated Fat: 0.5g
- Unsaturated Fat: 3.5g
- Trans Fat: 0g
- Carbohydrates: 25g
- Fiber: 1g
- Protein: 4g
- Cholesterol: 0mg






It says in the instructions that this doesn’t require yeast or kneading, but in the recipe it calls for yeast, kneading and rising. It sounds like the wrong recipe.
Thank you for pointing that out! 😊 I apologize for the confusion in the recipe. You’re absolutely right—the instructions mention no yeast or kneading, but the ingredients list calls for yeast and kneading, which doesn’t match. I’ll make sure to update the recipe to reflect the correct method. Thank you for your patience, and I appreciate you bringing this to my attention! 💙🍞