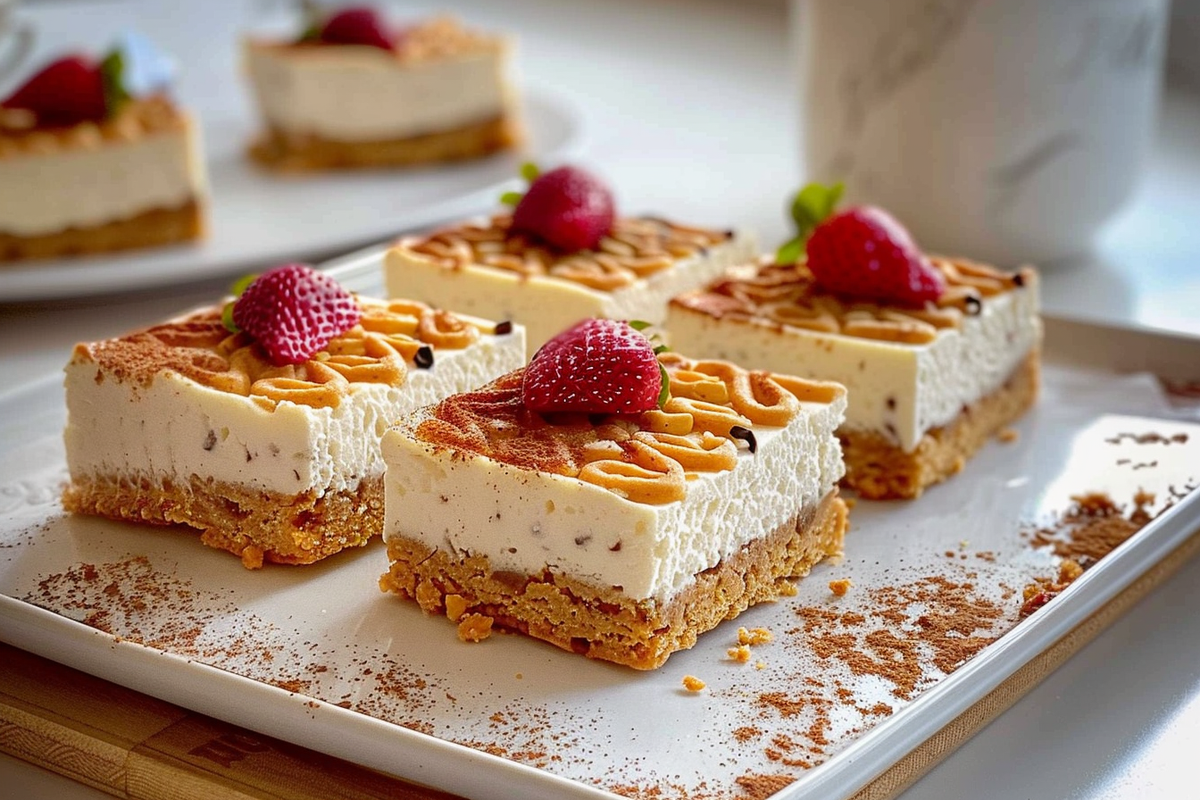
No-Bake Biscuit Cheesecake Bars
Indulging in delicious desserts while maintaining simplicity in preparation is a dream for many home cooks. Among the many tempting options, No-Bake Biscuit Cheesecake Bars stand out as a crowd-pleaser that requires minimal effort yet delivers maximum satisfaction. These bars combine the creamy richness of cheesecake with the delightful crunch of a biscuit crust, making them an irresistible treat for gatherings, celebrations, or even a quiet afternoon snack.
Why You Will Love This Recipe
These No-Bake Biscuit Cheesecake Bars are not just easy to make; they are incredibly versatile, too. You can easily adapt the flavors by experimenting with different types of biscuits or adding fruits and toppings of your choice. The absence of baking means you won’t heat up your kitchen, making it a perfect treat for warm days. Plus, with just a 20-minute prep time, you’ll have these bars chilling in the fridge and ready to serve in no time!
Pro Tips for Making No-Bake Biscuit Cheesecake Bars
To achieve the best results with your No-Bake Biscuit Cheesecake Bars, consider the following tips:
- Use Room Temperature Ingredients: Ensure that your cream cheese is at room temperature to prevent lumps in your cheesecake filling.
- Chill Time: Allow the bars to chill for at least 4 hours or overnight for the best texture. Patience yields a firmer result that slices beautifully.
- Experiment with Flavors: For added flavor, consider using different flavored tea biscuits, adding citrus zest, or depending on the season, topping with fresh fruits.
- Gelatin Substitutes: If you prefer a vegetarian option, you can substitute gelatin with agar powder, but be sure to follow proper blooming instructions.
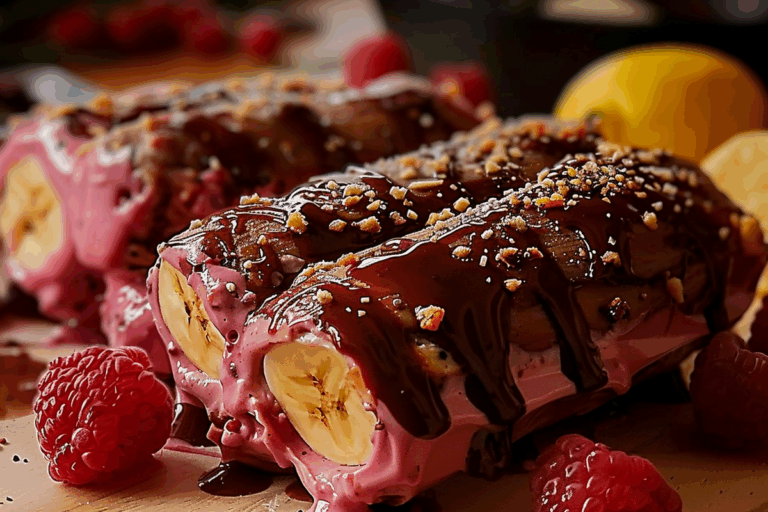
- Presentation: Decorate your bars with fruit, chocolate drizzle, or whipped cream for added visual appeal.
Ingredients
To make these delightful No-Bake Biscuit Cheesecake Bars, you will need the following ingredients:
- For the Crust:
- 200g (about 1½ cups) crushed tea biscuits (I recommend Lotus or Tila biscuits)
- 80g (5 tbsp) unsalted butter, melted
- For the Cream Cheese Layer:
- 250g (8 oz) cream cheese, softened
- 200ml (about ¾ cup + 1 tbsp) heavy cream or whipping cream
- 50g (¼ cup) powdered sugar (adjust to taste)
- 1 tsp vanilla extract
- 1 tbsp black tea leaves (optional, for flavor and speckled look)
- 1½ tsp gelatin powder (or agar powder for a vegetarian version)
- 2 tbsp hot water (to bloom gelatin)
- For Topping:
- 6 rectangular tea biscuits (e.g., Tila, Lotus, or Marie)
Instructions
Step 1: Prepare the Crust:
Begin by mixing the crushed tea biscuits with the melted butter in a mixing bowl. Stir until the mixture resembles wet sand. Line an 8×8 inch (20×20 cm) pan with parchment paper, allowing some overhang for easy lifting later. Press the biscuit mixture evenly into the base of the prepared pan, ensuring it is firmly compacted. Once done, chill it in the refrigerator while you prepare the filling.
Step 2: Make the Cheesecake Filling:
To prepare the cheesecake filling, first bloom the gelatin by dissolving it in 2 tablespoons of hot water. Stir until fully dissolved. In a separate bowl, beat the softened cream cheese with powdered sugar and vanilla extract until the mixture is smooth and creamy. Gradually add the heavy cream while continuing to beat, until the mixture becomes fluffy and thickened. If you’re using black tea leaves, fold them into the mixture now. Lastly, incorporate the bloomed gelatin into the cream cheese mixture and blend until evenly combined.
Step 3: Assemble:
Pour the cheesecake filling over the chilled biscuit crust. Use a spatula or the back of a spoon to smooth the top evenly. As a finishing touch, gently place a rectangular biscuit on top of each planned serving section (6 total). This adds both aesthetic appeal and extra flavor. Return the assembled bars to the refrigerator, allowing them to chill for at least 4 hours or, preferably, overnight to ensure they set properly.
Step 4: Slice and Serve:
When the cheesecake has fully set, carefully remove it from the pan using the parchment overhang. Use a sharp knife to slice it into 6 neat bars. Serve your delightful No-Bake Biscuit Cheesecake Bars with a warm cup of tea or coffee, and enjoy the delicious combination of flavors and textures.
FAQs
Can I substitute the tea biscuits with other types of cookies?
Absolutely! You can use any type of cookie you prefer, such as chocolate digestive biscuits, graham crackers, or even Oreos for a different flavor profile.
How long can I store these cheesecake bars?
The No-Bake Biscuit Cheesecake Bars can be stored in an airtight container in the refrigerator for up to 5 days. Just make sure to slice them as needed, keeping the remaining bars refrigerated.
Is the gelatin necessary for this recipe?
The gelatin helps the cheesecake layer set and hold its shape, but if you prefer not to use gelatin, you can experiment with other thickening agents like cornstarch or agar powder for a vegetarian option.
Can I add fruit to the cheesecake filling?
Yes, adding fruit can enhance the flavor! You can fold in pureed fruit like strawberries, blueberries, or mango into the cheesecake mixture before pouring it onto the crust.
What can I serve these cheesecake bars with?
These bars pair wonderfully with a variety of beverages, particularly tea, coffee, or even a glass of milk. You could also serve them with whipped cream or a drizzle of chocolate sauce for an extra touch of indulgence.
Conclusion
Indulging in No-Bake Biscuit Cheesecake Bars is an experience that combines simplicity with decadence. With easy prep and minimal cleanup, these bars are the perfect solution for satisfying your sweet tooth without the hassle of baking. So, whether you’re planning a gathering or simply treating yourself, whip up these delightful cheesecake bars and enjoy the creamy, delicious goodness that comes with every bite.

