

Iced Gems
Okay friend, buckle up—because we’re taking a nostalgic trip straight to your childhood lunchbox! These Frosted Fairy Bites (a.k.a. homemade iced gems) are crunchy, buttery, and topped with the cutest little swirls of pastel royal icing. Trust me, you’re going to love this.
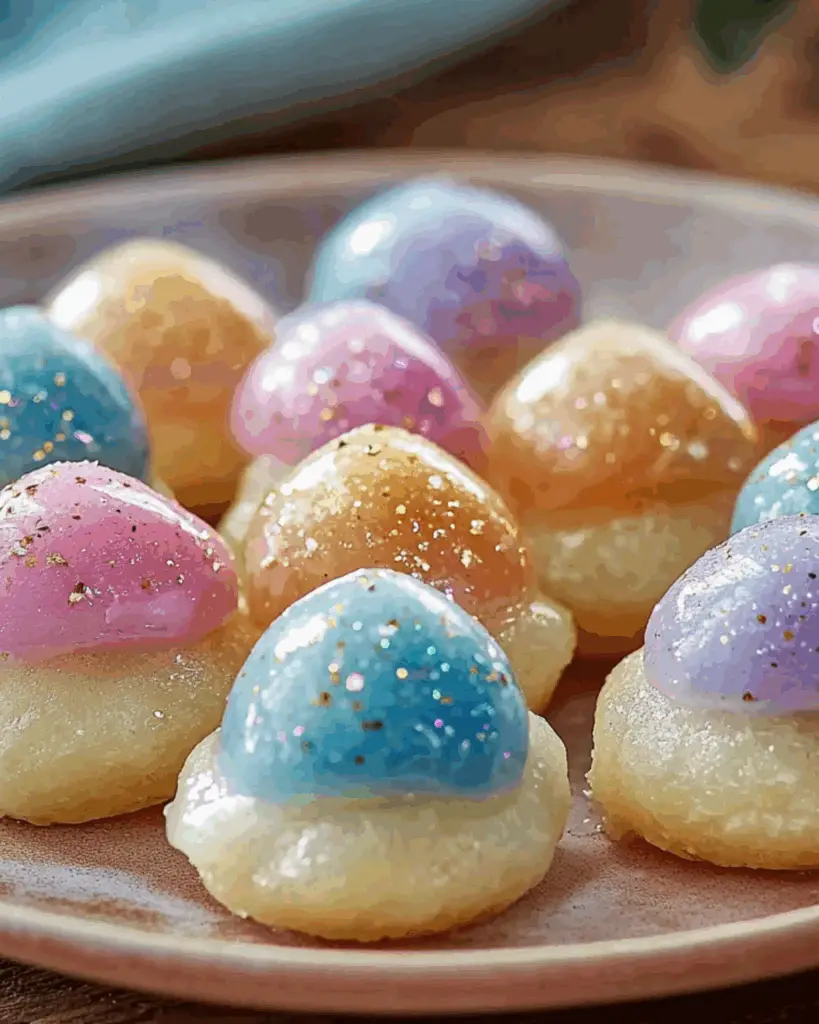
Think: crumbly, golden mini biscuits with crisp edges and that sugary, melt-in-your-mouth crown on top. They’re delightfully sweet without being over the top, and they look like they popped out of a candy-colored dream. Whether you’re making them for your kids, gifting a jar to a friend, or just craving a little whimsy for yourself—this one’s a game-changer.
Bonus? You don’t need any fancy tools. Just a piping bag (or ziplock!), a few pantry staples, and a little kitchen magic. These gems are as fun to make as they are to eat. Let’s get baking!
Why You’ll Love Frosted Fairy Bites
This recipe isn’t just about the ingredients—it’s about creating moments. Whether you’re baking with little helpers, prepping edible party favors, or channeling your inner 90s snack queen, here’s why these gems will win your heart:
- Whimsical & Fun: Each cookie is like a tiny edible work of art. Kids love decorating them—and eating them!
- Budget-Friendly: No hard-to-find ingredients. Everything’s likely already in your pantry.
- Customizable Colors: Go classic with pastels, or try bold neons for themed parties. The icing can match any vibe.
- Easy to Make: Beginner-friendly with straightforward steps—no fancy baking skills needed.
- Perfect for Gifting: These store beautifully in jars or treat bags and make the sweetest homemade gift.
Disclosure: This post contains affiliate links.If you click and make a purchase, I may earn a small commission at no extra cost to you.


Ingredients in Frosted Fairy Bites
Here’s the magic: simple ingredients, major payoff. You’ll be amazed at what these pantry staples can do.
Plain Flour
Gives the biscuits their signature crisp texture. All-purpose works perfectly here—no need to overthink it.
Butter
Room-temperature butter brings richness and that classic shortbread-style crumble we love.
Icing Sugar
Used in both the biscuit dough and for that show-stopping royal icing. It melts on your tongue like powdered sugar magic.
Egg
Adds a touch of structure and helps the dough hold together beautifully.
Vanilla Extract
Because even tiny cookies deserve big flavor. A little vanilla makes them taste like they’re fresh from a bakery.
Food Coloring
Optional, but highly encouraged! Pastels, brights, or ombré—this is your moment to get creative.
Lemon Juice or Water
To loosen the icing to the perfect piping consistency—just a few drops do the trick.
Instructions
Let’s dive into the steps to create these crunchy, colorful cuties!
Cream Butter and Sugar
In a bowl, cream together the butter and icing sugar until light, fluffy, and pale. This gives the biscuits their melt-in-the-mouth texture.
Mix in Egg and Vanilla
Beat in the egg and vanilla extract until just combined. Don’t overmix—we want a soft dough, not a batter.
Add the Flour
Gradually fold in the flour until a soft dough forms. The dough should be easy to roll without being sticky. Chill if it feels too soft.
Roll and Cut
Roll the dough out on a lightly floured surface to about 1/4 inch thickness. Use a small round cutter (or the end of a piping tip!) to cut tiny circles.
Bake Until Golden
Place on a lined baking sheet and bake at 160°C (320°F) until the edges are just golden. They’ll crisp up as they cool.
Make the Icing
Whisk icing sugar with a few drops of lemon juice or water until thick and pipeable. Separate into bowls and tint with food coloring.
Pipe the Icing
Once cookies are completely cool, pipe little swirls or stars of icing on each one. Let them set until firm to the touch.
Store and Snack
Store in an airtight container to keep the biscuits crisp and the icing perfect. Now try not to eat them all in one sitting!
How to Serve Frosted Fairy Bites
These are practically made for sharing—or hoarding in a jar just for you. Here are some favorite ways to enjoy them:
- In a Cookie Tin: Classic presentation. Great for tea parties, birthdays, or a touch of weekday joy.
- With Tea or Coffee: Their crisp texture is made for dunking. Trust me on this.
- As Party Favors: Pack them in mini treat bags with ribbons and you’ve got an instant hit.
- In a Dessert Board: Add them to a spread with fudge, chocolates, and fruit for a whimsical twist.
Additional Tips
- Chill the Dough: If your kitchen is warm or dough feels too soft, pop it in the fridge for 15 minutes before cutting.
- Pipe Like a Pro: Use a small star tip for those classic iced gem swirls—or just snip the end off a bag for a simple dollop.
- Flavor Boost: Add lemon zest or almond extract for a unique twist on the original.
- Color Fun: Separate your icing into small bowls and make a rainbow! Think pinks, purples, mint greens—whatever suits the mood.
- Gift it: These look stunning in a mason jar with a handwritten tag. Instant joy.
FAQ Section
Q1: Can I use margarine instead of butter?
A1: You can, but butter gives a richer flavor and better texture.
Q2: What’s the best way to color the icing?
A2: Gel food coloring works best—it’s vibrant and won’t water down your icing.
Q3: Can I freeze these?
A3: Yes! Freeze the baked biscuits (un-iced) and decorate after thawing.
Q4: Do I need a piping bag?
A4: Nope! A ziplock bag with the tip snipped off works just fine.
Q5: How long do they stay fresh?
A5: Up to a week in an airtight container. Just keep them cool and dry.
Q6: Can I make them gluten-free?
A6: Yes, just swap the flour for a 1:1 gluten-free blend.
Q7: Are they super sweet?
A7: The biscuit is buttery and mild—the icing brings the sweetness. You can reduce the icing if you prefer less sugar.
Q8: What size should I make them?
A8: Traditional iced gems are teeny tiny—think 1 inch wide. But you can go bigger if you like!
Q9: Can I flavor the icing?
A9: Absolutely! Try lemon juice, almond extract, or even rose water for a twist.
Q10: How do I make the icing swirl look perfect?
A10: Hold your piping bag straight up, gently squeeze, then lift with a flick to create that classic swirl.
Conclusion
And there you have it—your very own batch of charming, colorful Iced Gems! These little bites of nostalgia are more than just sweet treats—they’re a ticket straight back to carefree childhood days, packed into buttery biscuits and topped with playful swirls of royal icing. Whether you’re whipping them up for a party, gifting a jar to a friend, or simply indulging in a quiet moment with a cup of tea, these gems bring joy in every bite.
Trust me, once you make them, they’ll quickly become a go-to favorite. They’re fun to make, even more fun to decorate, and absolutely delightful to eat. So go ahead—bake a little magic today. You’ve got this!
Print
Iced Gems
- Prep Time: 30 minutes
- Cook Time: 15 minutes
- Total Time: 45 minutes
- Yield: 30–40 small cookies 1x
- Category: Dessert
- Method: Baking
- Cuisine: British
- Diet: Vegetarian
Description
Sweet, dainty, and delightfully nostalgic—Iced Gems are tiny buttery shortbread cookies topped with brightly colored royal icing swirls. These bite-sized treats are as fun to make as they are to eat, perfect for parties, gifting, or just reliving your favorite childhood snack. #icedgems #shortbreadcookies #vintagetreats #royalicing #bakingfun
Ingredients
For the Shortbread Cookies:
- 60 g (¼ cup) unsalted butter, softened and cut into ½-inch squares
- 30 g (about 2 generous tablespoons) granulated sugar
- 1 egg yolk
- 100 g (¾ cup) all-purpose flour
- ¼ teaspoon baking powder
- ¼ teaspoon salt
For the Icing:
- 2 egg whites, room temperature
- ¼ teaspoon cream of tartar
- 100 g (½ cup) granulated sugar
- ½ teaspoon pure vanilla extract
- Gel food coloring (assorted colors)
Instructions
- Preheat oven to 325°F (165°C) and line a baking sheet with parchment paper.
- In a medium bowl, beat the softened butter and sugar until light and fluffy.
- Add the egg yolk and mix until fully incorporated.
- Sift in the flour, baking powder, and salt. Fold gently until a soft dough forms.
- Roll dough into small balls (about the size of a marble), place them on the prepared baking sheet, and gently flatten the tops.
- Bake for 12–15 minutes or until the cookies are lightly golden. Transfer to a wire rack to cool completely.
- For the icing, beat the egg whites and cream of tartar until soft peaks form.
- Gradually add sugar and continue whisking until stiff, glossy peaks form.
- Stir in vanilla extract, then divide the icing into separate bowls. Tint each bowl with a few drops of gel food coloring.
- Using a piping bag with a small star or round tip, pipe a dollop of colored icing on top of each cooled cookie.
- Let the icing set completely at room temperature before serving or storing.
Notes
- You can use store-bought royal icing mix if you’re short on time, but homemade gives the best flavor.
- These cookies will keep in an airtight container for up to a week.
- Perfect activity for kids—just prep the dough and let them go wild with the colors!
- Use pasteurized egg whites if you’re concerned about raw eggs in the icing.
- The icing sets best in a cool, dry environment—avoid humid kitchens when possible.
Nutrition
- Serving Size: 3 cookies
- Calories: 110
- Sugar: 8g
- Sodium: 50mg
- Fat: 4g
- Saturated Fat: 2g
- Unsaturated Fat: 1g
- Trans Fat: 0g
- Carbohydrates: 15g
- Fiber: 0g
- Protein: 1g
- Cholesterol: 15mg


