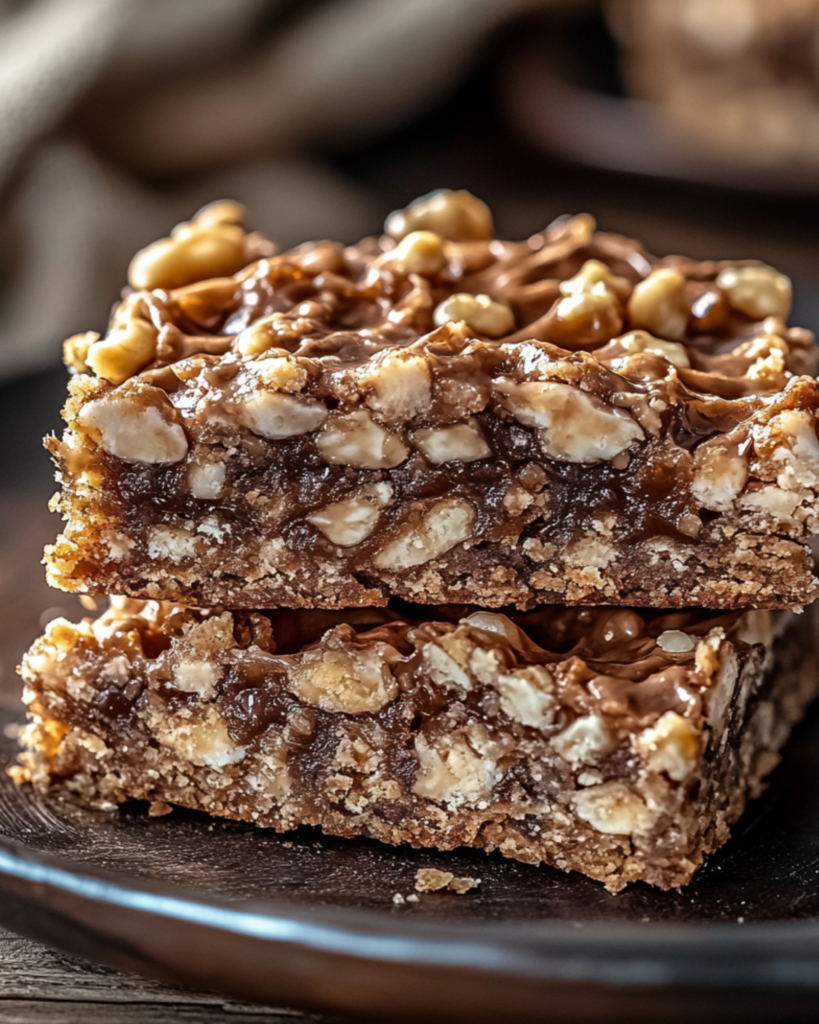
Homemade Crunch Bars
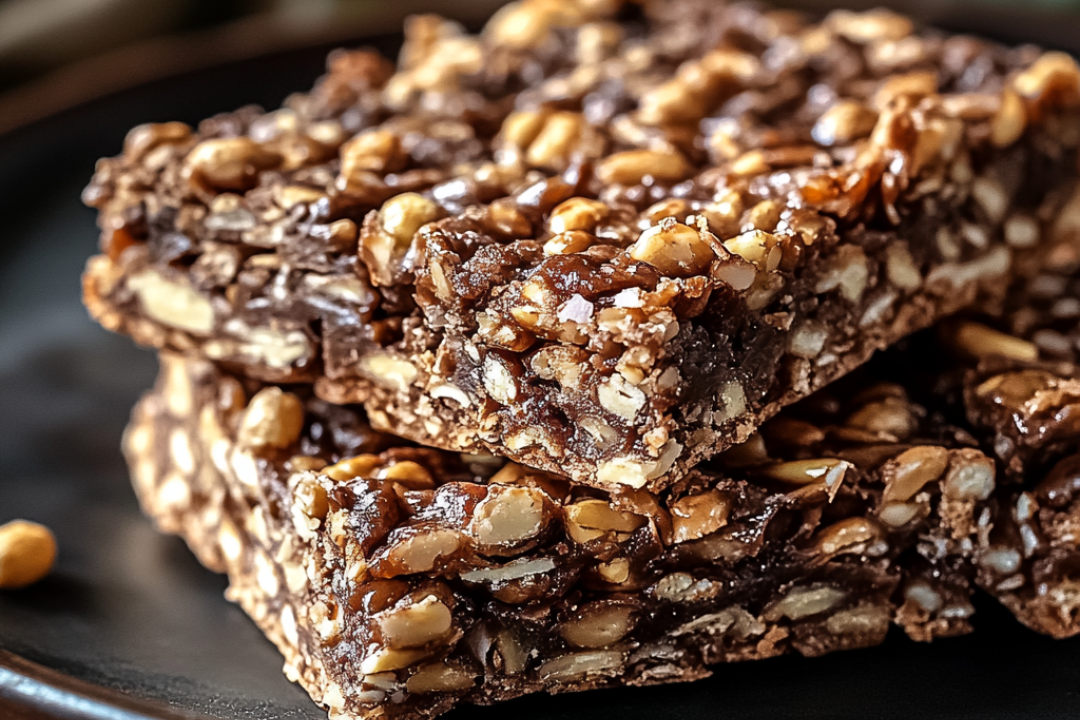
Sometimes, the simplest recipes bring the most joy. That’s exactly the case with these Homemade Crunch Bars! They’re everything you love about the classic treat: crispy, chocolatey, and oh-so-satisfying. But here’s the kicker—you get to control the quality of every ingredient, making these even better than the store-bought version. Trust me, once you try making these at home, you’ll wonder why you ever settled for anything less. Plus, they’re ridiculously easy to make! Grab your apron (and maybe a spoon for “taste-testing”), and let’s whip up some crunchy, chocolatey goodness.
Why You’ll Love Homemade Crunch Bars
This recipe is more than just a nostalgic treat; it’s a modern-day miracle for chocolate lovers everywhere. Here’s why:
Easy to Make
With just a few ingredients and no special equipment, this recipe is perfect for beginners and seasoned bakers alike.
Customizable
Dark chocolate, milk chocolate, white chocolate—it’s your world! Add a pinch of sea salt, a drizzle of caramel, or even a handful of chopped nuts to make them uniquely yours.
Kid-Friendly Fun
This is an ideal recipe to involve the little ones. Let them stir, sprinkle, and (of course) taste-test along the way.
Budget-Friendly
Skip the pricey specialty bars at the store. This homemade version delivers luxury taste on a budget.
Perfect for Sharing
Whether you’re gifting them during the holidays or bringing them to a potluck, these bars are always a hit.
Disclosure: This post contains affiliate links.If you click and make a purchase, I may earn a small commission at no extra cost to you.
Ingredients
(Note: The full ingredients list, including measurements, is provided in the recipe card directly below.)
Chocolate Chips
The foundation of your bars—smooth, velvety chocolate goodness. Use your favorite variety, whether it’s semi-sweet, milk, or dark.
Crispy Rice Cereal
The secret to that satisfying crunch. It’s light, airy, and pairs beautifully with the chocolate.
Coconut Oil
Gives your chocolate a glossy finish and a touch of smoothness. Optional but highly recommended!
Vanilla Extract
A splash of vanilla adds depth and richness to the chocolate. It’s the little detail that makes a big difference.
Instructions
Step 1: Melt the Chocolate
In a microwave-safe bowl, combine the chocolate chips and coconut oil. Microwave in 30-second intervals, stirring in between, until smooth and fully melted.
Step 2: Add the Vanilla
Once the chocolate is melted, stir in the vanilla extract. This step infuses the chocolate with a subtle warmth that takes the flavor up a notch.
Step 3: Fold in the Cereal
Gently fold the crispy rice cereal into the melted chocolate, ensuring every piece is evenly coated. This is where the magic happens!
Step 4: Spread and Chill
Pour the mixture into a lined baking dish. Spread it out evenly with a spatula, then pop it into the fridge for at least 1 hour to set.
Step 5: Cut and Serve
Once fully set, lift the slab out of the dish and cut it into bars. Serve immediately or store for later (if you can resist!).
How to Serve Homemade Crunch Bars
These bars are a treat all on their own, but here are a few serving ideas to make them extra special:
- With Coffee or Tea: Perfect for a mid-afternoon pick-me-up.
- As a Dessert Topping: Crumble over ice cream or a creamy mousse for added texture.
- In a Gift Box: Wrap them up for a thoughtful, homemade gift.
- Snack Platters: Pair with fresh fruit, nuts, or other sweets for a party-ready spread.
Additional Tips
- Prep Ahead: Make a double batch and freeze half for future cravings.
- Dietary Adjustments: For a dairy-free version, use vegan chocolate chips and omit the coconut oil.
- Storage: Store in an airtight container in the fridge for up to 2 weeks or in the freezer for up to 2 months.
- Experiment: Add chopped nuts, shredded coconut, or a drizzle of peanut butter for a fun twist.
FAQ Section
Q1: Can I use another type of cereal?
A1: Absolutely! Puffed quinoa or crushed cornflakes work great as substitutes.
Q2: How do I store these bars?
A2: Store them in an airtight container in the fridge or freezer to maintain their crunch.
Q3: Can I skip the coconut oil?
A3: Yes, but the coconut oil helps create a smoother texture and shinier finish.
Q4: What type of chocolate works best?
A4: High-quality chocolate chips or chopped chocolate bars melt best and taste amazing.
Q5: Can I add mix-ins?
A5: Yes! Chopped nuts, mini marshmallows, or dried fruit are great options.
Q6: How long does it take to set?
A6: Typically, 1 hour in the fridge or 20 minutes in the freezer.
Q7: Can I use a microwave to melt the chocolate?
A7: Yes, but stir every 30 seconds to avoid burning.
Q8: Can I make this recipe vegan?
A8: Use dairy-free chocolate chips and skip the coconut oil or replace it with a vegan alternative.
Q9: Can I make these in advance?
A9: Yes, these bars are great for meal prep or gifting.
Q10: Do they need to be refrigerated?
A10: It’s recommended to store them in the fridge to keep the chocolate firm.
Conclusion
There you have it—Homemade Crunch Bars that are as simple as they are delicious. Whether you’re whipping up a batch for a party, a gift, or just to satisfy a chocolate craving, these bars never disappoint. Try them once, and they’ll become a go-to recipe in your kitchen. Don’t forget to share your creations and tag me—I’d love to see your sweet success!
Print
Homemade Crunch Bars
- Prep Time: 10 minutes
- Cook Time: 0 minutes
- Total Time: 25 minutes
- Yield: 8 bars
- Category: Dessert
- Method: No-Bake
- Cuisine: American
- Diet: Vegetarian
Description
These Homemade Crunch Bars are a quick and easy treat combining creamy chocolate, peanut butter, and crispy rice cereal for a perfectly crunchy dessert. With just four ingredients, they’re a simple yet satisfying indulgence. Great for kids and adults alike
Ingredients
- 1 ½ cups chocolate chips – Use milk, dark, or semi-sweet chocolate chips based on your preference.
- ⅓ cup peanut butter – Smooth peanut butter works best for a creamy consistency.
- 1 cup rice krispies – Adds the iconic crunch.
- Flaked sea salt (optional) – For an extra touch of flavor and texture.
Instructions
- Prepare baking dish: Line an 8×8-inch square baking dish with parchment paper for easy removal.
- Melt chocolate and peanut butter:
- Combine 1 ½ cups chocolate chips and ⅓ cup peanut butter in a medium-sized, microwave-safe bowl.
- Melt the mixture in 30-second intervals in the microwave, stirring between each interval until smooth.
- Mix in rice krispies: Stir 1 cup of rice krispies into the melted chocolate and peanut butter mixture until fully combined.
- Spread in pan: Pour the mixture into the prepared baking dish and spread evenly. If desired, sprinkle with flaked sea salt.
- Freeze: Place the pan in the freezer for 15 minutes, or until set.
- Cut into bars: Remove from the pan and cut into 8 equal bars. Serve and enjoy!
Notes
- For a nut-free version, replace peanut butter with sunflower seed butter.
- Store the bars in an airtight container in the refrigerator for up to a week.
- Add-ins like mini marshmallows or crushed pretzels can be stirred into the mixture for added texture.
Nutrition
- Serving Size: 1 bar
- Calories: ~180
- Sugar: ~12g
- Sodium: ~35mg
- Fat: ~10g
- Saturated Fat: ~4g
- Unsaturated Fat: ~5g
- Trans Fat: 0g
- Carbohydrates: ~22g
- Fiber: ~1g
- Protein: ~3g
- Cholesterol: ~2mg

