

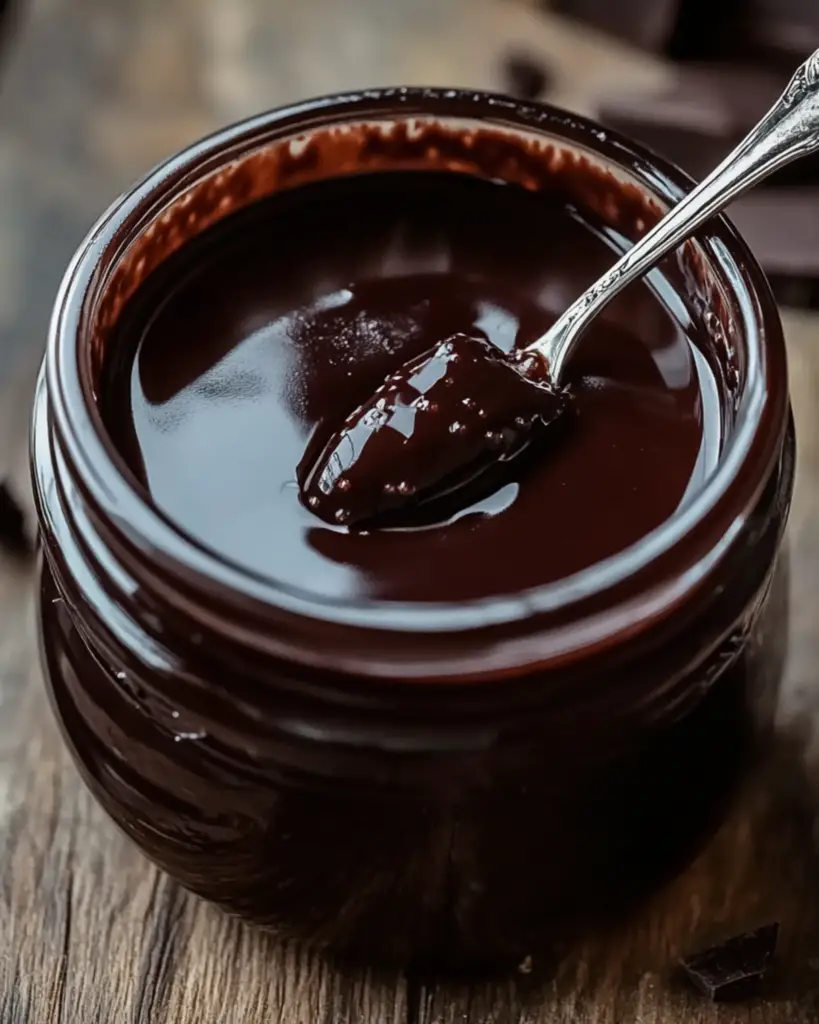
Homemade Chocolate Syrup
Okay, friend, brace yourself—this homemade chocolate syrup is about to change your life. Imagine rich, velvety chocolate sauce, warm from the stove, ready to be poured over your favorite desserts, ice cream, pancakes, or even stirred into a cup of milk for a dreamy chocolate milk. This isn’t your store-bought, overly sweet syrup; this one is made with love and just the right balance of deep cocoa flavor and sweetness. And guess what? It’s incredibly easy to make. Trust me, once you try this, you’ll never go back to the bottled stuff!
Why You’ll Love Homemade Chocolate Syrup
This syrup isn’t just something to drizzle over a scoop of ice cream; it’s a whole experience! Here’s why it’s a total winner:
- Versatile: You can use this chocolate syrup on so many things. Ice cream, waffles, pancakes, milkshakes, or even straight from the spoon (no judgment here). It’s perfect for any occasion, whether you’re having a cozy night in or hosting a Sunday brunch.
- Budget-Friendly: You probably already have all the ingredients sitting in your pantry. No fancy, hard-to-find items—just the basics you’ll actually use again.
- Quick and Easy: You won’t need to spend hours in the kitchen. This syrup is ready in no time, and you only need a few simple steps to make it happen.
- Customizable: Want it extra sweet? Add a little more sugar. Like it with a hint of spice? A pinch of cinnamon or chili powder can add a fun twist. You’re the boss here!
- Crowd-Pleasing: Whether you’re making it for a breakfast spread or a movie night with friends, everyone’s going to love it. It’s a guaranteed crowd-pleaser!
Disclosure: This post contains affiliate links.If you click and make a purchase, I may earn a small commission at no extra cost to you.


Ingredients
Making chocolate syrup at home is as easy as gathering these pantry staples:
Cocoa Powder: The base of the syrup. You want to go for a good-quality unsweetened cocoa powder here for that rich chocolate flavor.
Sugar: To give the syrup just the right sweetness without overpowering that cocoa goodness.
Water: This helps dissolve the cocoa powder and sugar, creating that smooth syrupy texture.
Vanilla Extract: For that little burst of warmth and depth that makes this syrup extra special.
Salt: A pinch of salt to balance the sweetness and enhance the chocolate flavor. Trust me, it makes all the difference.
(Note: The full ingredients list, including measurements, is provided in the recipe card directly below.)
Instructions
Ready to make your own chocolate syrup? Let’s get started!
1. Mix the Dry Ingredients
In a saucepan, combine the cocoa powder, sugar, and salt. Give it a quick stir to ensure everything is well mixed.
2. Add Water and Heat
Slowly add the water to the dry ingredients while stirring. This helps prevent any lumps. Once it’s all mixed, place the saucepan over medium heat.
3. Stir and Simmer
Stir the mixture occasionally as it heats up. After a couple of minutes, it’ll begin to thicken. Let it simmer gently for about 5 minutes, stirring frequently, until you get that smooth, syrupy consistency.
4. Add Vanilla Extract
Once the syrup has thickened to your liking, remove it from the heat. Stir in the vanilla extract for that lovely, aromatic finish.
5. Cool and Store
Let the syrup cool for a few minutes before pouring it into a jar or bottle. It’ll thicken up even more as it cools. Store it in the fridge for up to a few weeks (though I’m willing to bet it won’t last that long!).
How to Serve Homemade Chocolate Syrup
Now that your syrup is ready, let’s talk about how to enjoy it! Here are a few ways to serve your new favorite chocolate treat:
- Ice Cream: Drizzle it generously over your favorite ice cream. The cold, creamy goodness combined with warm chocolate syrup is a dream.
- Pancakes and Waffles: A classic combo. Pour it over fluffy pancakes or crispy waffles for a breakfast (or dinner) that feels extra special.
- Chocolate Milk: Stir it into a glass of cold milk for the creamiest, most indulgent chocolate milk you’ll ever taste.
- Fruit: Pair it with fresh fruit, like strawberries or bananas, for a healthier (but still indulgent) treat.
Additional Tips
Here are a few extra tips to make this syrup even better:
- Make It Darker: If you prefer a more intense chocolate flavor, you can use a darker cocoa powder or add a little more cocoa.
- Spice It Up: For a fun twist, add a pinch of cinnamon, chili powder, or even instant coffee for a little extra flavor kick.
- Store It Right: Keep your homemade chocolate syrup in a sealed jar or bottle in the fridge. It’ll last for weeks, but I’m sure it’ll be gone much sooner!
- Make a Big Batch: If you’re obsessed with chocolate (like me), double or triple the recipe to keep a bigger stash on hand for all your chocolate cravings.
FAQ Section
Q1: Can I use sweetened cocoa powder instead of unsweetened?
A1: You can, but you’ll need to adjust the sugar since sweetened cocoa powder already contains sugar. Taste as you go!
Q2: How long will this syrup last in the fridge?
A2: It’ll last for up to 3 weeks when stored in an airtight container in the fridge. But I have a feeling it won’t last that long with how good it is!
Q3: Can I make this syrup ahead of time?
A3: Yes! This syrup is perfect for making ahead. Just store it in the fridge and warm it up before serving if you prefer it a little warmer.
Q4: Can I use this for hot chocolate?
A4: Absolutely! Just stir a couple of tablespoons into a cup of hot milk for the creamiest, richest hot chocolate you’ll ever taste.
Q5: Can I freeze this chocolate syrup?
A5: While it’s not necessary, you can freeze it in an airtight container. Just let it thaw before using.
Q6: Is this syrup vegan?
A6: Yes, this homemade chocolate syrup is naturally vegan as long as you use a plant-based sugar.
Q7: Can I double the recipe?
A7: Definitely! Just be sure to use a larger saucepan and adjust the cooking time slightly if needed.
Conclusion: Your New Go-To Chocolate Syrup
Now that you know how to make your own homemade chocolate syrup, you’ll never want to go back to the store-bought stuff. This syrup is perfect for drizzling on just about anything, and it’s so simple to make—no need for fancy ingredients or complicated steps. So, go ahead, pour it over that ice cream, stir it into your milk, and enjoy a little taste of homemade chocolate heaven. You’ve got this!
Print
Homemade Chocolate Syrup
- Prep Time: 5 minutes
- Cook Time: 5 minutes
- Total Time: 10 minutes
- Yield: About 1.5 cups (serves 8-10)
- Category: Dessert, Condiment
- Method: Stovetop
- Cuisine: American
- Diet: Vegetarian
Description
This homemade chocolate syrup is rich, smooth, and perfect for drizzling over ice cream, pancakes, or stirring into milk! It’s easy to make and the perfect treat for chocolate lovers.
Ingredients
1/2 cup unsweetened cocoa powder
1 cup granulated sugar
3/4 cup water
1 teaspoon vanilla extract
1/8 teaspoon salt
Instructions
-
Combine Dry Ingredients: In a medium saucepan, whisk together cocoa powder, granulated sugar, and salt until well mixed.
-
Add Water: Gradually pour in water while whisking to ensure there are no lumps.
-
Cook the Syrup: Place the saucepan over medium heat and bring the mixture to a gentle boil. Stir frequently and let it simmer for 2–3 minutes until slightly thickened.
-
Add Vanilla: Remove from heat and stir in the vanilla extract.
-
Cool and Store: Allow the syrup to cool to room temperature, then pour into a clean jar or bottle and store in the refrigerator for up to 2 weeks.
Notes
-
For a richer flavor, use dark cocoa powder.
-
This syrup is great for drizzling over desserts like ice cream, pancakes, or waffles. It’s also perfect for stirring into milk for a homemade chocolate milk treat!
Nutrition
- Serving Size: 2 tablespoons
- Calories: 120
- Sugar: 23g
- Sodium: 10mg
- Fat: 1g
- Saturated Fat: 0g
- Unsaturated Fat: 0g
- Trans Fat: 0g
- Carbohydrates: 27g
- Fiber: 2g
- Protein: 1g
- Cholesterol: 0mg


