Homemade Chocolate Syrup
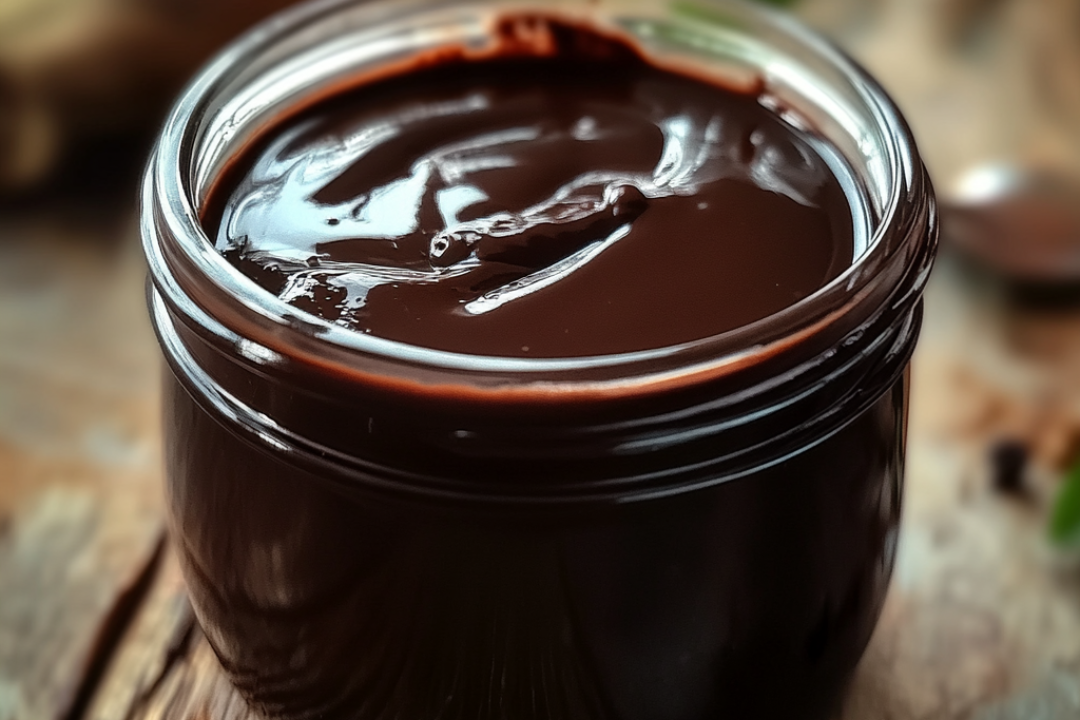
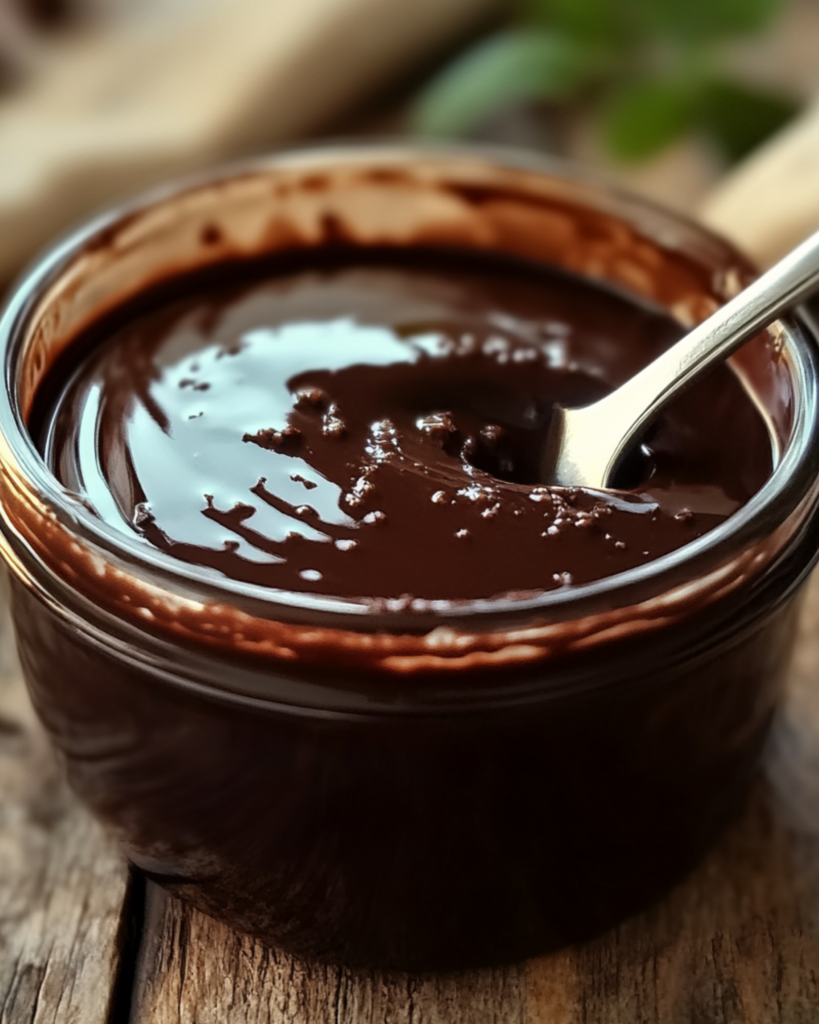
You know that sweet, velvety chocolate syrup you pour over ice cream, pancakes, or stir into your milk? Imagine having a homemade version that’s even more decadent, silky smooth, and way better than anything you can find in a store. Trust me, this homemade chocolate syrup is a game-changer. It’s rich, glossy, and packed with the kind of chocolatey goodness that’s going to make you feel like a kid again. You’re going to want to drizzle this on everything—ice cream, waffles, even your morning coffee! It’s incredibly easy to make, and once you try it, you’ll never go back to the bottled stuff.
Why You’ll Love Homemade Chocolate Syrup
This homemade chocolate syrup isn’t just about satisfying that chocolate craving—it’s about making moments sweeter. Whether you’re indulging in a solo dessert after a long day, sharing a cozy breakfast with your family, or hosting a dessert bar at a party, this syrup fits perfectly into any occasion. Here’s why you’ll love it:
Versatile: It’s perfect for almost anything you want to add a chocolatey touch to—pancakes, ice cream, milkshakes, or even as a drizzle on cakes. The options are endless, and it’s the perfect thing to keep in your fridge for last-minute sweet cravings.
Quick and Easy: Made with just a few simple ingredients and a little patience, this chocolate syrup comes together in no time. If you’ve got a few minutes, you can make a batch that’ll last you for weeks!
Budget-Friendly: You’re making this from pantry staples you likely already have. No need to splurge on store-bought chocolate syrups when this homemade version is so much better and more affordable!
Customizable: Want to amp up the flavor? You can easily add a touch of cinnamon, vanilla, or even a pinch of chili powder for a fun twist. It’s a chocolate syrup that you can adjust to your taste!
Made with Love: There’s something so satisfying about making your own chocolate syrup from scratch. It’s not just about the flavor; it’s the joy of creating something delicious that you can enjoy any time you want.
Disclosure: This post contains affiliate links.If you click and make a purchase, I may earn a small commission at no extra cost to you.
Ingredients
Here’s the simple lineup of ingredients that turn into a syrup that’s perfect for drizzling, stirring, and savoring. You won’t need anything fancy, just a few pantry staples:
Cocoa Powder: The heart of the syrup. This gives the syrup that rich, deep chocolate flavor that’s perfect for all your sweet creations.
Sugar: Because what’s chocolate without a little sweetness? Sugar balances out the cocoa and helps give the syrup its smooth texture.
Water: To help everything come together into a perfect, pourable syrup.
Vanilla Extract: A little splash of vanilla rounds out the chocolate flavor and adds warmth to the syrup.
Salt: Just a pinch to bring out all the flavors and elevate the sweetness.
(Note: The full ingredients list, including measurements, is provided in the recipe card directly below.)
Instructions
Let’s get started on this dreamy homemade chocolate syrup!
Combine the Ingredients: In a saucepan, whisk together cocoa powder, sugar, water, and a pinch of salt. Stir until everything is fully combined and the mixture is smooth. This is the base of your syrup!
Cook the Syrup: Place the saucepan over medium heat and bring the mixture to a simmer. Stir constantly to prevent burning. Once it starts to bubble and thicken, let it simmer for about 3–5 minutes, or until it reaches your desired consistency.
Add the Finishing Touches: Remove from heat and stir in the vanilla extract. This little addition takes the flavor from delicious to irresistible.
Cool and Store: Let the syrup cool down a bit before pouring it into a jar or bottle. It will continue to thicken as it cools, so don’t worry if it looks a little runny at first. Once it’s completely cool, it’s ready to be used!
Nutrition Facts
Servings: 1 tablespoon
Calories per serving: 50
Preparation Time
Prep Time: 5 minutes
Cook Time: 5 minutes
Total Time: 10 minutes
How to Serve Homemade Chocolate Syrup
Now that you’ve made this velvety chocolate syrup, it’s time to enjoy it! Here are a few ways to use it that’ll have everyone begging for the recipe:
Over Ice Cream: Drizzle generously over vanilla or chocolate ice cream for an instant treat.
In Milk: Stir it into a glass of milk for an extra chocolatey sip. Add a few ice cubes for a refreshing twist!
Pancakes or Waffles: Skip the maple syrup and go for a chocolatey breakfast with this syrup. A perfect way to start your day!
As a Topping: Pour it over your favorite cakes, brownies, or cookies. It’s like an extra layer of chocolate heaven.
In Coffee or Hot Cocoa: Make your coffee or hot cocoa extra special with a swirl of this syrup for that perfect mocha flavor.
Additional Tips
Here are some extra tips to take your chocolate syrup to the next level:
Customize the Flavor: Experiment with different extracts like almond or hazelnut for a unique flavor. Add a dash of cinnamon or chili powder for a warm, spiced twist.
Storage Tips: Store your homemade chocolate syrup in an airtight container or jar in the fridge for up to 2–3 weeks. It’ll keep for a while, but trust me, it won’t last that long!
Make It Vegan: If you prefer a dairy-free version, simply substitute the sugar with a vegan option like maple syrup and use a dairy-free butter substitute.
Thicker Syrup: If you want a thicker syrup, just cook it a little longer. The longer it simmers, the thicker it gets.
FAQ Section
Q1: Can I use this chocolate syrup for baking?
A1: Yes! This syrup is perfect for drizzling over baked goods or even using it as a filling for cakes or pastries.
Q2: Can I make a larger batch?
A2: Absolutely! Just double or triple the ingredients and store extra syrup in the fridge.
Q3: How do I reheat the syrup?
A3: Simply warm it up in the microwave for a few seconds or heat it gently on the stove. It’ll be just as silky as when you first made it!
Q4: Can I make this chocolate syrup without sugar?
A4: You can experiment with sugar substitutes like stevia or monk fruit, but be aware that it may affect the texture and taste slightly.
Q5: How long does the syrup last?
A5: This chocolate syrup will last for up to 2–3 weeks in the fridge. Be sure to store it in an airtight container.
Q6: Can I freeze this chocolate syrup?
A6: Yes, you can freeze it! Just make sure to use an airtight container and allow it to thaw before using.
Q7: Is there a way to make this chocolate syrup less sweet?
A7: If you like your chocolate syrup less sweet, reduce the sugar amount slightly, but keep the balance for the best texture.
Q8: What’s the best way to serve this syrup?
A8: The possibilities are endless! Use it on pancakes, ice cream, in milk, or even in coffee to bring a little extra sweetness to your day.
Q9: Can I add milk to make it creamier?
A9: Yes! You can add a little milk or heavy cream while cooking the syrup for a richer, creamier consistency.
Q10: Can I use this for making chocolate milk?
A10: Absolutely! Just stir a spoonful or two into a glass of milk for homemade chocolate milk. It’s way better than the powdered stuff!
Conclusion
Once you make this homemade chocolate syrup, you’ll wonder why you ever settled for store-bought. It’s rich, smooth, and packed with that perfect chocolatey sweetness. Whether you’re drizzling it over desserts or stirring it into your coffee, it’s bound to become your new favorite go-to treat. So go ahead—whip up a batch, and let the chocolatey magic begin!
Print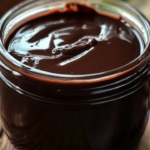
Homemade Chocolate Syrup
- Prep Time: 5 minutes
- Cook Time: 5 minutes
- Total Time: 10 minutes
- Yield: About 2 cups of chocolate syrup
- Category: Dessert, Sauces
- Method: Stovetop
- Cuisine: American
- Diet: Vegetarian
Description
This Homemade Chocolate Syrup is rich, velvety, and the perfect addition to your desserts, ice cream, milkshakes, or pancakes. Easy to make with just a few ingredients, it’s a sweet treat you can enjoy anytime!
Ingredients
- 2 cups sugar
- 1 cup water
- 1/3 cup cocoa powder
- 1 tablespoon vanilla extract
- 1 tablespoon butter or ghee
Instructions
- Combine the sugar, water, and cocoa powder in a saucepan.
- Bring the mixture to a boil, then reduce the heat and let it simmer for about 3 minutes.
- Remove the saucepan from heat and stir in the vanilla extract and butter (or ghee).
- If the syrup is too runny, you can thicken it by dissolving a bit of cornstarch in water and adding it to the syrup. Stir well.
- Let the syrup cool before serving. Store it in an airtight container in the fridge.
Notes
- You can adjust the consistency of the syrup by adding more or less water depending on how thick or runny you prefer it.
- The syrup can last in the fridge for up to 2 weeks.
- For a richer flavor, consider adding a pinch of salt.
Nutrition
- Serving Size: 1 tablespoon
- Calories: 50
- Sugar: 12g
- Sodium: 0mg
- Fat: 0g
- Saturated Fat: 0g
- Unsaturated Fat: 0g
- Trans Fat: 0g
- Carbohydrates: 13g
- Fiber: 1g
- Protein: 0g
- Cholesterol: 0mg

