

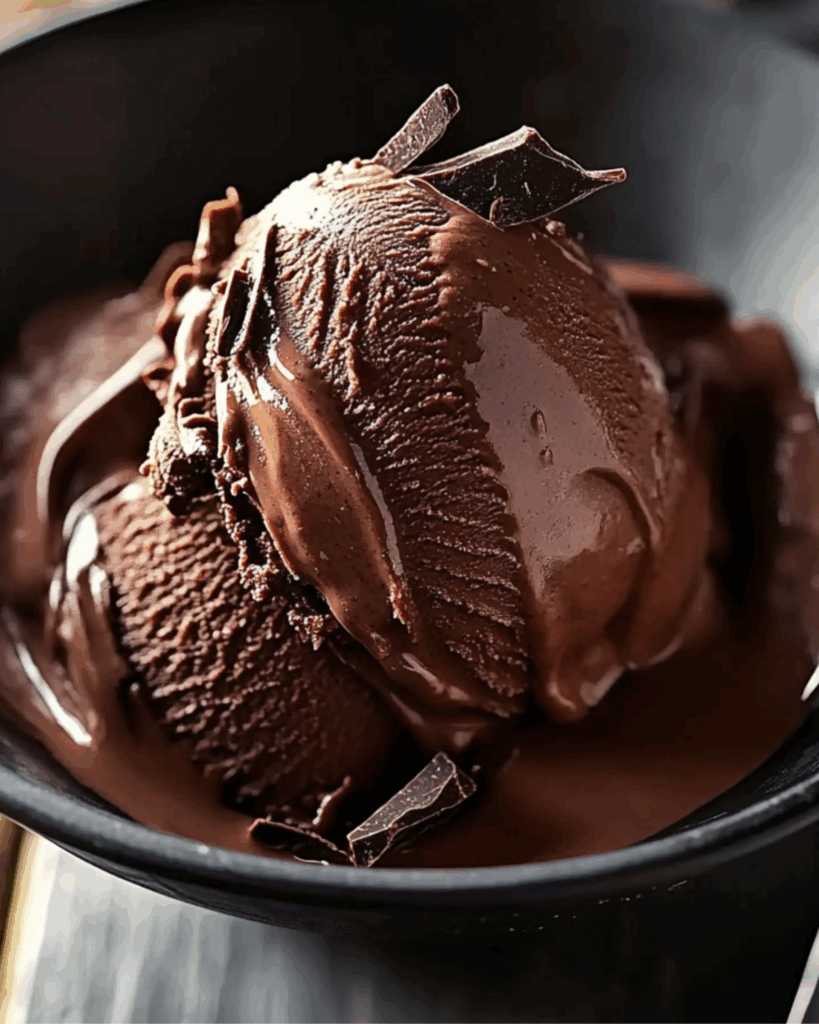
Homemade Chocolate Ice Cream
Imagine dipping your spoon into a velvet-smooth scoop of rich, chocolatey bliss—the kind that melts in your mouth with a slow, luscious swirl and leaves a cocoa-kissed smile on your face. That’s exactly what this homemade chocolate ice cream delivers. It’s not just dessert; it’s a full-on mood. Whether you’re beating the summer heat or just in need of a little indulgence (hey, we’ve all been there), this recipe has your back. Trust me, you’re going to love this one—it’s creamy, decadent, and ridiculously easy to make. No fancy equipment, no hard-to-find ingredients—just good old-fashioned flavor, homemade with love. Let’s scoop into it, shall we?
Why You’ll Love Creamy Dreamy Choco-Magic Ice Cream
This recipe isn’t just about the ingredients—it’s about creating moments. Whether you’re whipping it up for a cozy movie night, treating your kids after school, or just sneaking a bite straight from the freezer (no judgment!), this chocolate ice cream fits every delicious occasion. Here’s why it’s a favorite:
Versatile: A dreamy base that you can swirl with fudge, peanut butter, cookie bits—whatever your heart (and taste buds) desire.
Budget-Friendly: You likely already have everything you need at home—no need for an expensive pint from the store.
Quick and Easy: A few simple steps, no churning required (unless you want to), and boom—you’re on your way to chocolate paradise.
Customizable: From dairy-free swaps to adding espresso powder for a mocha kick, this ice cream is your canvas.
Crowd-Pleasing: It’s creamy. It’s chocolatey. It’s everything. Everyone from toddlers to grandpas will be back for seconds.
Disclosure: This post contains affiliate links.If you click and make a purchase, I may earn a small commission at no extra cost to you.


Ingredients in Creamy Dreamy Choco-Magic Ice Cream
Here’s the scoop—it’s made with simple staples, but the final flavor? Pure luxury. Let’s break it down:
Heavy Cream: This is what gives the ice cream that rich, luscious mouthfeel. It’s like the silk robe of the dairy world.
Whole Milk: Balances out the cream for a smoother, scoopable texture that’s not too rich.
Unsweetened Cocoa Powder: Brings that deep, chocolatey base flavor we all crave. Dutch-processed or natural cocoa both work.
Sweetened Condensed Milk: Our secret weapon. Adds sweetness and a silky finish without needing an ice cream maker.
Vanilla Extract: Enhances the chocolate and rounds out the flavor with a touch of warmth.
Salt: Just a pinch, but it makes all the other flavors pop. Trust me on this one.
Instructions
Let’s dive into the steps to create this creamy chocolate masterpiece:
Chill Your Equipment
Place your mixing bowl and beaters in the freezer for about 10-15 minutes. This helps whip the cream faster and more efficiently.
Whip the Cream
Using your chilled bowl, whip the heavy cream until stiff peaks form. You’re aiming for thick and fluffy—think cloud texture.
Mix the Base
In another bowl, whisk together the sweetened condensed milk, cocoa powder, vanilla extract, and salt until smooth and glossy. No cocoa lumps allowed!
Fold It Together
Gently fold the whipped cream into the chocolate mixture, one third at a time. Use a spatula and take your time—this is where the magic happens.
Freeze It
Pour the mixture into a loaf pan or airtight container. Smooth the top and press a piece of parchment paper directly onto the surface to prevent ice crystals.
Set and Scoop
Freeze for at least 6 hours, or until firm. When ready to serve, let it sit out for 5 minutes before scooping for that perfect creamy texture.
Serve and Enjoy
Scoop generously into cones, bowls, or straight from the container if you’re feeling wild. Garnish with shaved chocolate, crushed cookies, or a drizzle of caramel.
How to Serve Creamy Dreamy Choco-Magic Ice Cream
This ice cream is a showstopper on its own, but here are a few ways to make it even more irresistible:
Waffle Cones: Scoop into crunchy waffle cones and top with rainbow sprinkles. Childhood joy, guaranteed.
Ice Cream Sandwiches: Smash between two warm brownies or cookies for the ultimate indulgence.
Banana Split Style: Add sliced bananas, whipped cream, and a cherry on top. Classic and nostalgic.
Affogato: Pour a shot of hot espresso over a scoop for an adult-only twist.
Chocolate Overload: Drizzle with hot fudge, toss on chocolate chips, and go all-in. No regrets.
Additional Tips
Make It Dairy-Free: Swap heavy cream and milk for full-fat coconut milk and coconut cream. Still ultra-creamy and satisfying.
Flavor Boosters: Add a dash of espresso powder or cinnamon for a flavor twist that’ll make people ask what your secret is.
Add-Ins: Swirl in peanut butter, Nutella, crushed Oreos, or chopped nuts just before freezing.
Freeze Time: The longer it sets, the firmer it gets. For soft-serve vibes, enjoy it after 4 hours.
Storage Tips: Store in an airtight container for up to 2 weeks. Press plastic wrap or parchment paper onto the surface to prevent freezer burn.
FAQ Section
Q1: Can I make this without an ice cream maker?
A1: Absolutely! This recipe is no-churn and turns out creamy every time.
Q2: How do I prevent ice crystals from forming?
A2: Pressing parchment paper onto the surface before freezing helps keep it smooth and scoopable.
Q3: Can I use low-fat milk instead?
A3: You can, but it won’t be as rich or creamy. For best results, stick with whole milk.
Q4: Can I double the recipe?
A4: Yes, just make sure you have enough freezer space and containers.
Q5: How long does it last in the freezer?
A5: Up to 2 weeks for best texture and flavor.
Q6: Can I add chunks like chocolate chips or cookie pieces?
A6: Yes! Fold them in just before pouring the mixture into your container.
Q7: What if I want it sweeter?
A7: You can add a couple tablespoons of powdered sugar to the cocoa mixture, but taste first—it’s already sweetened.
Q8: Can I make this vegan?
A8: Yep! Use dairy-free sweetened condensed milk and full-fat coconut milk. It’s amazing.
Q9: Can I turn this into popsicles?
A9: Totally. Just pour into molds, insert sticks, and freeze. Instant summer treat!
Q10: What cocoa is best?
A10: Dutch-processed gives a smoother, deeper flavor, but natural cocoa adds a nice brightness. Use what you love!
Conclusion
And there you have it—Creamy Dreamy Choco-Magic Ice Cream, your new go-to for chocolatey comfort, celebratory scoops, or just-because-I-deserve-it kind of days. It’s simple enough for a beginner, indulgent enough for a special occasion, and flexible enough to make your own. Whether you stick with the classic or add your own creative twist, this ice cream brings big flavor and big smiles every time. So grab that spoon, claim the biggest scoop, and savor every creamy bite—you’ve earned it.
Print
Homemade Chocolate Ice Cream
- Prep Time: 15 minutes
- Cook Time: 5 minutes
- Total Time: 6 hours (includes chilling and freezing time)
- Yield: 1 quart 1x
- Category: Dessert
- Method: Churned
- Cuisine: American
- Diet: Vegetarian
Description
This luscious Homemade Chocolate Ice Cream is rich, creamy, and irresistibly chocolaty—perfect for cooling down on a sunny day or satisfying your late-night sweet tooth. Made with real dark chocolate and no eggs, it’s simple yet indulgent, with a velvety texture that melts in your mouth. #ChocolateLovers #IceCreamRecipe #HomemadeDessert #NoEggIceCream #SummerTreat
Ingredients
- 7 ounces dark chocolate (50%–70%), finely chopped (about 1 cup)
- 2 cups heavy cream
- 1 cup whole milk
- 3/4 cup + 2 tablespoons sugar
- 2 teaspoons vanilla extract
Instructions
- In a medium saucepan, combine the heavy cream, whole milk, and sugar. Heat over medium, stirring occasionally, until the sugar has fully dissolved and the mixture is hot but not boiling.
- Remove from the heat and immediately stir in the chopped dark chocolate. Keep stirring until the chocolate is fully melted and the mixture is smooth.
- Add the vanilla extract and stir to combine.
- Let the chocolate mixture cool to room temperature. Then cover and refrigerate for at least 4 hours or overnight until thoroughly chilled.
- Pour the chilled mixture into your ice cream maker and churn according to the manufacturer’s instructions, usually about 20–25 minutes.
- Transfer the churned ice cream to an airtight container and freeze for 2–4 hours, or until firm.
- Scoop, serve, and enjoy every dreamy, chocolaty bite!
Notes
- Use high-quality chocolate for the best flavor. Anywhere between 50–70% cocoa works beautifully.
- No ice cream maker? Freeze the chilled base in a shallow dish, stirring every 30 minutes for 2–3 hours until creamy and set.
- Add-ins like chocolate chips, cookie pieces, or swirls of peanut butter can be mixed in during the last few minutes of churning.
Nutrition
- Serving Size: 1/2 cup
- Calories: 280
- Sugar: 24g
- Sodium: 30mg
- Fat: 20g
- Saturated Fat: 12g
- Unsaturated Fat: 6g
- Trans Fat: 0g
- Carbohydrates: 27g
- Fiber: 2g
- Protein: 3g
- Cholesterol: 55mg


