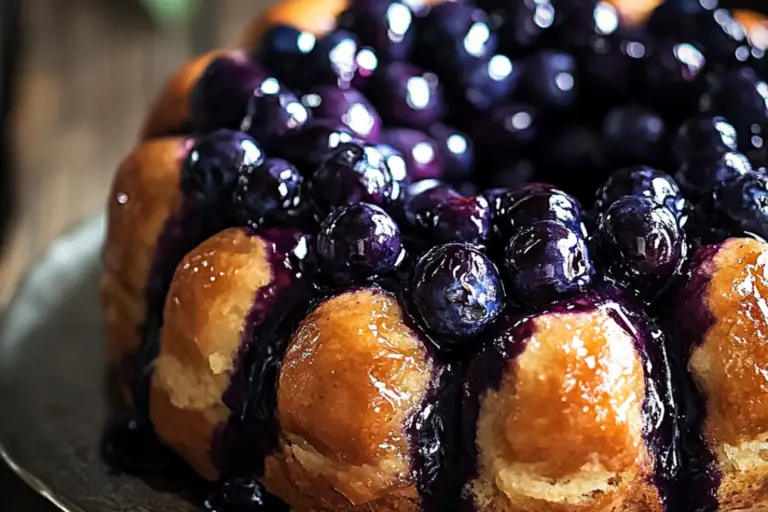
Hillbilly Pie (Poor Man’s Pie)
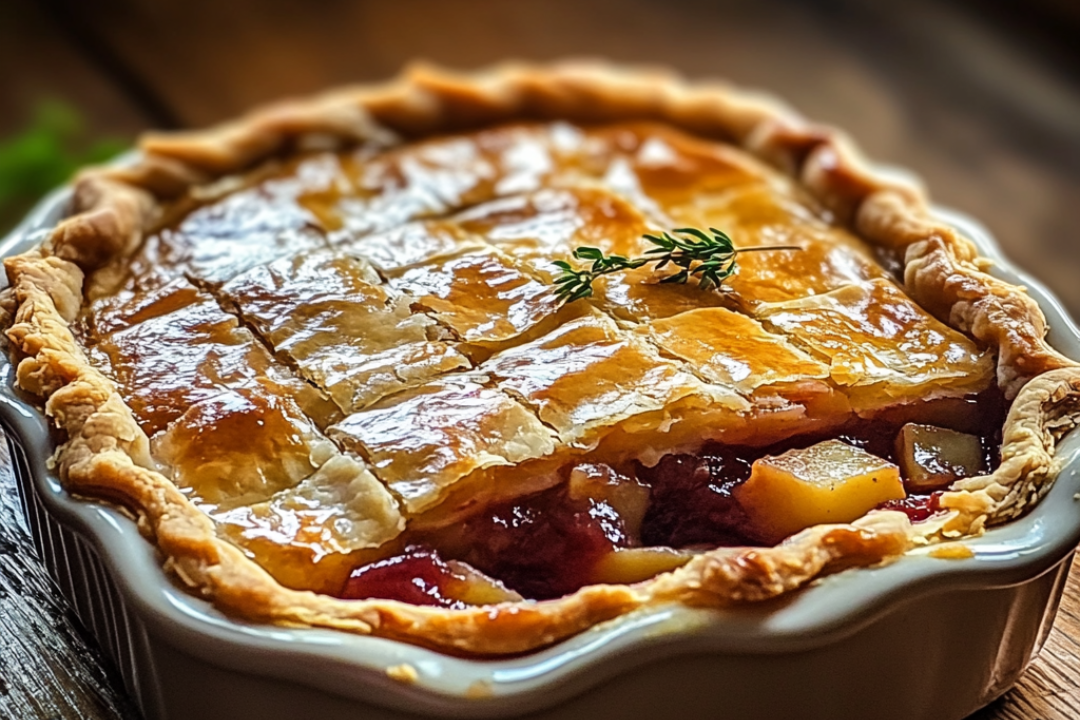
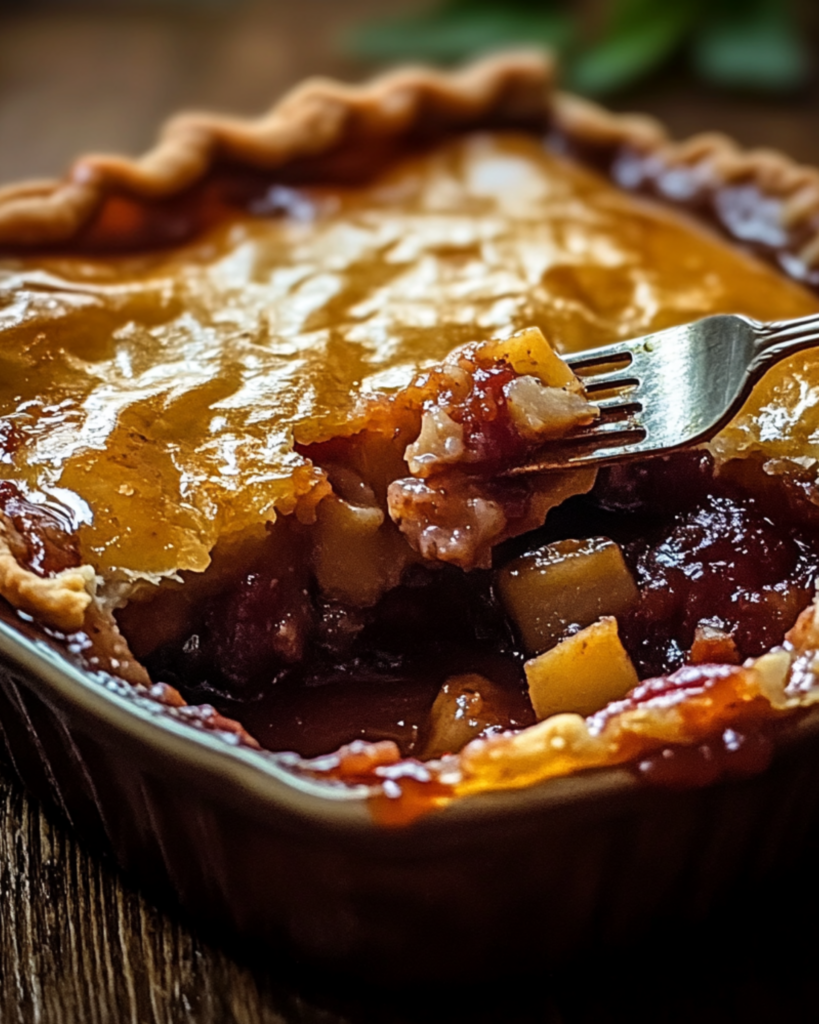
Let me tell you, this Hillbilly Pie—also known as Poor Man’s Pie—is a dish that’s all about comfort and heart. Picture yourself curled up on a chilly evening, the smell of baked goodness filling your kitchen, and that first bite of crispy, golden crust with creamy filling just melting in your mouth. This pie is a no-fuss, budget-friendly treat that’s packed with flavor and guaranteed to bring smiles to the table. It’s humble, it’s hearty, and trust me, it’s going to become one of your favorites!
Why You’ll Love Hillbilly Pie (Poor Man’s Pie)
This recipe isn’t just about the ingredients—it’s about creating moments. Whether you’re having a cozy family dinner, serving up something special at a get-together, or just treating yourself to some down-home comfort food, Hillbilly Pie has you covered. Here’s why it’s a favorite:
Versatile: Perfect for busy weeknights or as a hearty, satisfying dish at gatherings. Imagine coming home after a long day, ready to dive into something rich and comforting. Or imagine serving this at a party, where your guests can’t stop talking about it!
Budget-Friendly: Uses simple ingredients that you probably already have in your pantry. No need for fancy, hard-to-find items—just the basics, but they come together to create something extraordinary.
Quick and Easy: You don’t need to be a master chef to make this pie. With just a few steps, you’ll have a delicious, satisfying meal. This recipe is made for folks who want something straightforward and foolproof.
Customizable: Want to add a little spice? Or maybe you prefer a milder flavor? You can easily make this pie your own by tweaking the ingredients to suit your tastes.
Crowd-Pleasing: Whether you’re feeding a family or a group of friends, this dish will please everyone. It’s comforting, flavorful, and totally shareable.
Disclosure: This post contains affiliate links.If you click and make a purchase, I may earn a small commission at no extra cost to you.
Ingredients for Hillbilly Pie (Poor Man’s Pie)
Here’s the magic of this pie—it’s made with simple, everyday ingredients, but the result is far beyond basic. Let’s break it down:
Pie Crust: The buttery, flaky crust is the perfect base to hold all those savory, hearty fillings. It bakes up golden and crisp, giving that satisfying crunch you crave.
Ground Beef: The star protein! Ground beef is seasoned and cooked to perfection, bringing a rich, meaty flavor to the filling. It’s the heart of this dish, hearty and satisfying.
Onion: The perfect veggie to add a little sweetness and depth to the filling. It pairs so well with the beef and adds a soft texture.
Frozen Corn: Adds a pop of color and sweetness. Plus, it’s an easy ingredient to work with—no need to fuss with fresh veggies here!
Cheddar Cheese: A generous amount of melted cheese gives this pie that gooey, melty goodness. The cheese and beef are a match made in comfort food heaven.
Cream of Mushroom Soup: This ingredient brings the creaminess and helps bind everything together. It’s an easy way to add flavor and a little extra richness to the filling.
(Note: The full ingredient list, including measurements, is provided in the recipe card directly below.)
Instructions
Let’s get to making this delicious Hillbilly Pie:
Preheat Your Oven: Start by preheating your oven to 375°F (190°C). This ensures that your pie gets that perfect golden crust.
Cook the Beef: In a skillet over medium heat, cook the ground beef with the chopped onions. Stir until the beef is browned and the onions are soft. This step builds the savory base of your pie.
Mix the Filling: In a large mixing bowl, combine the cooked beef mixture with the frozen corn and cream of mushroom soup. Stir everything together until it’s well-mixed.
Assemble the Pie: Roll out your pie crust and fit it into a pie pan. Pour the beef and vegetable mixture into the pie crust, spreading it evenly. Top it all off with a generous layer of shredded cheddar cheese.
Bake the Pie: Pop the pie into your preheated oven and bake for 25-30 minutes, or until the crust is golden brown and the cheese is bubbly and melted.
Let it Cool: Once out of the oven, let your pie cool for about 5 minutes. This helps set the filling and makes it easier to slice.
Serve and Enjoy: Slice, serve, and enjoy this warm, comforting dish that’s sure to bring smiles all around the table!
Nutrition Facts
- Servings: 1 piece
- Calories per serving:250
Preparation Time
- Prep Time: 10 minutes
- Cook Time:30 minutes
- Total Time: 40 minutes
How to Serve Hillbilly Pie
This dish pairs wonderfully with a variety of sides. Here are a few serving suggestions to complement the rich flavors of the pie:
- Crisp Green Salad: A fresh, crisp salad dressed in a light vinaigrette works as a great contrast to the richness of the pie.
- Garlic Bread: Serve with a slice of warm garlic bread to scoop up any of the delicious filling that might spill out of the pie.
- Roasted Veggies: Add a colorful touch with roasted vegetables like carrots, zucchini, or asparagus for a balanced meal.
Additional Tips
Here are a few pro tips to make this recipe even easier and tastier:
- Prep Ahead: You can prep the filling the day before and store it in the fridge. Then, just assemble and bake when you’re ready!
- Spice it Up: Add a pinch of chili flakes or cayenne pepper if you want to bring some heat to the dish.
- Dietary Adjustments: If you’re looking for a lighter version, you can swap in lean ground turkey or chicken.
- Storage Tips: Store any leftovers in an airtight container in the fridge for up to 3 days. It reheats beautifully in the microwave.
FAQ Section
- Q1: Can I substitute the ground beef with another meat? A1: Yes! Ground turkey, chicken, or even a vegetarian alternative like lentils would work great in this recipe.
- Q2: Can I make this dish ahead of time? A2: Absolutely! You can prepare the filling and assemble the pie in advance. Just refrigerate it, and bake it when you’re ready.
- Q3: How do I store leftovers? A3: Store leftovers in an airtight container in the fridge for up to 3 days. Reheat in the microwave or oven.
- Q4: Can I freeze this pie? A4: Yes, this pie freezes wonderfully! Assemble the pie, then wrap it tightly and freeze for up to 3 months. Thaw overnight and bake as usual.
- Q5: What’s the best way to reheat this pie? A5: Reheat in the oven at 350°F (175°C) for about 10-15 minutes, or in the microwave in 30-second intervals until hot.
- Q6: Can I double the recipe? A6: Absolutely! Just make sure to use a larger pie pan or divide it into two smaller ones.
- Q7: Is this recipe suitable for a gluten-free diet? A7: To make it gluten-free, simply use a gluten-free pie crust and check that your cream of mushroom soup is gluten-free.
- Q8: What side dishes go well with Hillbilly Pie? A8: Mashed potatoes, green beans, or a side of cornbread would be perfect accompaniments.
- Q9: How can I make this recipe healthier? A9: You can use lean ground meat, low-fat cream of mushroom soup, and add more veggies to the filling.
- Q10: What’s the best cookware for this recipe? A10: A standard 9-inch pie pan works best. If you don’t have one, a casserole dish will work too!
Conclusion
So there you have it—Hillbilly Pie (Poor Man’s Pie) is the comfort food that proves you don’t need to break the bank to create something delicious. Whether you’re cooking for your family or treating yourself to some down-home goodness, this pie is bound to become a new favorite. Easy, hearty, and packed with flavor—what’s not to love? Happy baking!
Print
Hillbilly Pie (Poor Man’s Pie)
- Prep Time: 10 minutes
- Cook Time: 30 minutes
- Total Time: 40 minutes
- Yield: 6-8 servings
- Category: Dessert
- Method: Baking
- Cuisine: American (Southern)
- Diet: Vegetarian
Description
A classic Southern dessert, Hillbilly Pie combines buttery goodness with the sweetness of fruit pie filling for an easy, delicious treat. This simple “poor man’s” pie is a comforting dessert with minimal ingredients, perfect for when you’re craving something sweet
Ingredients
- 1 stick butter (melted)
- 1 cup self-rising flour
- 1 cup sugar
- 1 cup milk
- 12 oz. can fruit pie filling (your favorite flavor)
Instructions
- Preheat your oven to 350°F (175°C).
- Place the stick of butter in an 8×8 casserole dish and let it melt in the oven while it preheats.
- In a mixing bowl, combine the self-rising flour, sugar, and milk. Mix until smooth.
- Once the butter has melted, remove the casserole dish from the oven and pour the flour mixture into the dish over the butter.
- Gently add the fruit pie filling on top of the mixture without stirring.
- Bake for about 30 minutes, or until the top is golden and bubbly.
- Let the pie cool before serving. Enjoy warm or at room temperature
Notes
- You can swap the fruit pie filling for any variety you like: cherry, peach, or apple are great options.
- This pie is very easy to make with just a few simple ingredients, perfect for those on a budget or looking for a quick dessert.
Nutrition
- Serving Size: 1 piece
- Calories: 250
- Sugar: 20g
- Sodium: 150mg
- Fat: 10g
- Saturated Fat: 6g
- Unsaturated Fat: 3g
- Trans Fat: 0g
- Carbohydrates: 38g
- Fiber: 1g
- Protein: 2g
- Cholesterol: 30mg

