

Festive Bliss Bars (aka Holiday Cake Mix Cookie Bars)
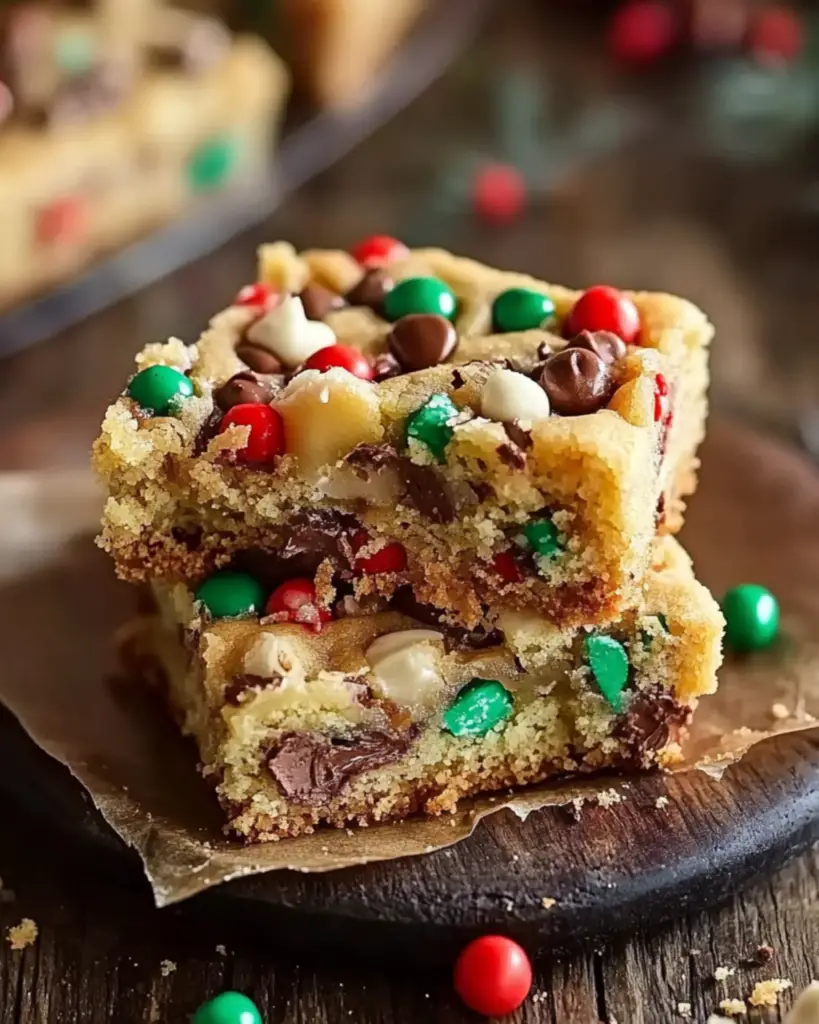
Okay friend, buckle up—because what I’m about to share with you is pure magic in dessert form. These Festive Bliss Bars are soft, chewy, sweet little squares of joy that bring all the cozy, feel-good holiday vibes in every bite. Imagine warm vanilla cake cookie goodness swirled with melty chocolate chips, colorful sprinkles, and all the fun textures your taste buds could dream of. Trust me, this one’s a game-changer.
They’re like if cookies and cake had a holiday lovechild, and the result is everything you want on a chilly evening by the fireplace—or just, you know, curled up on the couch with a Hallmark movie and a hot drink. These bars are ridiculously easy to make (thank you, cake mix shortcut!), so you can whip them up even when your holiday to-do list is overflowing. Bonus: they’re perfect for cookie swaps, bake sales, or just treating yourself. No judgment here.
Let’s make dessert the easiest and most delightful part of your day, shall we?
Why You’ll Love Festive Bliss Bars
This recipe isn’t just about baking—it’s about creating little moments of joy. Whether you’re sneaking a treat after dinner or sharing a tray at your holiday party, these bars are guaranteed to bring smiles. Here’s why they’re a favorite:
Versatile
Perfect for gifting, potlucks, or a last-minute dessert when guests pop by. Picture this: you bring a batch to a party, and before the night is over, three people are asking you for the recipe. Instant holiday hero status.
Budget-Friendly
These use a handful of pantry staples—including a humble box of cake mix. No need for expensive ingredients or fancy tools. This is proof that a delicious treat doesn’t have to cost a fortune.
Quick and Easy
Truly beginner-friendly! If you’ve never baked a thing in your life, you can still nail these. No mixers, no dough chilling, just stir, spread, and bake.
Customizable
Feeling festive? Toss in some crushed candy canes or red and green M&Ms. Want something a little nuttier? Add chopped pecans or walnuts. The mix-ins are totally up to you.
Crowd-Pleasing
Soft, chewy, and loaded with chocolate—what’s not to love? These bars are always the first thing to disappear on the dessert table, and kids and grown-ups alike go nuts for them.
Disclosure: This post contains affiliate links.If you click and make a purchase, I may earn a small commission at no extra cost to you.


Ingredients in Festive Bliss Bars
Here’s the beauty of this recipe—it takes just a few ingredients, and they all come together to create something that tastes homemade and totally irresistible.
Vanilla Cake Mix
The foundation of the recipe. It gives you a soft, fluffy texture with a slightly chewy cookie edge. Instant magic.
Eggs
Help bind everything together and give the bars their cakey, cookie-like consistency.
Vegetable Oil
Keeps the bars moist and tender. It also makes the batter come together super smoothly—no need for butter softening or creaming.
Holiday Sprinkles
Colorful, fun, and festive. These instantly give the bars a cheery, seasonal vibe. You can swap in different sprinkles for any occasion.
White Chocolate Chips
Creamy and sweet, they melt into little pools of goodness throughout the bars. You could also use milk or semi-sweet chocolate if that’s more your thing.
Mini Marshmallows (Optional)
Want to take the gooey factor up a notch? Marshmallows add that soft, pillowy bite that makes each square extra indulgent.
(Note: The full ingredient list with measurements is included in the recipe card below.)
Instructions
Let’s dive into the steps to create this chewy, colorful masterpiece:
Preheat Your Equipment
Start by preheating your oven to 350°F (175°C). A properly preheated oven ensures even baking and the perfect texture for your bars.
Combine Ingredients
In a large mixing bowl, combine the cake mix, eggs, and oil. Stir until everything is fully blended and a thick dough forms. Fold in the white chocolate chips, sprinkles, and marshmallows if using. It’s gonna smell amazing already—resist the urge to sneak too many tastes!
Prepare Your Cooking Vessel
Lightly grease a 9×13-inch baking dish or line it with parchment paper. This helps the bars come out easily and makes cleanup a total breeze.
Assemble the Dish
Press the dough evenly into the prepared baking dish. Use your fingers or a spatula to spread it out—it’s a bit sticky, but don’t worry, it smooths out as it bakes.
Cook to Perfection
Bake for 20–25 minutes or until the edges are golden and a toothpick inserted in the center comes out clean. You want the center to be set but still soft—don’t overbake!
Finishing Touches
Let the bars cool completely in the pan. They’ll firm up a bit more as they cool, making them easier to cut into perfect little squares.
Serve and Enjoy
Slice into bars, serve with a glass of milk or a holiday cocktail, and enjoy! They’re perfect warm, room temp, or even straight from the fridge (they get a bit fudgy—yum).
How to Serve Festive Bliss Bars
These bars shine all on their own, but if you want to make them the center of a dessert spread, here are some ideas:
- With Hot Chocolate: Serve alongside mugs of cocoa for the ultimate cozy treat.
- As a Dessert Platter Star: Pair with cookies, fudge, and holiday candies for a festive dessert table.
- A la Mode: Warm a bar slightly and top it with vanilla ice cream and a drizzle of caramel sauce. Yes, please.
- Wrapped as Gifts: Stack a few in a clear bag, tie with ribbon, and boom—sweet little homemade gifts.
Additional Tips
Prep Ahead
Make the dough ahead of time and refrigerate it for up to two days. Just press it into the pan when you’re ready to bake!
Mix It Up
Try using chocolate cake mix with peppermint chips, or red velvet cake mix with cream cheese chips for a twist on the classic.
Storage Tips
Store leftovers in an airtight container at room temperature for up to 5 days. They also freeze beautifully—just wrap tightly and thaw before serving.
Double the Batch
Need to feed a crowd? This recipe doubles easily. Just use a larger baking pan and increase the baking time slightly.
FAQ Section
Q1: Can I use butter instead of oil?
A1: Absolutely! Melted butter works great and adds a slightly richer flavor.
Q2: Can I make these gluten-free?
A2: Yes! Just use a gluten-free cake mix, and double-check your mix-ins for any hidden gluten.
Q3: How do I keep the bars soft?
A3: Don’t overbake, and store them in an airtight container with a slice of bread—it keeps them moist!
Q4: Can I freeze these?
A4: Totally. Wrap them tightly and freeze for up to 2 months. Thaw at room temperature before serving.
Q5: What mix-ins work best?
A5: Aside from chocolate chips and sprinkles, try crushed pretzels, nuts, or chopped candies like Reese’s or M&Ms.
Q6: Do I need to chill the dough?
A6: Nope! That’s the beauty of this recipe—mix, press, bake, done.
Q7: Can I make this in a smaller pan?
A7: You can! Just reduce the ingredient quantities slightly and watch the bake time—it may cook a little faster.
Q8: What’s the best way to cut the bars cleanly?
A8: Let them cool completely, then use a sharp knife (wipe between cuts) or even a plastic knife—they work wonders!
Q9: Are these good for gifting?
A9: YES. Wrap them individually in festive packaging, and they make the cutest, tastiest gifts ever.
Q10: Can I add food coloring to make them more festive?
A10: For sure! A couple of drops of food coloring in the dough can turn these into themed treats for any holiday.
Conclusion
And there you have it—Festive Bliss Bars that are as easy to make as they are impossible to resist. These bars are soft, chewy, and bursting with holiday spirit in every bite. Whether you’re baking them as a last-minute treat, adding them to a dessert tray, or wrapping them up as sweet gifts, they’re guaranteed to bring smiles and maybe even a few “OMG, you made these?!” moments.
So the next time you’re craving something cozy, colorful, and downright delicious, remember this recipe. It’s festive, foolproof, and totally fabulous. Go ahead—pour a mug of something warm, cue up your favorite holiday playlist, and get baking.
Print
Festive Bliss Bars (aka Holiday Cake Mix Cookie Bars)
- Prep Time: 5 minutes
- Cook Time: 25 minutes
- Total Time: 30 minutes
- Yield: 12–16 bars
- Category: Dessert, Snack
- Method: Baking
- Cuisine: American
- Diet: Vegetarian
Description
These Holiday Cake Mix Cookie Bars are festive, colorful, and incredibly easy to make with just a few pantry staples. Made with yellow cake mix, Easter M&Ms, and melty chocolate chips, they’re the perfect quick treat for holidays, potlucks, or cookie exchanges. Customize them for any season by swapping the candy colors!
Ingredients
1 box yellow cake mix
2 eggs
⅓ cup vegetable oil
1 tsp vanilla extract
1 cup Easter M&M candies
1 cup chocolate chips
Instructions
-
Preheat oven to 350°F (175°C). Grease or line a 9×13-inch baking pan with parchment paper.
-
In a large bowl, mix together cake mix, eggs, oil, and vanilla extract until a dough forms.
-
Gently fold in M&Ms and chocolate chips until evenly distributed.
-
Press the dough evenly into the prepared baking pan.
-
Bake for 20–25 minutes or until the top is golden and set.
-
Allow to cool completely in the pan before slicing into bars.
Notes
-
Switch out M&Ms for seasonal colors for Christmas, Halloween, or Valentine’s Day.
-
Add chopped nuts or white chocolate chips for extra texture.
-
Store in an airtight container at room temperature for up to 4 days.
-
Bars can be frozen for up to 2 months—just wrap tightly.
Nutrition
- Serving Size: 1 bar
- Calories: 210 kcal
- Sugar: 18g
- Sodium: 180mg
- Fat: 10g
- Saturated Fat: 4g
- Unsaturated Fat: 4g
- Trans Fat: 0g
- Carbohydrates: 28g
- Fiber: 1g
- Protein: 2g
- Cholesterol: 20mg


