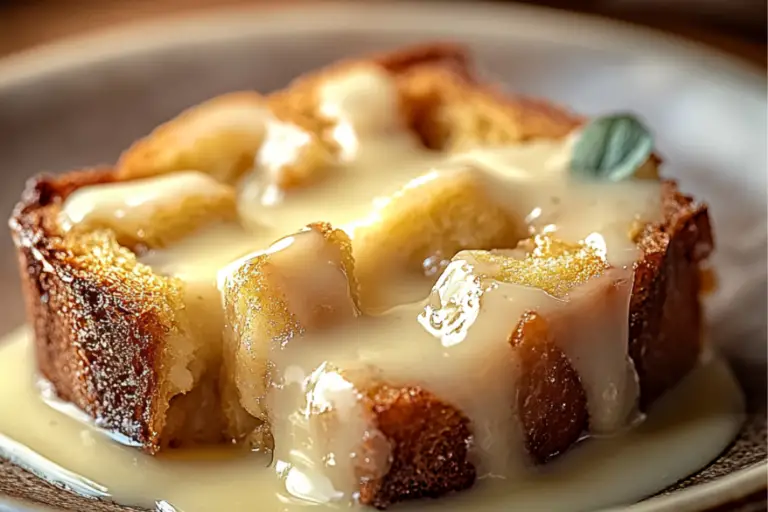
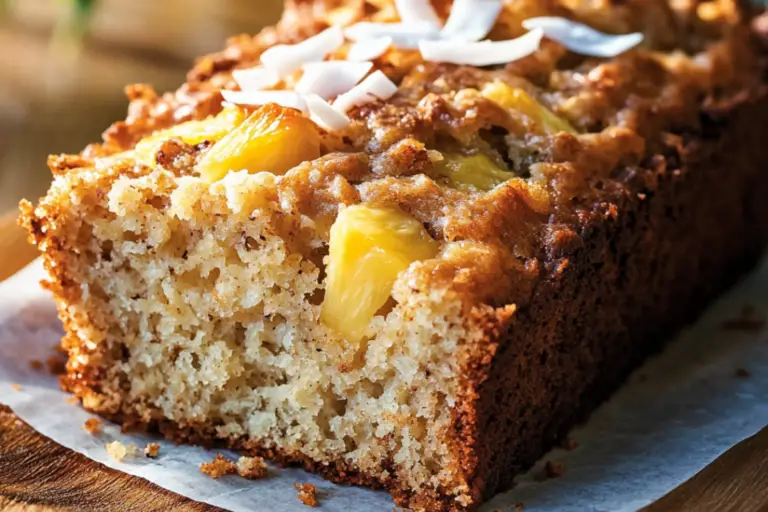
Easy Breakfast Cheese Danish
If you’re craving something sweet and indulgent for breakfast (or brunch), then trust me, you’re going to love this Easy Breakfast Cheese Danish! Think golden, buttery pastry with a creamy, slightly tangy cheese filling that will make your taste buds do a little happy dance. Seriously, it’s like biting into a little slice of heaven—crispy, flaky, and oh-so-delicious. Whether you’re serving it at a Sunday morning gathering or just treating yourself on a lazy weekday, this Danish is your new go-to pastry. It’s easy to make, yet feels super fancy—definitely one of those recipes that looks like you spent all day in the kitchen, but only took a few minutes to whip up!
Why You’ll Love Easy Breakfast Cheese Danish
This recipe isn’t just about delicious ingredients—it’s about making mornings feel extra special. Whether you’re getting the kids off to school or just lounging around with your favorite mug of coffee, these Danish pastries are a game-changer. Here’s why:
Versatile: This dish is perfect for any occasion, whether you’re looking for a cozy breakfast, a brunch treat, or something to wow guests. Imagine a lazy Saturday morning with the smell of freshly baked Danish wafting through the house—sounds pretty perfect, right?
Budget-Friendly: No need to splurge on fancy ingredients. You probably already have most of these pantry staples on hand, making this a great go-to recipe when you’re craving something sweet but don’t want to break the bank.
Quick and Easy: Don’t worry if you’re not a pastry pro—this recipe is super simple. No complicated steps or difficult techniques. Just roll, fill, and bake!
Customizable: You can easily tweak this to suit your tastes. Love fruit? Add some fresh berries or even a dollop of jam to the cheese filling. Want it extra indulgent? Top it with a sprinkle of powdered sugar or a drizzle of icing.
Crowd-Pleasing: These Danish pastries are perfect for everyone—whether you’re feeding a big family, hosting brunch with friends, or simply enjoying a quiet moment for yourself. They’re the perfect blend of sweet and savory, making them an instant hit!

Disclosure: This post contains affiliate links.If you click and make a purchase, I may earn a small commission at no extra cost to you.
Ingredients
Here’s the magic of this easy cheese Danish—it’s made with just a handful of pantry staples, and yet the result is pure deliciousness. Let’s break it down:
Puff Pastry: The flaky, buttery base that holds everything together. Puff pastry is your shortcut to a gourmet pastry, giving you that light, crisp texture without hours of effort.
Cream Cheese: The star of the show! The rich, creamy filling brings the perfect balance of tangy and sweet. It’s smooth and luscious—just what you need to complement the crispy pastry.
Sugar: Adds just the right touch of sweetness to the filling. It balances the tanginess of the cream cheese and rounds out the flavor perfectly.
Vanilla Extract: A splash of vanilla adds warmth and depth to the cream cheese filling. It’s that little something extra that makes all the difference.
Egg: Used to bind the filling and also to brush over the pastry for a beautiful golden finish.
Instructions
Let’s dive into the steps to create these heavenly Danish pastries:
Preheat Your Oven: Start by preheating your oven to 375°F (190°C). This ensures that your pastries bake evenly and get that perfect golden-brown color.
Prepare the Puff Pastry: Unroll the puff pastry sheet onto a lightly floured surface. Cut it into squares or rectangles—whatever you prefer!
Mix the Filling: In a medium-sized bowl, combine cream cheese, sugar, and vanilla extract. Mix until smooth and creamy. You can even use a hand mixer for a fluffier texture if you’d like!
Assemble the Danish: Place a spoonful of the cream cheese mixture in the center of each puff pastry square. Fold up the corners of the pastry to form a little pocket around the filling. If you prefer an open pastry, leave the corners unfolded for a more rustic look.
Brush with Egg Wash: Beat the egg in a small bowl and brush it over the pastry edges to give them a beautiful golden shine as they bake.
Bake: Place the pastries on a parchment-lined baking sheet and bake in the preheated oven for about 15–20 minutes, or until the pastry is puffed up and golden brown.
Serve and Enjoy: Let the Danish cool for a few minutes before serving. Pair with a cup of coffee or tea for the perfect breakfast treat!
Nutrition Facts
Servings: 1 slice
Calories per serving: 250 kcal
Preparation Time
Prep Time: 10 minutes
Cook Time:25 minutes
Total Time: 35 minutes
How to Serve Easy Breakfast Cheese Danish
These Danish pastries are perfect on their own, but here are a few ways to make them even more special:
- With Fresh Fruit: Pair them with a side of fresh berries or sliced fruit for a sweet, refreshing contrast.
- With Coffee or Tea: A warm mug of coffee, cappuccino, or herbal tea complements the richness of the Danish beautifully.
- For Brunch: Serve them alongside a savory dish like scrambled eggs or bacon for a complete brunch spread.
Additional Tips
Here are some extra tips to help you get the most out of this recipe:
- Make-Ahead: You can assemble the pastries the night before, then refrigerate them overnight. In the morning, just pop them in the oven for a quick bake.
- Sweet Variations: Add a spoonful of fruit preserves (like raspberry or apricot) to the cream cheese filling for a fruity twist.
- Storage Tips: Store leftover Danish in an airtight container for up to two days. You can also freeze them for later enjoyment—just bake them and freeze them before adding the egg wash.
FAQ Section
Q1: Can I use something other than puff pastry?
A1: Yes! You can use crescent roll dough as an alternative for a slightly different texture, or even a shortcrust pastry for a more biscuit-like finish.
Q2: Can I make these ahead of time?
A2: Absolutely! You can prepare them the night before and bake them fresh in the morning.
Q3: Can I freeze these Danish?
A3: Yes! Assemble them and freeze them before baking. When you’re ready to bake, just pop them in the oven from frozen and add a few extra minutes to the baking time.
Q4: How do I store leftovers?
A4: Store leftovers in an airtight container in the fridge for up to 2 days. Reheat in the oven for a few minutes to restore that fresh-baked goodness.
Q5: Can I use a different filling?
A5: Totally! You can fill these with fruit preserves, chocolate chips, or even a mix of sweetened mascarpone for a different twist.
Q6: How can I make these gluten-free?
A6: You can use gluten-free puff pastry if you’re following a gluten-free diet. Just make sure to check that your other ingredients are gluten-free too.
Q7: Can I double this recipe?
A7: Yes! Just make sure to use a larger baking sheet and adjust the baking time slightly if needed.
Q8: How can I make the filling creamier?
A8: To make it extra creamy, you can add a spoonful of sour cream or Greek yogurt to the cream cheese mixture.
Q9: Can I add nuts to the filling?
A9: Sure! Chopped pecans or walnuts can add a lovely crunch and flavor to the filling.
Q10: What’s the best way to reheat these Danish?
A10: Reheat them in a 300°F (150°C) oven for about 5 minutes to maintain their crispy texture.
Conclusion
These Easy Breakfast Cheese Danish are bound to become your new favorite treat! They’re deliciously rich, flaky, and oh-so-easy to make. Whether you’re enjoying them alone with your coffee or sharing them with friends, they’re sure to impress. So what are you waiting for? Get baking!

Easy Breakfast Cheese Danish
- Prep Time: 10 minutes
- Cook Time: 25 minutes
- Total Time: 35 minutes
- Yield: 12 slices
- Category: Breakfast, Brunch
- Method: Baked
- Cuisine: American
- Diet: Vegetarian
Description
A quick and delicious breakfast treat, this Easy Breakfast Cheese Danish combines flaky crescent roll dough with a creamy, sweet filling. Perfect for mornings or brunch! Add fruit preserves for a fruity twist!
Ingredients
- For the Danish:
- 2 cans (8 oz each) crescent roll dough or puff pastry sheets
- 8 oz cream cheese, softened
- 1/2 cup granulated sugar
- 1 teaspoon vanilla extract
- 1 large egg yolk
- 1/2 teaspoon lemon juice
- 1/2 cup fruit preserves (optional, for fruit-filled versions)
For the Glaze:
- 1/2 cup powdered sugar
- 1–2 tablespoons milk
- 1/2 teaspoon vanilla extract
Instructions
- Preheat oven: Preheat oven to 350°F (175°C). Line a baking sheet with parchment paper.
- Prepare the dough: Unroll one can of crescent roll dough and press it into a rectangle, pinching the seams together. Lay it flat on the prepared baking sheet.
- Make the filling: In a medium bowl, beat together cream cheese, granulated sugar, vanilla extract, egg yolk, and lemon juice until smooth and creamy.
- Assemble the danish: Spread the cream cheese mixture evenly over the dough, leaving a 1/2-inch border around the edges. Add small dollops of fruit preserves if using.
- Top with second layer: Unroll the second can of crescent roll dough and carefully lay it over the filling. Pinch the edges to seal.
- Bake: Bake for 20–25 minutes or until golden brown. Let it cool slightly before adding the glaze.
- Make the glaze: Whisk powdered sugar, milk, and vanilla extract until smooth. Drizzle over the cooled danish.
- Serve: Slice and enjoy warm or at room temperature.
Notes
- For a fruity version, add a spoonful of fruit preserves like raspberry or apricot before sealing the danish.
- Ensure the danish cools slightly before glazing to prevent the glaze from melting too much.
- If using puff pastry, bake for an additional 5 minutes to ensure it’s fully crisp.
Nutrition
- Serving Size: 1 slice
- Calories: 250 kcal
- Sugar: 15g
- Sodium: 200mg
- Fat: 14g
- Saturated Fat: 8g
- Unsaturated Fat: 4g
- Trans Fat: 0g
- Carbohydrates: 26g
- Fiber: 1g
- Protein: 3g
- Cholesterol: 40mg


