

Bread in a Bag
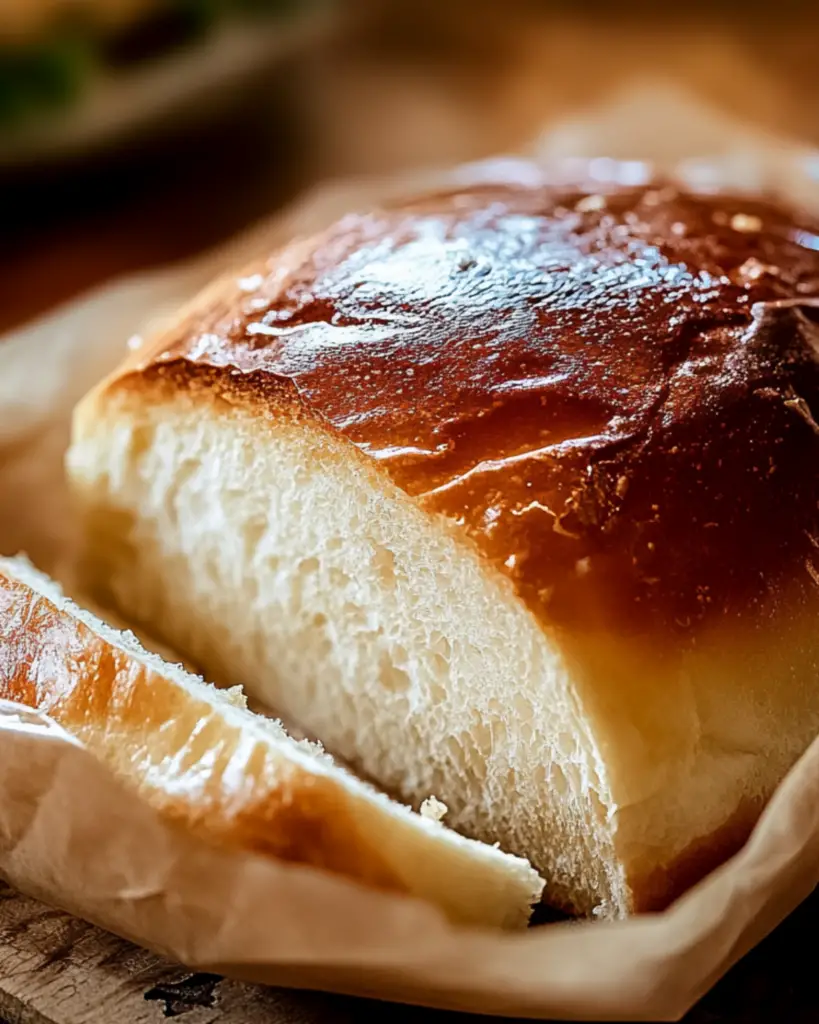
Okay, picture this: warm, freshly baked bread, right out of the oven, golden and soft with that irresistible smell filling the kitchen. And the best part? You didn’t even have to get your hands all messy kneading it! Sounds like magic, right? Trust me, you’re going to love this recipe. It’s quick, fun, and requires minimal effort, but the end result is something that will make you feel like a baking pro. So let’s dive into this simple, but oh-so-satisfying way to make homemade bread—no fancy equipment, no complicated techniques. Just pure, bread-baking bliss!
Why You’ll Love Bread in a Bag
This recipe isn’t just about baking bread; it’s about making the process fun, simple, and totally rewarding. Whether you’re a first-time bread maker or a seasoned pro, this bread will turn out soft, fluffy, and full of flavor every single time. Here’s why it’s one of my favorites:
Versatile: Perfect for busy weeknights, brunches, or just because you’re craving something homemade and comforting. You can flavor it however you want, whether you prefer a classic loaf or want to try adding some herbs, garlic, or even a little cheddar cheese to the dough. The possibilities are endless!
Budget-Friendly: The ingredients are basic pantry staples that you probably already have on hand, so no need for a trip to the store! It’s perfect for when you’re on a budget but still want to treat yourself to something cozy and homemade.
Quick and Easy: This recipe doesn’t involve complicated techniques. It’s all about tossing your ingredients into a bag, letting the magic happen, and then baking it. It’s foolproof and perfect for anyone who’s a bit intimidated by baking from scratch.
Minimal Mess: You mix everything in a bag—no sticky dough on your countertop or in your hands. Plus, there’s no need to pull out the stand mixer or knead for hours. Just zip up the bag, shake, and you’re on your way to bread perfection.
Crowd-Pleasing: Bread is always a winner, whether it’s served with a hearty soup, alongside a salad, or as the star of a bread-and-cheese night. This one’s bound to impress everyone around your table, and they won’t believe how easy it was to make!
Disclosure: This post contains affiliate links.If you click and make a purchase, I may earn a small commission at no extra cost to you.


Ingredients in Bread in a Bag
Let’s break down the ingredients for this easy bread recipe:
Flour: The base of the bread. You’ll want all-purpose flour, which gives the bread its light, airy texture. If you want to play around, you can substitute a portion with whole wheat flour for a slightly denser loaf.
Yeast: Yeast is the magic that makes the bread rise, giving it that soft, fluffy texture we all love. Active dry yeast works best here.
Salt: Just a pinch of salt adds the right balance and enhances the flavors in the dough.
Sugar: A little sugar helps activate the yeast, giving the bread the perfect rise.
Warm Water: This is the magic elixir that brings everything together. It activates the yeast and starts the dough’s transformation from flour and water into a beautiful, soft loaf.
Olive Oil or Vegetable Oil: A small amount of oil helps keep the bread soft and tender.
(Note: the full ingredients list, including measurements, is provided in the recipe card directly below.)
Instructions
Let’s get started! Don’t worry, you’ve got this. I’m here to guide you through every step!
1. Preheat Your Oven
Preheat your oven to 375°F (190°C). This is the perfect temperature for baking your loaf to golden perfection.
2. Combine the Ingredients in a Bag
Grab a large resealable plastic bag (think gallon size) and add your flour, yeast, sugar, and salt. Zip the bag and give it a good shake to mix everything together. This step is quick, but trust me, it’s important to get all your dry ingredients evenly distributed.
3. Add the Wet Ingredients
Now, it’s time to pour in the warm water and oil. Zip the bag back up and squish everything around (this is the fun part!). Keep kneading and squishing the bag until the dough starts coming together. You should have a smooth dough ball after about 5 minutes of squishing.
4. Let the Dough Rest
Set your bag aside in a warm spot for about 30 minutes. The dough needs time to rise and get nice and fluffy. During this time, the yeast will work its magic and the dough will double in size!
5. Shape the Dough
Once the dough has risen, remove it from the bag and transfer it to a lightly floured surface. Gently shape it into a loaf by folding the edges towards the center. Don’t worry about making it perfect—it’ll still turn out amazing!
6. Bake to Golden Perfection
Place your dough on a baking sheet (lined with parchment paper for easy cleanup if you want) and pop it in the oven. Bake for 25–30 minutes or until the bread is golden brown and sounds hollow when tapped on the bottom.
7. Let It Cool (If You Can Wait!)
Once your bread is out of the oven, let it cool on a wire rack for a few minutes. I know, it’s tempting to dig in right away, but a little patience here will make a big difference.
8. Slice and Enjoy!
Now it’s time to slice into that gorgeous loaf. Serve with butter, jam, or dip it into your favorite soup or stew. It’s warm, homemade bread, and it’s ready to be enjoyed!
How to Serve Bread in a Bag
Here are a few ways to serve your homemade bread:
With Butter: Sometimes simple is best! Spread a little butter on a warm slice of bread for the perfect comfort food.
Alongside Soups and Stews: This bread is the perfect accompaniment to hearty dishes like creamy tomato soup, chicken noodle soup, or a rich beef stew.
For Sandwiches: This bread makes fantastic sandwiches. Use it for a classic grilled cheese or fill it with whatever ingredients you’re craving.
As a Side to Pasta: Pair it with your favorite pasta dish for the ultimate Italian-inspired meal.
Additional Tips
Make it Herbed: Want to add a little extra flavor? Mix in some dried herbs (like rosemary, thyme, or garlic powder) into the flour before adding the liquid. You’ll have a beautifully fragrant loaf.
Don’t Overwork the Dough: Since this bread doesn’t require kneading, be gentle with it. Overworking the dough could affect the texture.
Storage Tips: Store any leftover bread in an airtight container or wrap it tightly in plastic wrap. It will stay fresh for a few days at room temperature. You can also freeze it for longer storage!
Double the Batch: Want to make more? Feel free to double the recipe! You can either bake two loaves or freeze one for later.
FAQ Section
Q1: Can I use whole wheat flour instead of all-purpose flour?
A1: Absolutely! Whole wheat flour will give the bread a denser texture, but it still tastes delicious. You can even try a mix of both flours.
Q2: Can I make this ahead of time?
A2: Yes! You can prepare the dough ahead of time, let it rise, and then bake it later. Just make sure to let it come to room temperature before baking.
Q3: How do I store leftovers?
A3: Store leftover bread in an airtight container or wrap it tightly in plastic wrap. It’ll stay fresh for a couple of days, or you can freeze it for later!
Q4: Can I freeze this bread?
A4: Yes, this bread freezes wonderfully! Just slice it up before freezing for easy, grab-and-go pieces whenever you need them.
Q5: How can I make this recipe vegan?
A5: Simply swap out the oil for a vegan-friendly variety and make sure your yeast is active. Everything else remains the same!
Conclusion
And there you have it—Bread in a Bag that’s easy, fun, and downright delicious! With just a few simple ingredients and a little patience, you’ll have homemade bread that’s perfect for any occasion. Whether you’re serving it with a cozy soup, making a sandwich, or just enjoying a warm slice with butter, this bread is sure to impress. The best part? It’s so simple that even the most beginner bakers can pull it off without a hitch. So, what are you waiting for? Grab your ingredients, get that bag ready, and treat yourself to a fresh, homemade loaf today. Trust me, once you try it, you’ll be hooked! Happy baking!
Print
Bread in a Bag
- Prep Time: 10 minutes
- Cook Time: 25-30 minutes
- Total Time: 40-45 minutes
- Yield: 1 loaf
- Category: Bread, Baking
- Method: Oven-baked, No-knead
- Cuisine: American
- Diet: Vegetarian
Description
This easy Bread in a Bag recipe is perfect for beginners or anyone looking for a quick, no-mess way to make delicious homemade bread. With simple ingredients and minimal cleanup, you’ll have fresh, warm bread ready in under an hour! Perfect for a cozy meal or a baking activity with the kids.
Ingredients
- 3 cups all-purpose flour, divided
- 3 tsp sugar
- 1 packet rapid-rise yeast
- 1 cup warm water (110°F)
- 3 tbsp olive oil
- 1 ½ tsp salt
Instructions
-
Combine the Ingredients:
In a large zip-top bag, combine 1 cup of flour, sugar, yeast, and warm water. Seal the bag and let it sit for 10 minutes, allowing the yeast to activate. -
Add More Ingredients:
Add another cup of flour, olive oil, and salt to the bag. Seal the bag and knead it for 5-7 minutes, ensuring the dough is smooth and combined. -
Shape the Dough:
Add the remaining flour to the bag and shape the dough into a loaf. You may need to remove some excess flour as the dough comes together. -
Let the Dough Rise:
Let the dough rise inside the bag for 30 minutes, or until it has doubled in size. -
Bake the Bread:
Preheat the oven to 375°F (190°C). Transfer the dough to a greased loaf pan and bake for 25–30 minutes, or until golden brown. -
Enjoy:
Let the bread cool slightly before slicing. Enjoy it fresh out of the oven!
Notes
- If you don’t have a loaf pan, you can shape the dough into a round and bake it on a parchment-lined baking sheet.
- You can add herbs or garlic to the dough for extra flavor.
- Store any leftover bread in an airtight container for up to 3 days.
Nutrition
- Serving Size: 1 slice
- Calories: 150
- Sugar: 1g
- Sodium: 170mg
- Fat: 4g
- Saturated Fat: 0.5g
- Unsaturated Fat: 3.5g
- Trans Fat: 0g
- Carbohydrates: 24g
- Fiber: 1g
- Protein: 4g
- Cholesterol: 0mg


