Garlic Toast Pizzas: A Flavor-packed, Easy-to-Make Snack
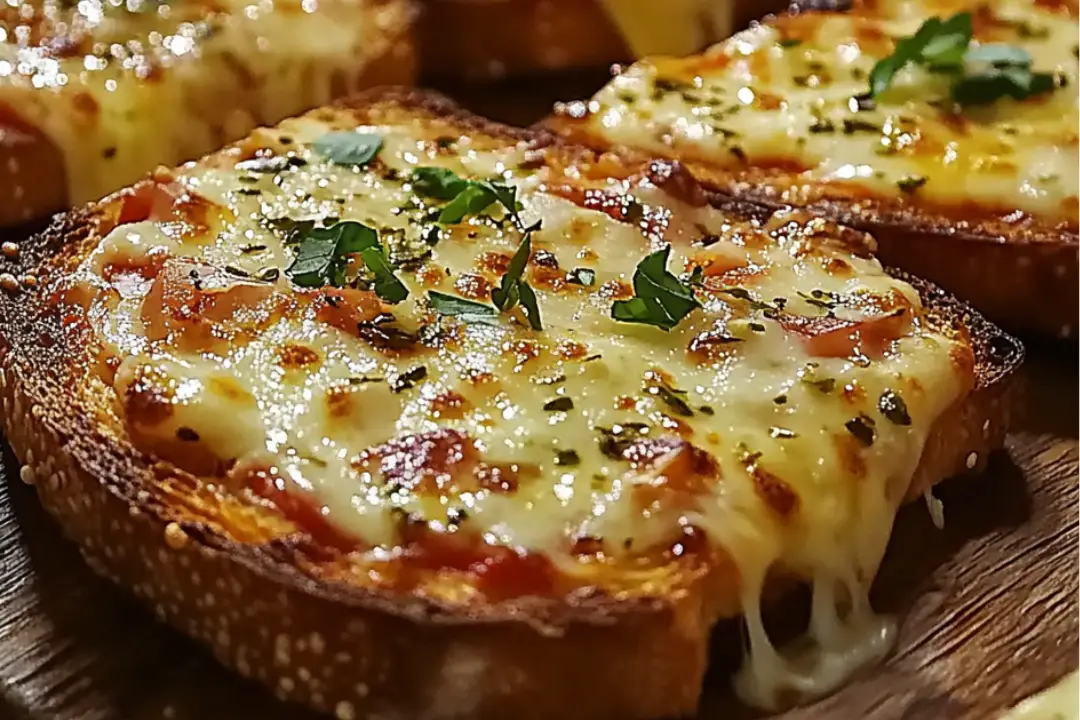
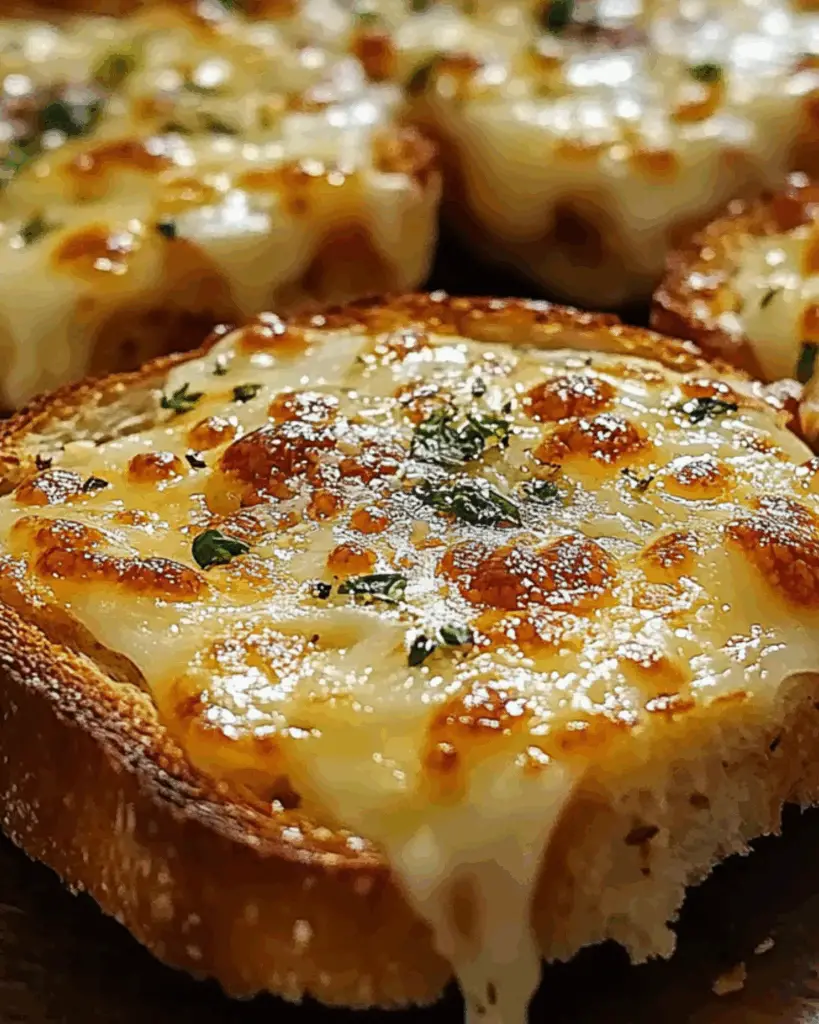
Let’s talk about one of my absolute favorite quick-fix meals: Garlic Toast Pizzas. I mean, who doesn’t love pizza, right? But sometimes, you don’t have the time or energy to deal with dough or fancy toppings. Enter these Garlic Toast Pizzas—they’re everything you love about pizza, but with a simple twist. The garlic-butter toast base gives it that cozy, crispy crunch, and then you pile on the cheesy goodness and flavorful toppings. Trust me, you’re going to love this! Whether you’re looking for a fun snack, an easy dinner idea, or something to feed a crowd, these little pizzas are sure to hit the spot.
Why You’ll Love Garlic Toast Pizzas
This recipe isn’t just about slapping some toppings on a piece of bread. It’s about creating that perfect balance of flavors and textures: crispy, buttery toast with gooey cheese, savory toppings, and a little burst of flavor in every bite. Here’s why you’re going to love it:
Versatile: You can make these with whatever you have on hand, whether it’s for a casual family dinner, a quick lunch, or a party snack. The possibilities are endless! You can go classic with pepperoni and mozzarella, or get creative with veggies, sausage, or even some fresh basil.
Budget-Friendly: The ingredients are simple, and chances are, you already have most of them in your kitchen. No need for fancy or expensive items—just good, wholesome stuff to create something delicious. It’s perfect when you’re craving something tasty but don’t want to spend a ton.
Quick and Easy: These little pizzas are a total breeze to make. With just a few steps, you’ve got a hot, crispy, cheesy snack in no time. Even if you’re a kitchen newbie, you’ll feel like a pro.
Customizable: Want to kick things up a notch? Add a sprinkle of chili flakes or a drizzle of balsamic glaze. Prefer it mild? Stick to classic cheese and tomato. These pizzas are totally yours to customize!
Crowd-Pleasing: Everyone loves garlic bread, and everyone loves pizza. Combine the two, and you’ve got a winning combo that will have your friends and family begging for more. It’s a universal hit, whether it’s kids, adults, or picky eaters.
Disclosure: This post contains affiliate links.If you click and make a purchase, I may earn a small commission at no extra cost to you.
Ingredients for Garlic Toast Pizzas
Here’s the magic behind these simple yet satisfying pizzas. It’s all about using basic pantry staples, but the combination creates something special. Let’s break it down:
Bread: The crispy, buttery base that makes this pizza pop. I love using thick slices of Italian or French bread for that satisfying crunch. You could also use sourdough or any sturdy bread you have on hand.
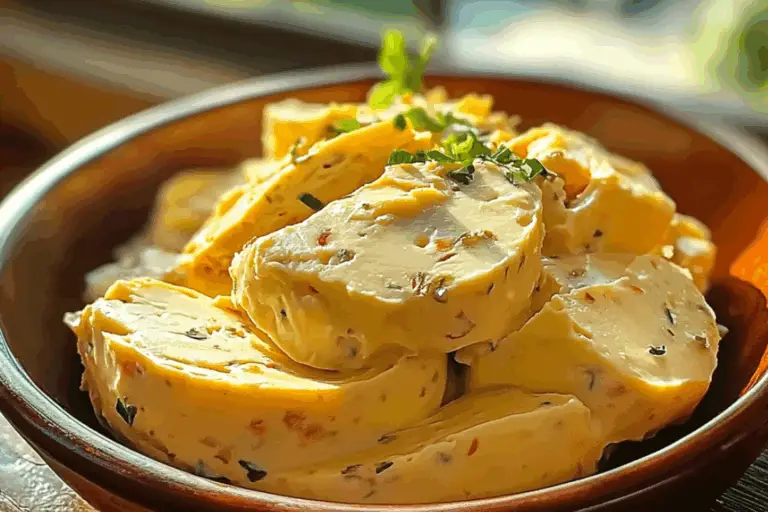
Butter: The secret to that delicious, garlic-infused flavor that makes each bite melt in your mouth. You can’t skip this step!
Garlic: Fresh garlic is the key to making these really shine. It adds that savory punch that makes every bite irresistible.
Cheese: A generous layer of mozzarella gives you that gooey, melty goodness that we all crave. You could also add some parmesan for extra flavor.
Tomato Sauce: This is where the pizza element really comes through. A rich, tangy tomato sauce forms the perfect foundation for the cheese and toppings.
Toppings: Choose your favorites! Pepperoni, sausage, veggies, or even some olives. Go wild with your imagination!
(Note: the full ingredients list, including measurements, is provided in the recipe card directly below.)
Instructions
Let’s dive into how easy it is to create these delicious little pizzas!
Preheat Your Oven
Start by preheating your oven to 375°F (190°C). This ensures the bread gets crispy and the cheese melts beautifully. Preheating is important so everything cooks evenly!
Prepare the Garlic Toast
In a small bowl, mix softened butter with minced garlic. Spread this buttery garlic goodness over your slices of bread. You want every inch covered for that full garlic flavor. Then, pop them on a baking sheet, ready to be toasted!
Toast the Bread
Bake the garlic buttered bread slices for about 5-7 minutes or until they’re golden and crispy. This step creates that perfect crispiness we all love, so don’t rush it.
Assemble the Pizzas
Once your garlic toast is golden and crispy, spread a spoonful of tomato sauce over each slice. Top it off with a generous helping of mozzarella cheese. If you’re feeling fancy, sprinkle on some parmesan too.
Add Your Toppings
Now, get creative! Whether it’s pepperoni, mushrooms, or a handful of fresh basil, pile on your favorite pizza toppings. Don’t be shy here—more is more!
Bake to Perfection
Return the garlic toast pizzas to the oven and bake for about 5-7 minutes until the cheese is all melty and bubbly. You want it to be nice and golden, with that gorgeous cheese pull!
Finishing Touches
Remove from the oven and let them cool for a minute or two before slicing. This step lets the cheese set so you can cut them without a mess.
Serve and Enjoy
Serve your garlic toast pizzas warm, and enjoy! Whether you’re having them as a snack, a meal, or an appetizer at a party, they’ll be gone in no time.
How to Serve Garlic Toast Pizzas
These little beauties are amazing on their own, but if you’re looking to take your meal to the next level, here are a few ideas:
Side Salad: A fresh, crunchy salad with a tangy vinaigrette is the perfect balance to the rich, cheesy pizzas. Think mixed greens, cherry tomatoes, and a light dressing.
Vegetable Sides: Roasted veggies like carrots or zucchini add some healthy goodness to your meal. Plus, they’re colorful and delicious!
Dipping Sauces: Serve with a side of marinara, ranch, or even a spicy aioli for dipping. The extra sauce adds another layer of flavor that everyone will love.
Additional Tips
Prep Ahead: You can prep your garlic butter and toppings ahead of time. Just keep everything in the fridge until you’re ready to assemble.
Mix Up the Toppings: Don’t be afraid to get creative with your pizza toppings. Try adding some sautéed onions, olives, or even a drizzle of pesto to change things up!
Perfect for Leftovers: If you’ve got leftovers (which is rare, but it happens!), store them in an airtight container in the fridge for up to 2 days. You can reheat them in the oven or microwave, though they taste best fresh out of the oven.
Freeze for Later: You can freeze the assembled pizzas before baking. Just wrap them tightly in plastic wrap or foil, and when you’re ready, bake them straight from the freezer. No need to thaw!
FAQ Section
Q1: Can I substitute the bread?
A1: Yes! You can use any kind of bread that holds up well to the toppings. Sourdough, ciabatta, or even bagels work great.
Q2: Can I make these vegetarian?
A2: Absolutely! Just skip the meat and load up on veggies like bell peppers, mushrooms, and spinach.
Q3: Can I prepare these ahead of time?
A3: You can prep everything and store the bread, garlic butter, and toppings separately. Then, just assemble and bake when you’re ready!
Q4: How do I store leftovers?
A4: Store leftovers in an airtight container in the fridge for up to 2 days. Reheat in the oven for best results.
Q5: Can I freeze them?
A5: Yes! Assemble the pizzas, freeze them on a baking sheet, and once frozen, transfer them to a freezer bag. Bake straight from the freezer when you’re ready!
Q6: How do I reheat the garlic toast pizzas?
A6: For the best results, reheat them in the oven at 350°F for about 5-7 minutes, or until the cheese is bubbly again.
Q7: What kind of cheese works best?
A7: Mozzarella is a must for that perfect melt, but you can also add some cheddar or parmesan for extra flavor!
Q8: Can I double the recipe?
A8: Absolutely! Just make sure you have enough space on your baking sheet or trays, and adjust the baking time slightly if needed.
Q9: What’s the best bread to use?
A9: You want a sturdy bread that can hold all those toppings—Italian bread, French baguette, or even a thick-sliced sourdough all work wonderfully!
Q10: Is this recipe suitable for gluten-free diets?
A10: Yes! Just use gluten-free bread as your base, and you’re good to go.
Conclusion
Garlic Toast Pizzas are the kind of recipe that makes you feel like a genius in the kitchen, even if you’re not a chef. They’re easy, they’re customizable, and they’re just downright delicious. Whether you’re whipping them up for a family meal, serving them at a party, or just indulging in a snack, they’re always a hit. Go ahead, try them out—you won’t regret it!
Print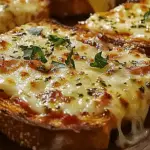
Garlic Toast Pizzas: A Flavor-packed, Easy-to-Make Snack
- Prep Time: 10 mins
- Cook Time: 15 mins
- Total Time: 25 mins
- Yield: 6 slices 1x
- Category: Appetizer, Snack
- Method: Baking
- Cuisine: American
- Diet: Vegetarian
Description
These easy and delicious garlic toast pizzas are made by topping garlic Texas toast with pizza sauce, melted mozzarella cheese, and your favorite toppings, then baking to perfection for a quick pizza-inspired snack.
Ingredients
- 6 slices of garlic Texas toast (store-bought or homemade)
- 1 cup pizza sauce
- 1 ½ cups shredded mozzarella cheese
- ½ cup pepperoni slices (or other toppings of choice)
- 1/4 cup grated Parmesan cheese
- 1 tsp Italian seasoning
- Optional: chopped fresh basil, red pepper flakes for garnish
Instructions
- Preheat your oven to 400°F (200°C).
- Arrange the garlic Texas toast slices on a baking sheet lined with parchment paper.
- Bake the garlic toast slices for 5-7 minutes, or until they start to become golden and crispy.
- Remove the toast from the oven and spread a thin layer of pizza sauce on each slice.
- Top each with a generous sprinkle of mozzarella cheese, then add your favorite pizza toppings, like pepperoni slices or vegetables.
- Sprinkle a little Parmesan cheese and Italian seasoning on top for extra flavor.
- Return the baking sheet to the oven and bake for an additional 5-7 minutes, or until the cheese is melted and bubbly.
- Remove from the oven and allow to cool slightly.
- Optionally, garnish with chopped basil and a sprinkle of red pepper flakes.
Notes
- Feel free to customize the toppings to your liking—vegetables, sausage, or even bacon would work well.
- If you prefer a spicier version, add some red pepper flakes before or after baking.
- For a gluten-free option, you can use gluten-free Texas toast or another suitable base.
Nutrition
- Serving Size: 1 slice
- Calories: 300
- Sugar: 3 g
- Sodium: 620 mg
- Fat: 18 g
- Saturated Fat: 7 g
- Unsaturated Fat: 9 g
- Trans Fat: 0 g
- Carbohydrates: 28 g
- Fiber: 2 g
- Protein: 12 g
- Cholesterol: 35 mg

